CGMA: Final Project
COURSE INFORMATION
Platform: Windows
Role: Level Design, Blockout, UE4 Blueprint Scripting
Software: Maya and Unreal Engine 4
Team Size: 1
Time: 10 weeks, Online course
MY INSTRUCTORS
________________________________________________________


Co-Lead Game Designer @Naughty_Dog on The Last of Us Part II and Uncharted 4.
Senior Level Designer @unseentokyo
Faculty @CGmasteracademy
Prev @SquareEnix // @InsomniacGames // @DisneyInteract
Course Overview
In this course, I learned to approach 3D game-level environments from a design perspective. The lectures explored the theory of games, shape composition, architecture, and player psychology. I designed and iterated on-level setups from the initial planning phases to playable prototypes inUnreal Engine and Maya. The course focussed on crafting immersion and modeling shapes that intrigue, surprise, and inspire players. I explored how to design for game mechanics and narrative, creating level progressions that support character development and player experience.
FINAL PROJECT: DRAGON RUINS
____________________________________________________________________________


PRE-PRODUCTION
____________________________________________________________________________
Mood Inspiration:

Gameplay Inspiration:
-
The Ganesha climbable structures in Uncharted: Lost Legacy.
-
The escaping sequences in Shadow of the Tomb Raider.
-
Puzzle design in Uncharted 4.
-
Finding Atreus section in God of War.

CORE PILLARS
____________________________________________________________________________
-
Story
Having a story guided a lot of my design decisions on the level and also helped me in cementing the overall feel of the level.
This project is heavily inspired by the Uncharted series. I wanted the story to be along those lines as well. The player is on the hunt for the Drakon King’s treasure. However, an evil organization has already made up its way to the ruins and has its troops all over the place. The player has to make their way to the tower of Orgon.

Combat:
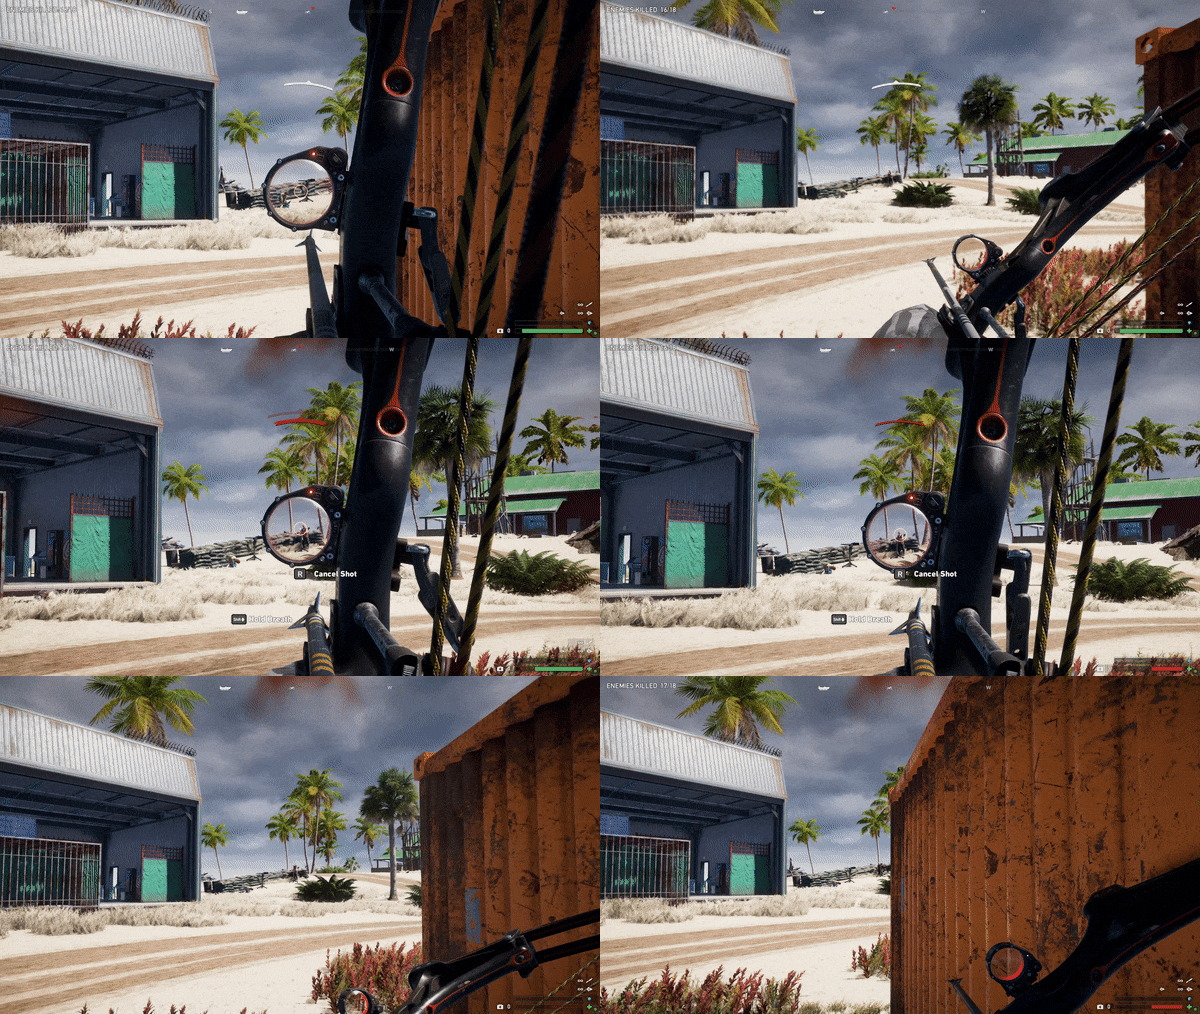
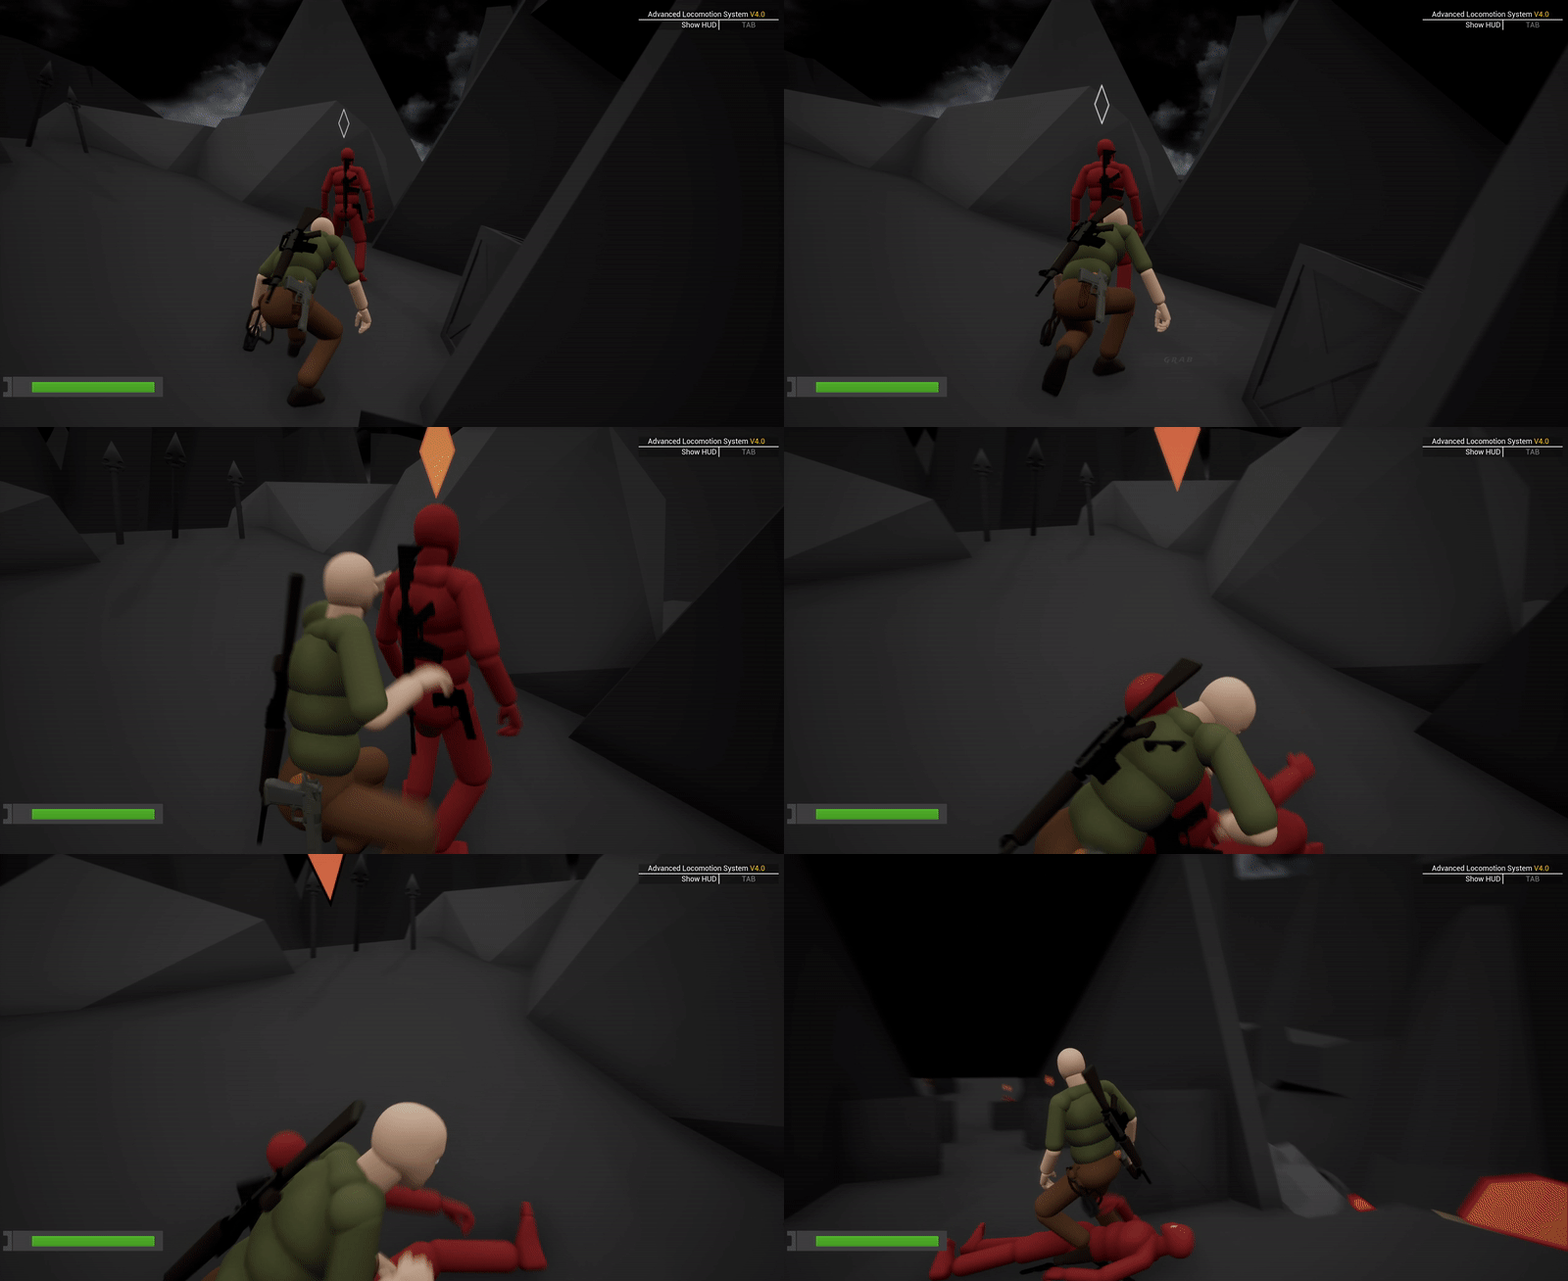
The combat was designed for a cover-based shooting experience. It was really important to make sure that the level provided support for both: a stealth playthrough as well as an aggressive cover-to-cover shooting playthrough.
Traversal:
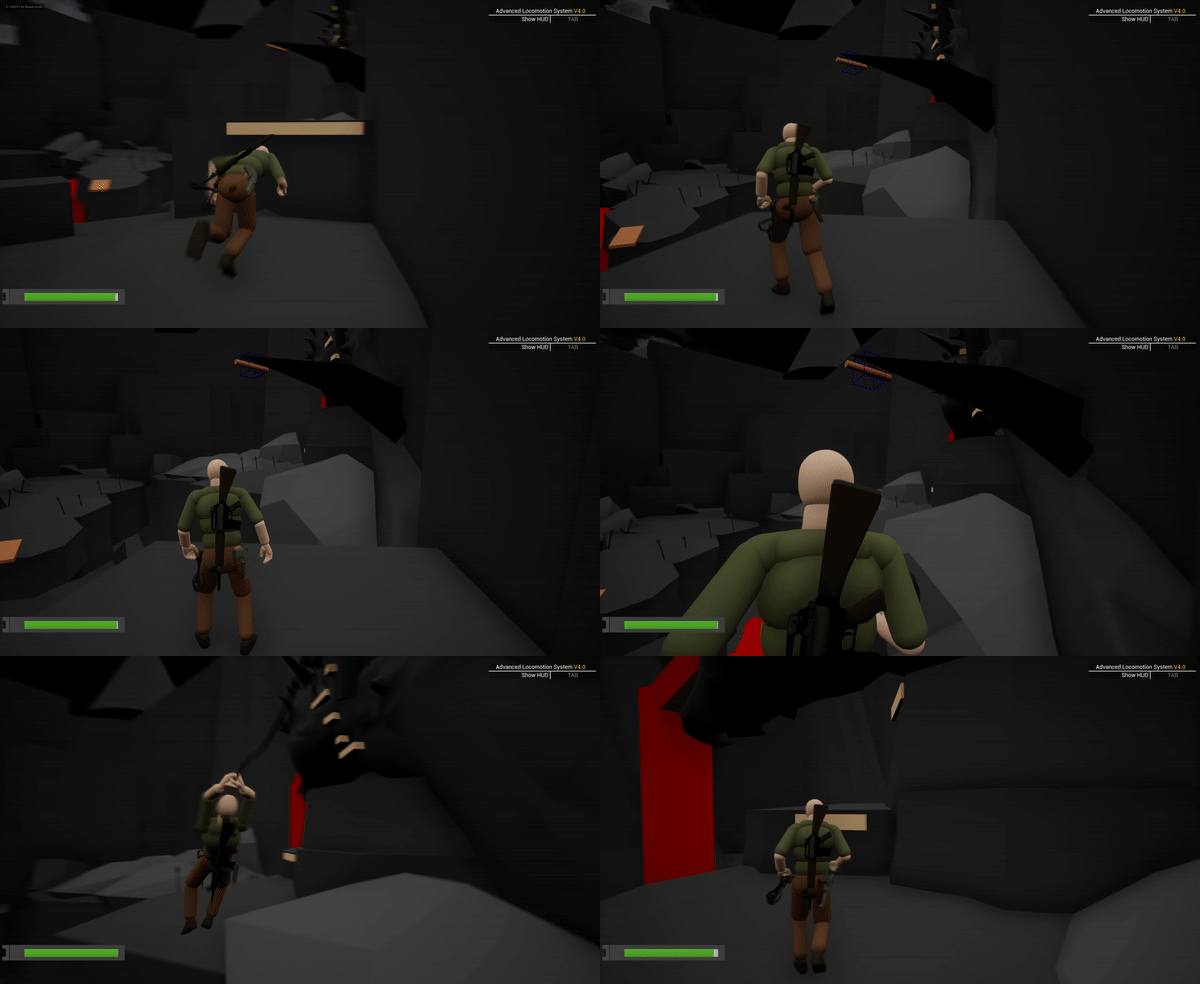
I included different types of traversal options for the player to make sure that they have interesting movement options while going from one place to another, be it during exploration, or combat.
BLOCKMESH
____________________________________________________________________________
Style:
After trying different styles in my previous blockmeshes, I decided to stick with the simple grey boxing and only highlight the important things using a different color. This made my blockmesh look clean, less noisy, and also communicated my ideas clearly.
Affordances:
I made sure that all the objects that the player can interact with or move through, stood out from the environment. This helped in establishing a visual language and sticking to it throughout the game.
Setting up the scene:
___________________________________________

Having a metric gym really helped me keep everything consistent throughout the level. I had all the cover objects, level props, architecture, and affordances in one place. I tried and tested different metrics for cover, jump, crouch, climb, etc. in this scene and arrived at what fits best for the level. Ultimately, I used these numbers throughout the level to ensure uniformity.
Beats:
I divided the level into different beats. This helped me to map the flow and pacing of the level.

Beat 1:
_______________
.png)

I introduced the final goal of the level to the player early on as a landmark. This gave the player an idea of what they were working toward. I also planned to show this landmark again further in the level, to remind the player and show them that they’re progressing. This communicated to the player that they were on the right path and moving closer to their goal.

Creating a composition
I used focal guides to draw the player’s attention toward their goal. These include framing, leading lines, the rule of thirds, and using a different shape and color to represent the focal point better.

Traversal in this beat:
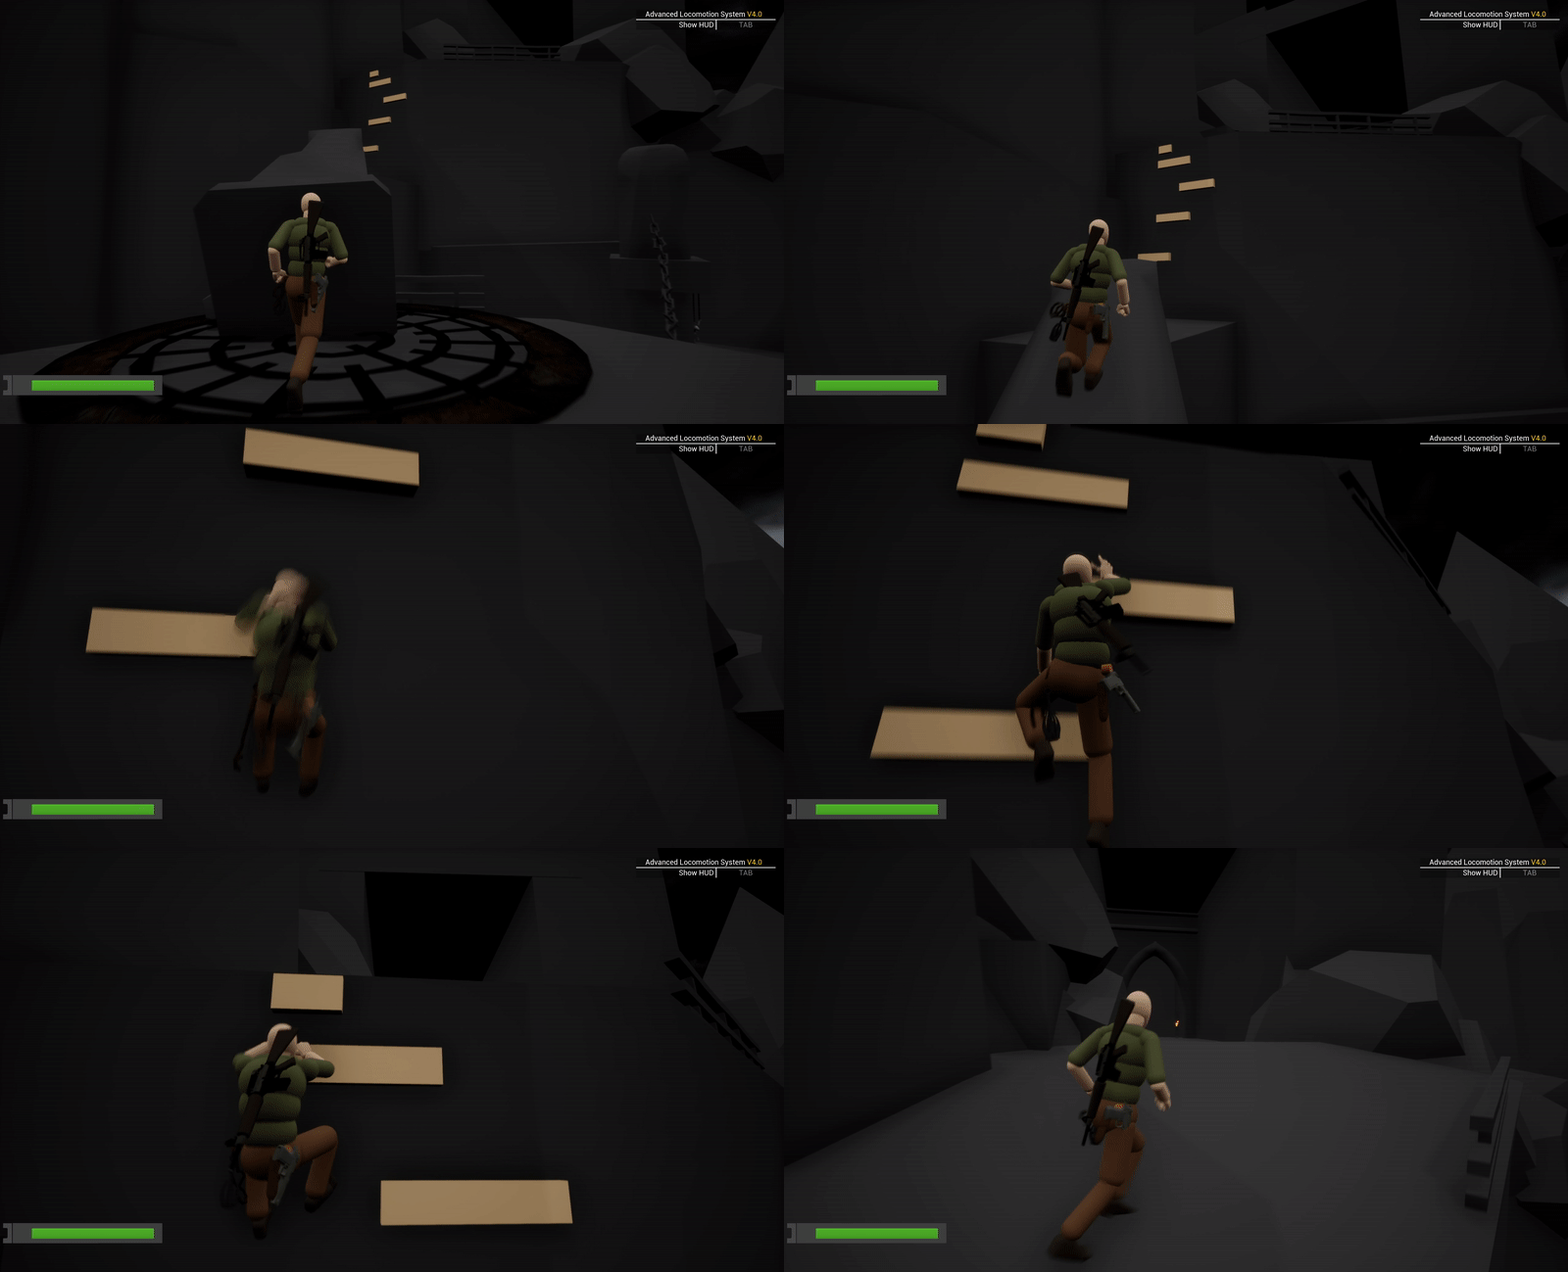
I included different ways of traversing for the player to add variety in movement. It also helped in gating/vaulting the player.
The first rope jump ensures that the player cannot go back once they have committed to moving forward.
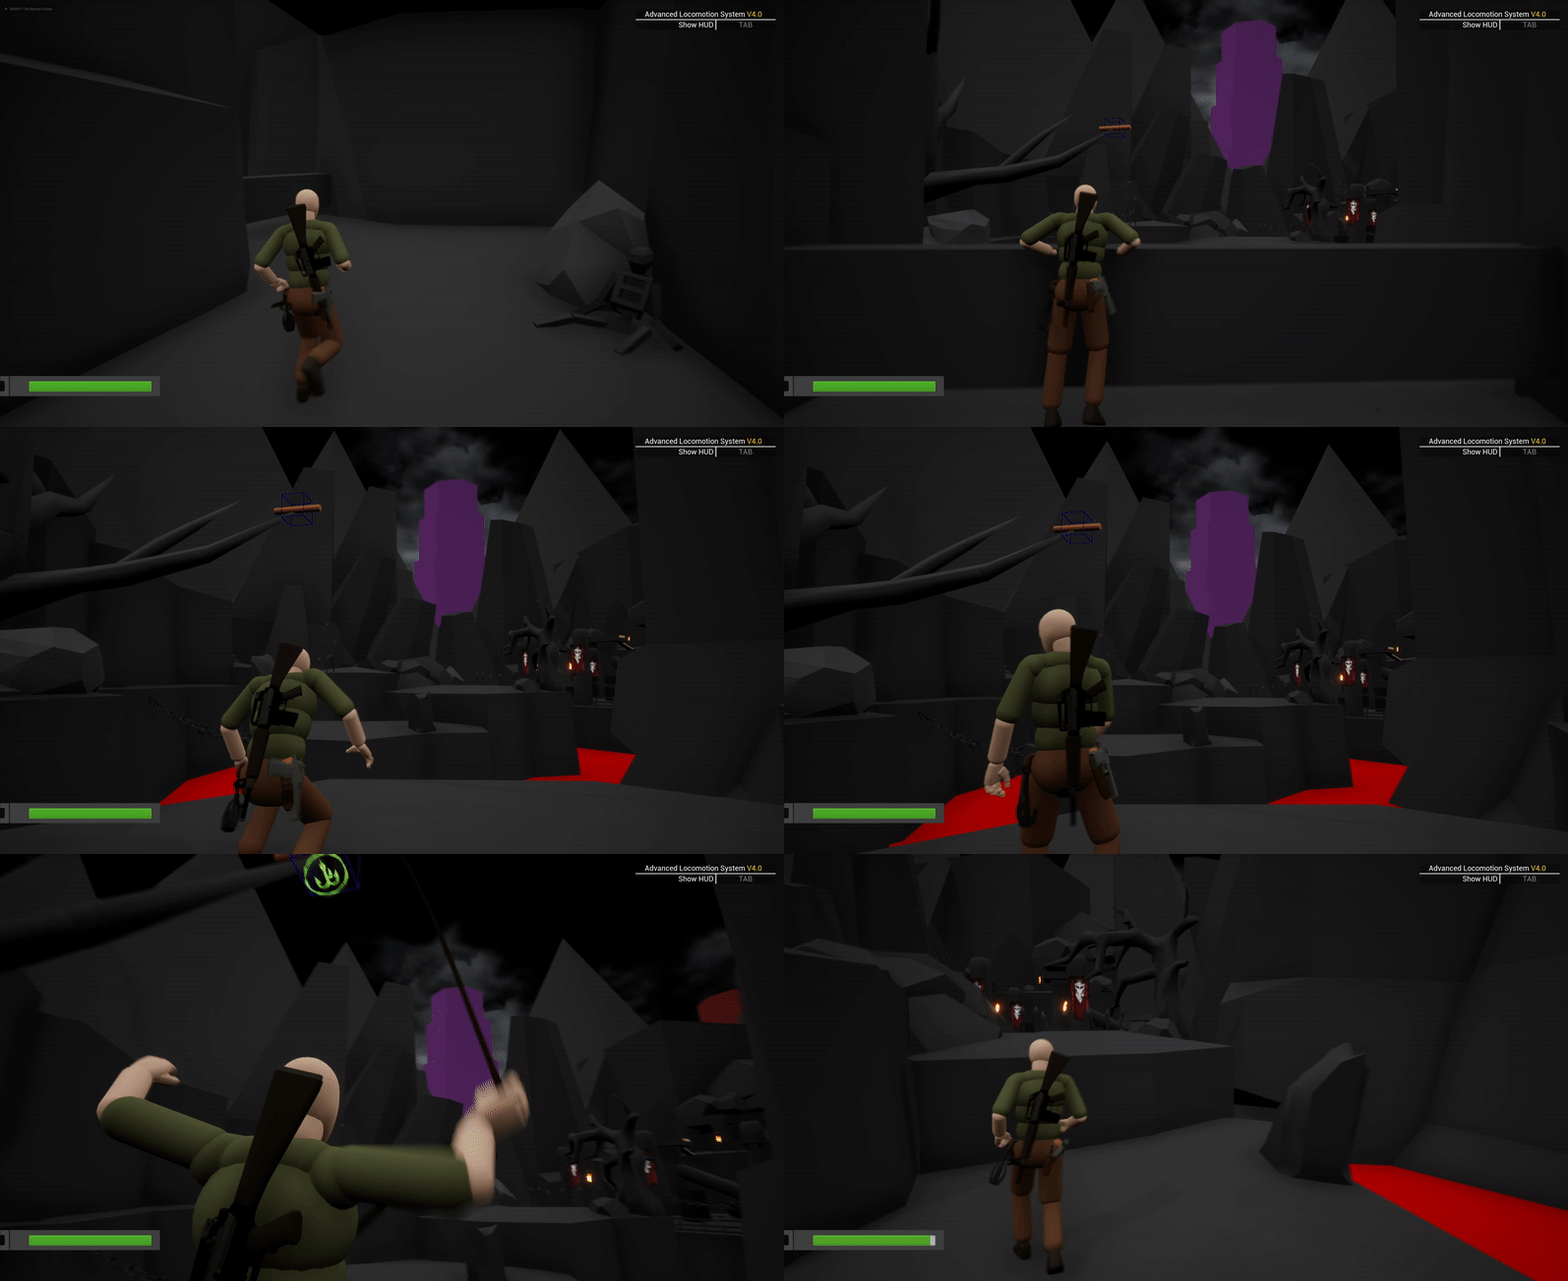
This area serves as a vista point: showing the area with upcoming combat. Providing the player a higher ground to give them a better view of what’s coming.
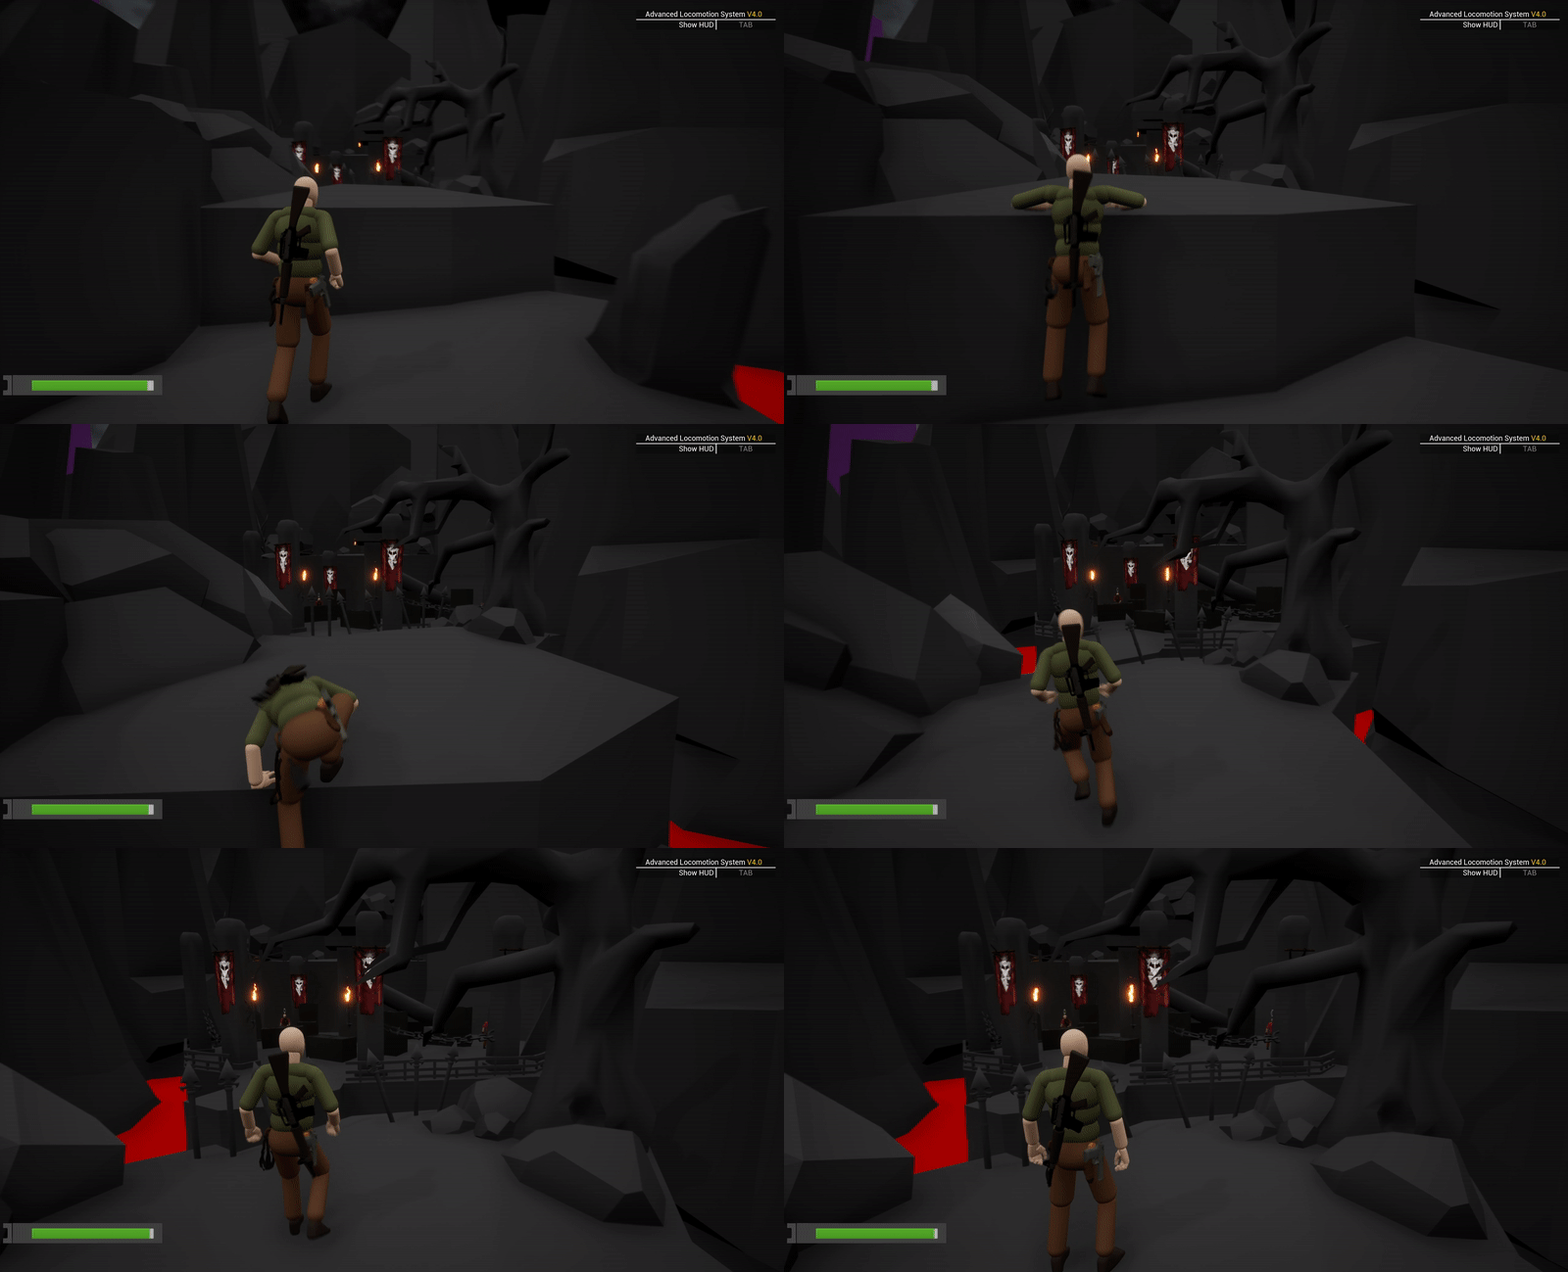
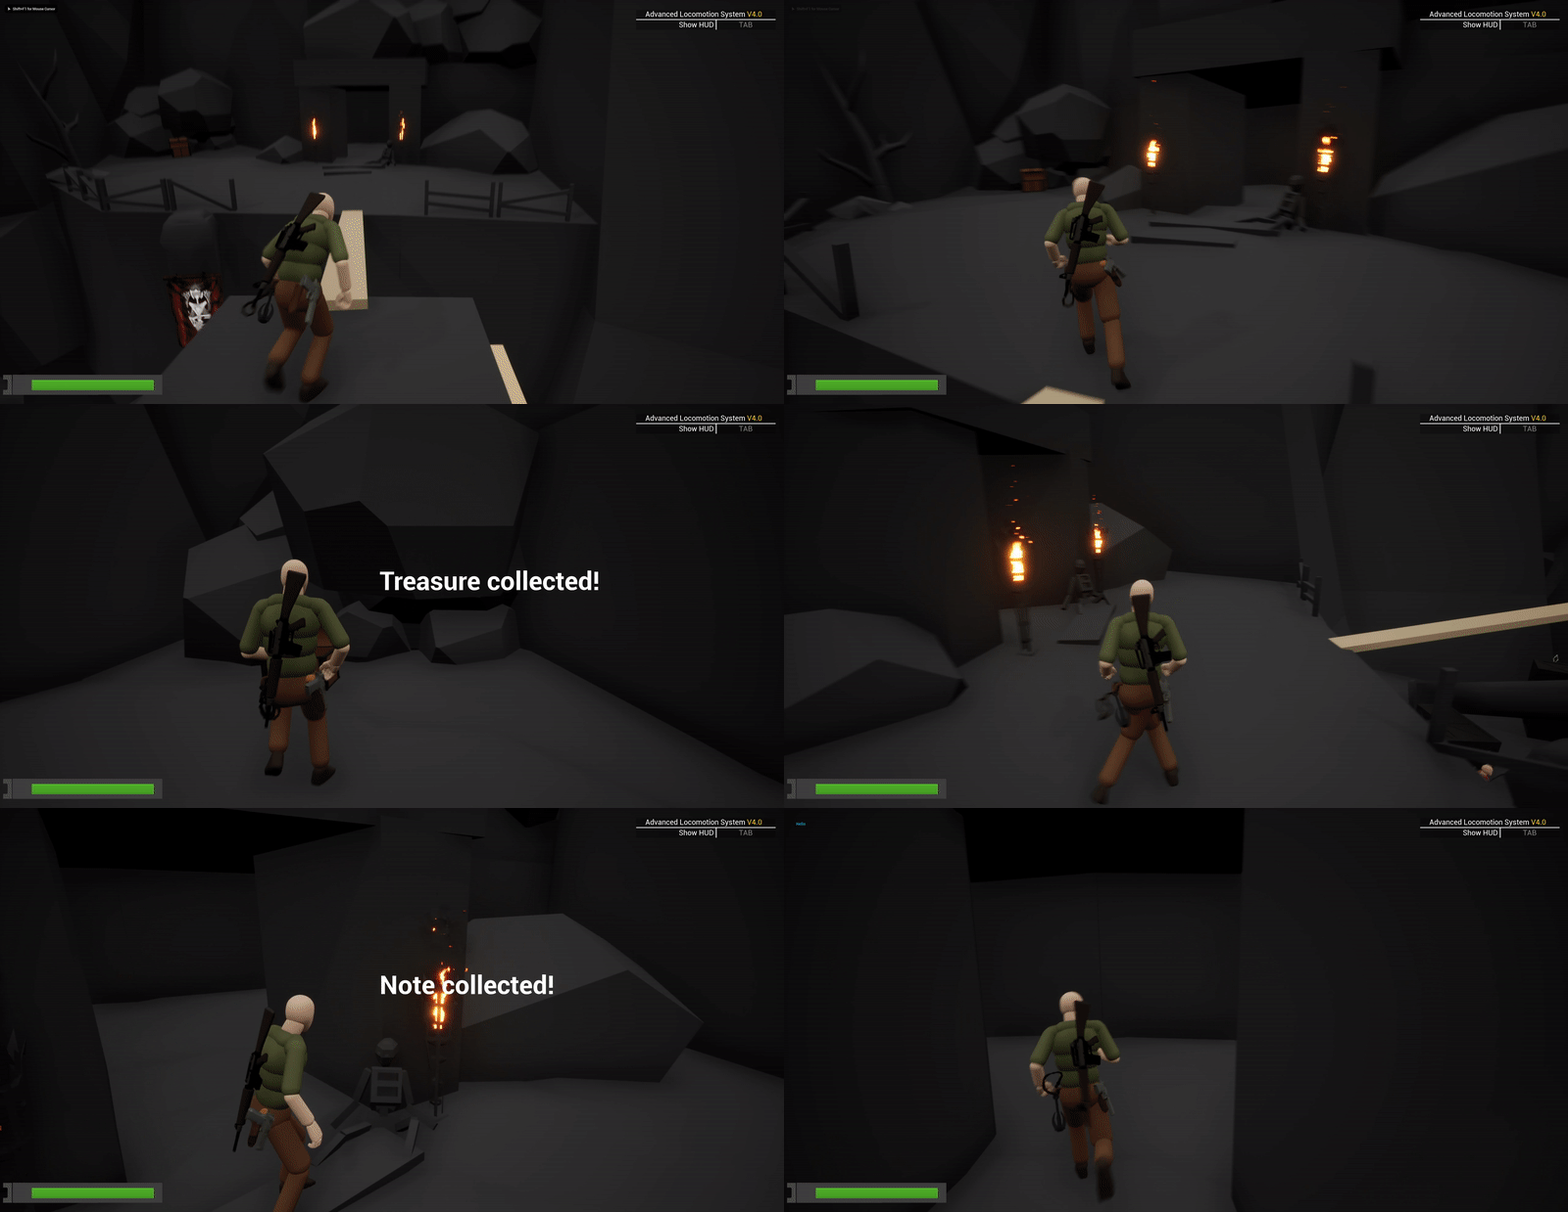
The path to the treasure attracts the player toward it and quickly redirects the player back to the combat area ahead.
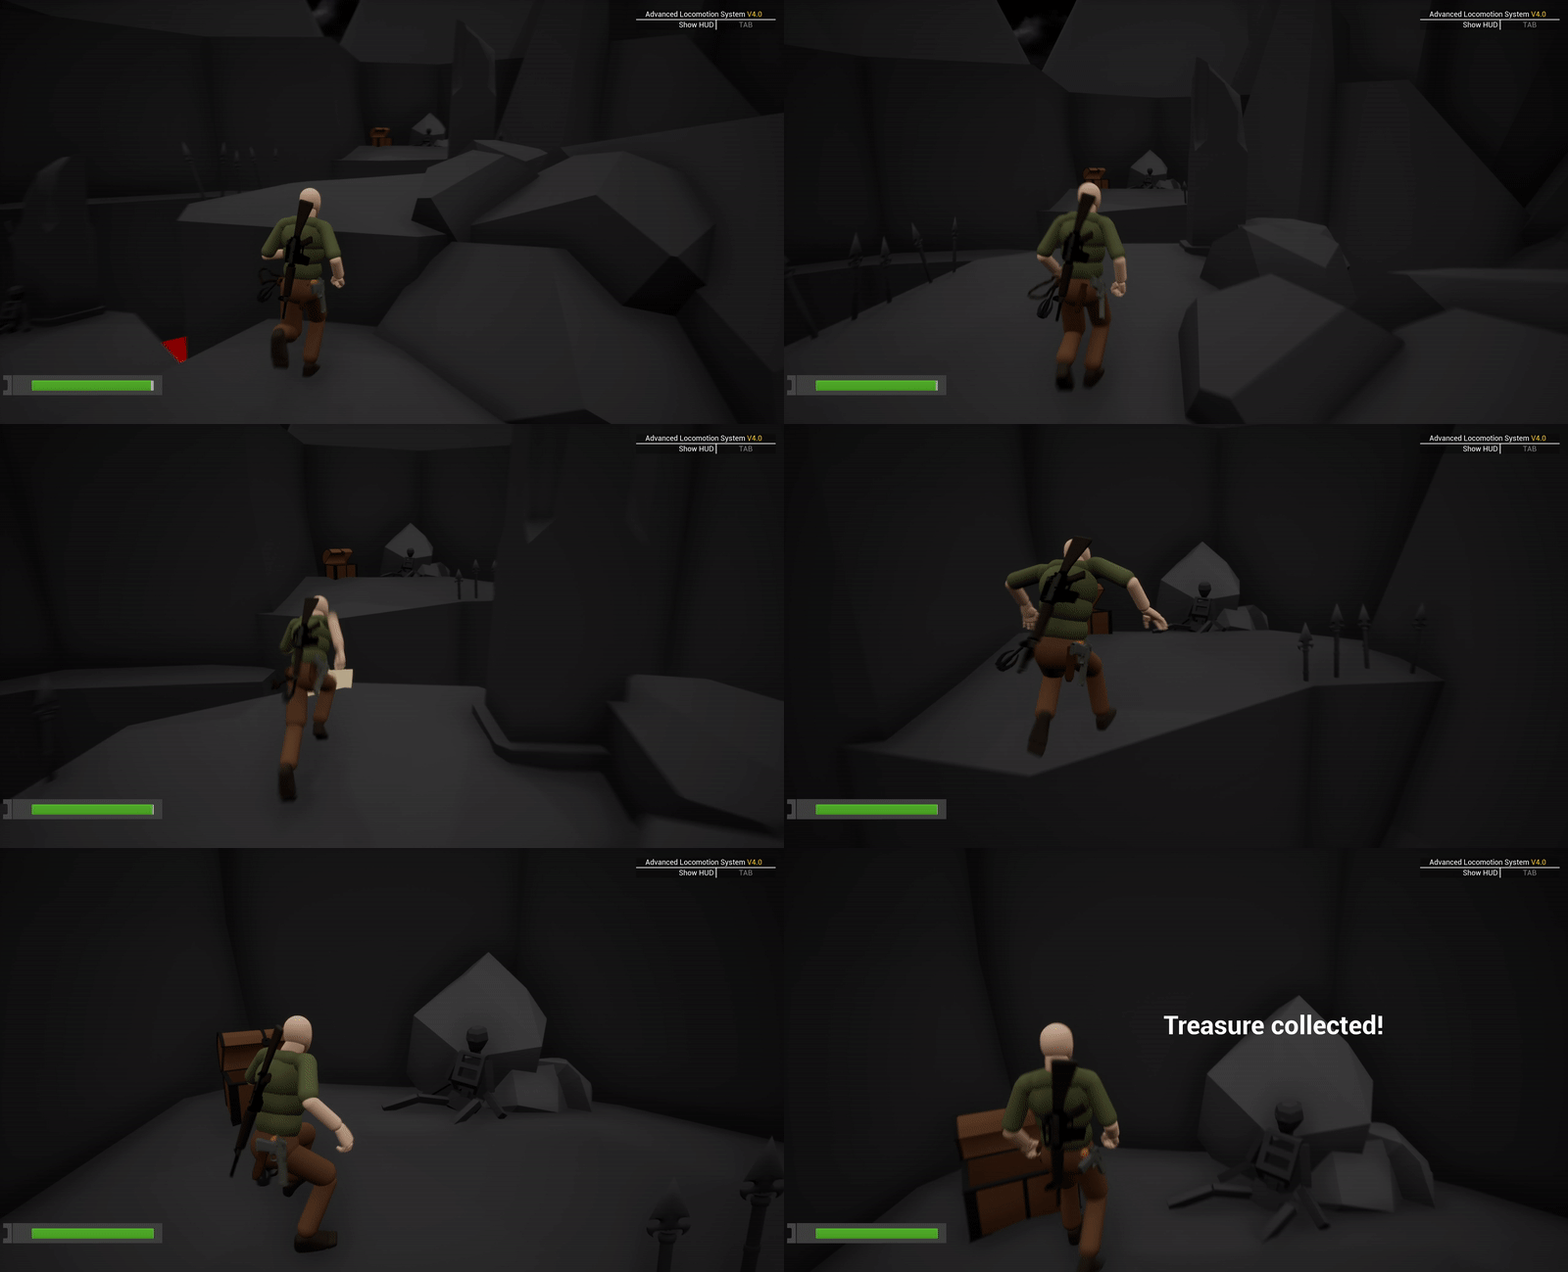
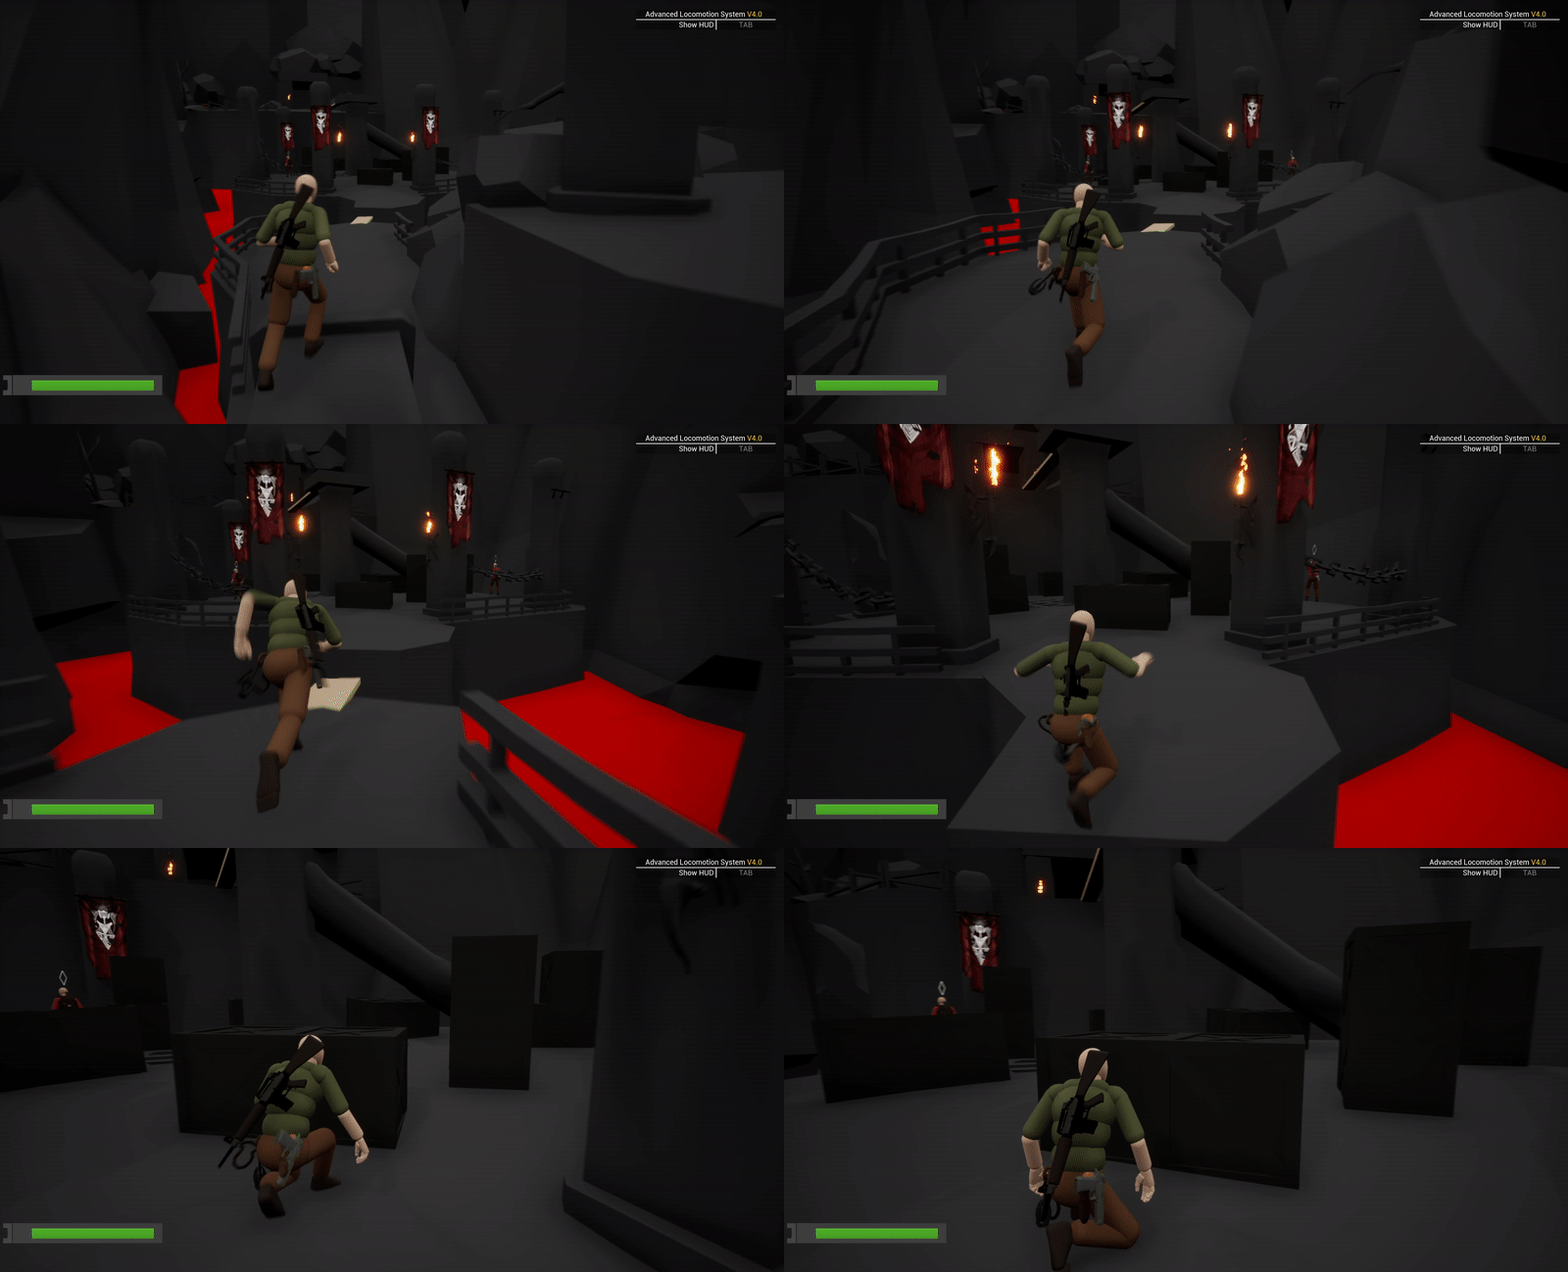
Combat in this beat:
The combat area provides the player with 2 flank paths and an open center. The player can choose to sneak up behind the enemies and take them out one by one or shoot them while being behind cover.
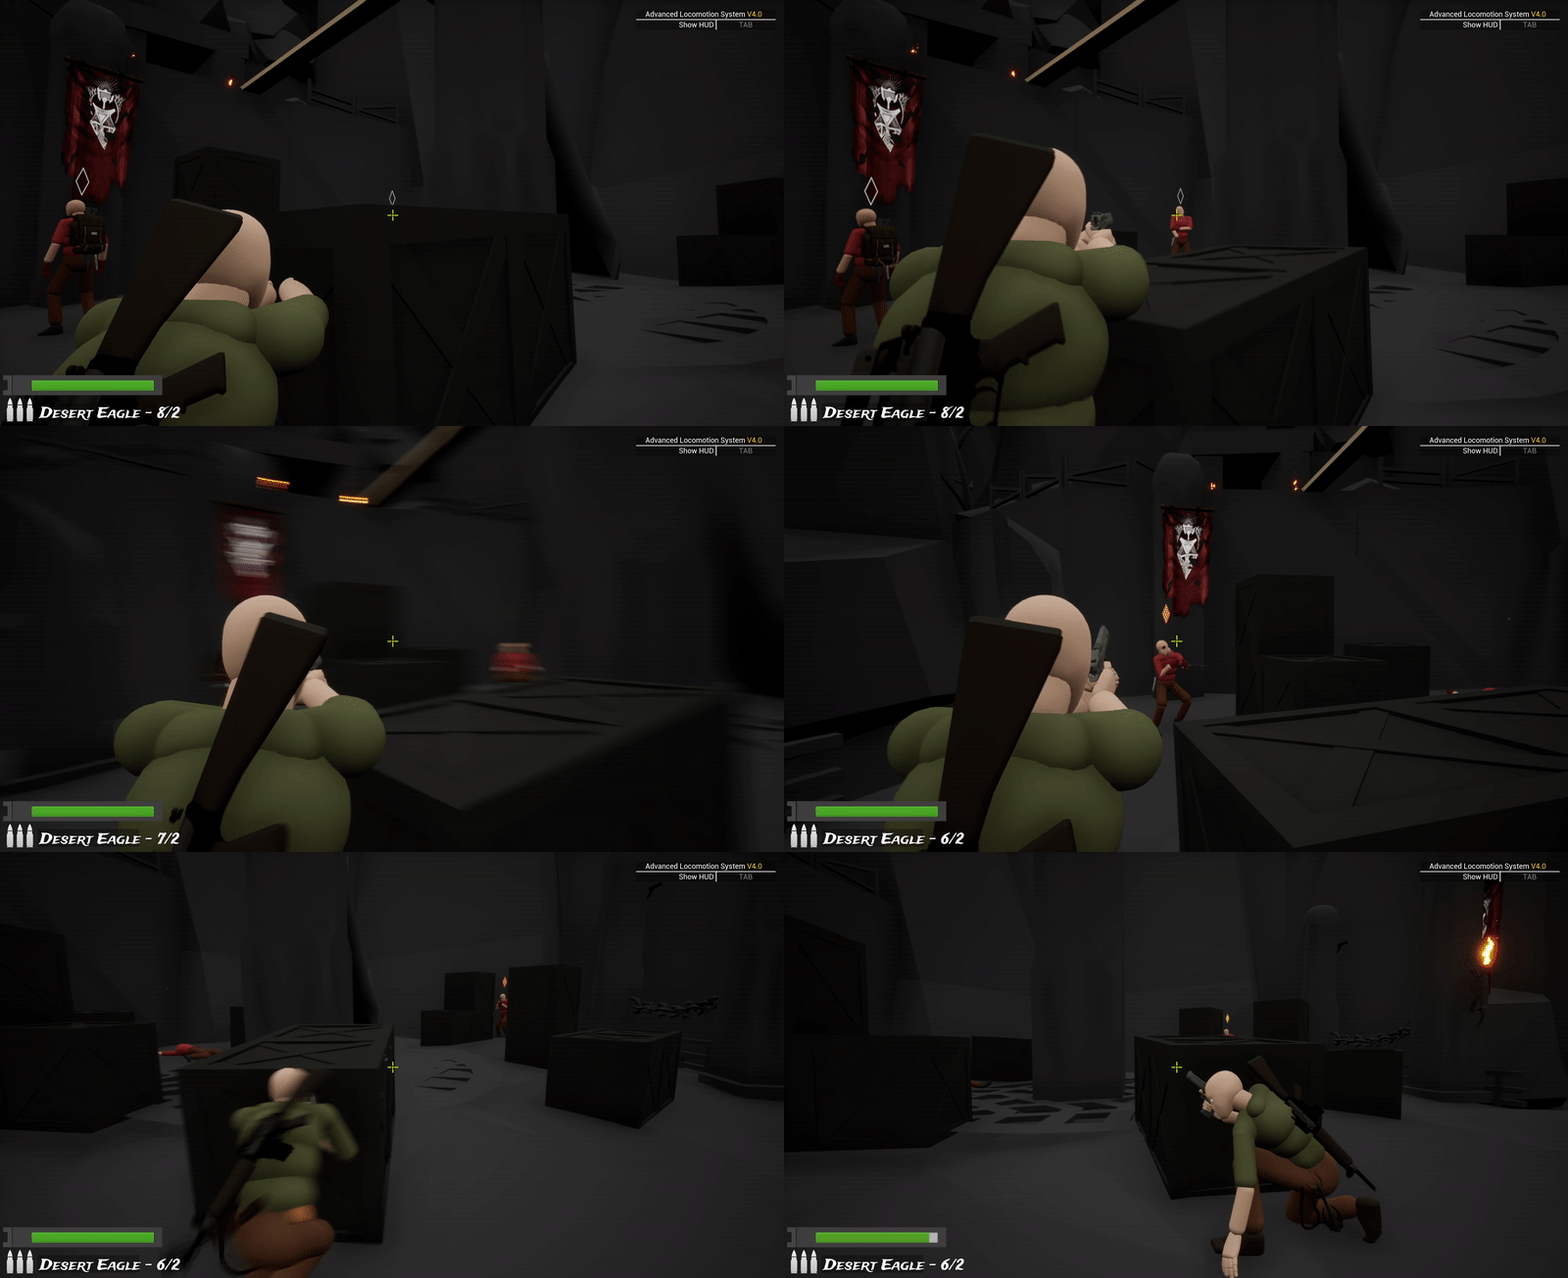
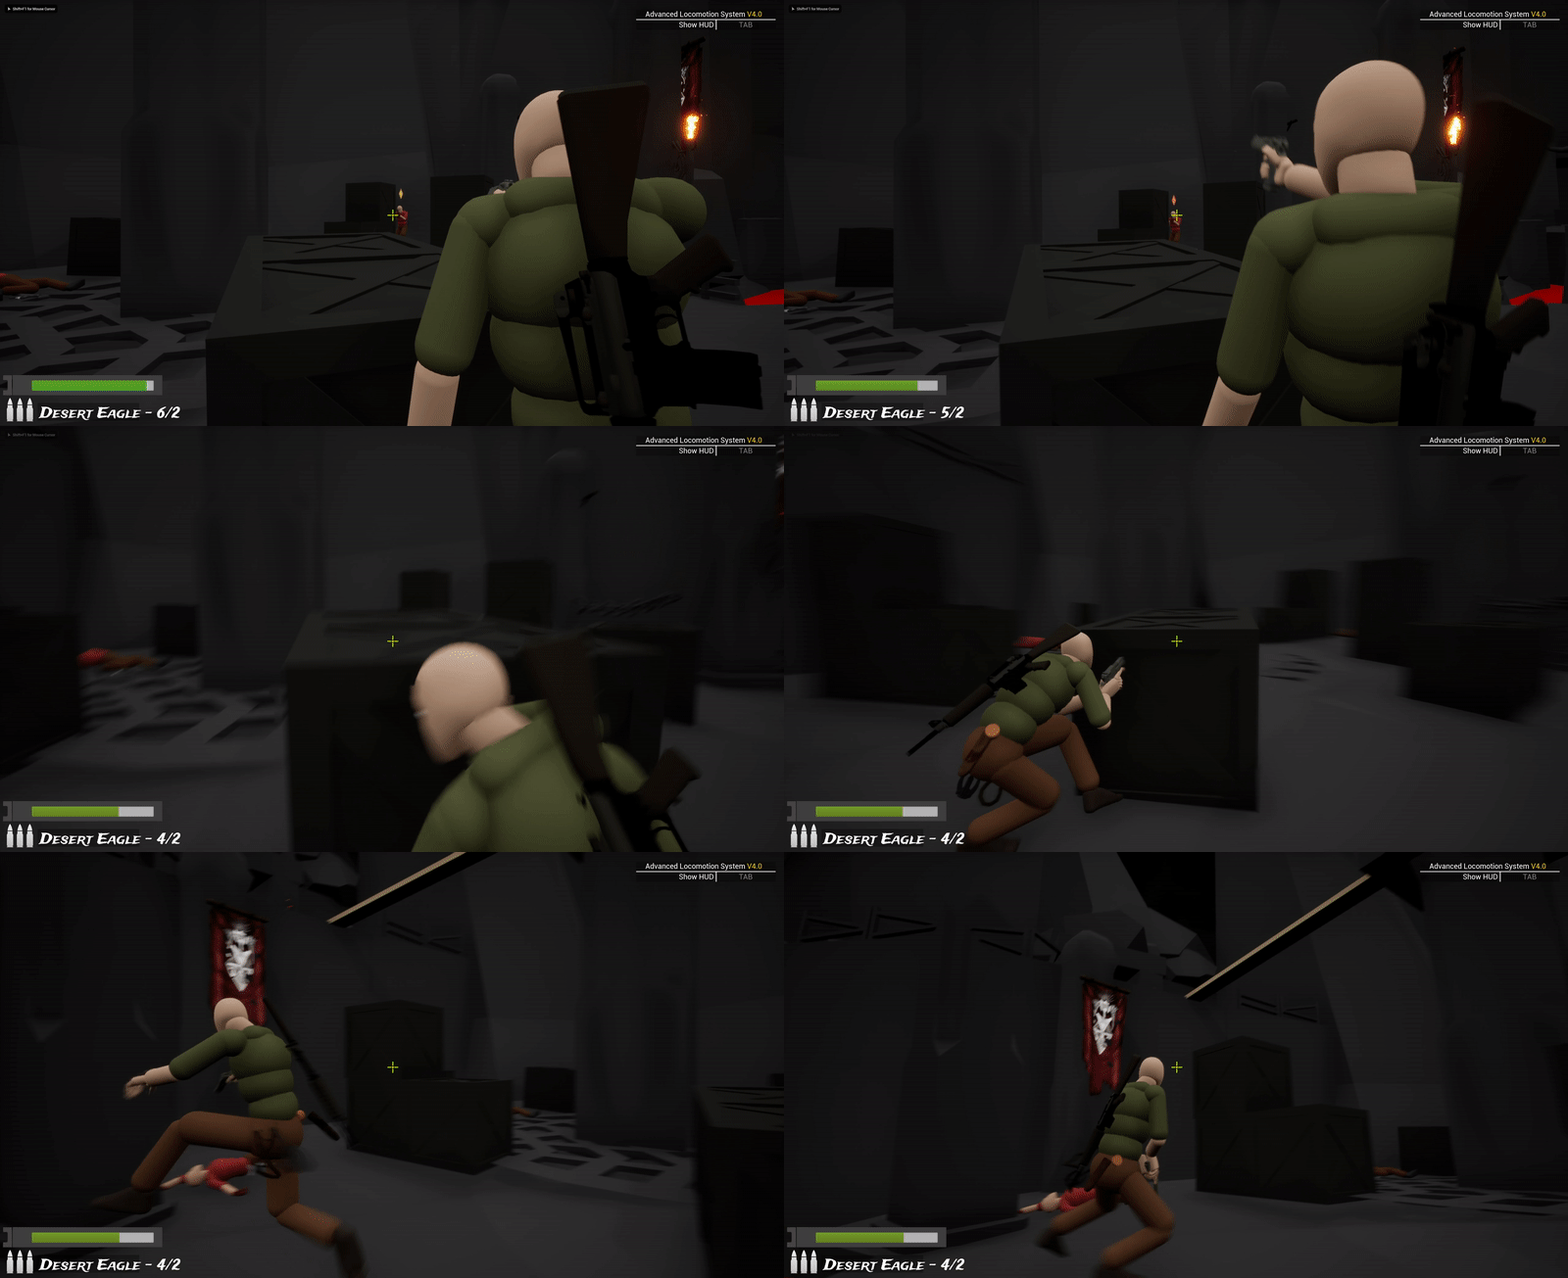
The player identifies the affordances and figures out the way to move forward. Furthermore, the player collects a note on their way to the next area. This note will be useful later in the level.

Beat 2:
_______________
.png)

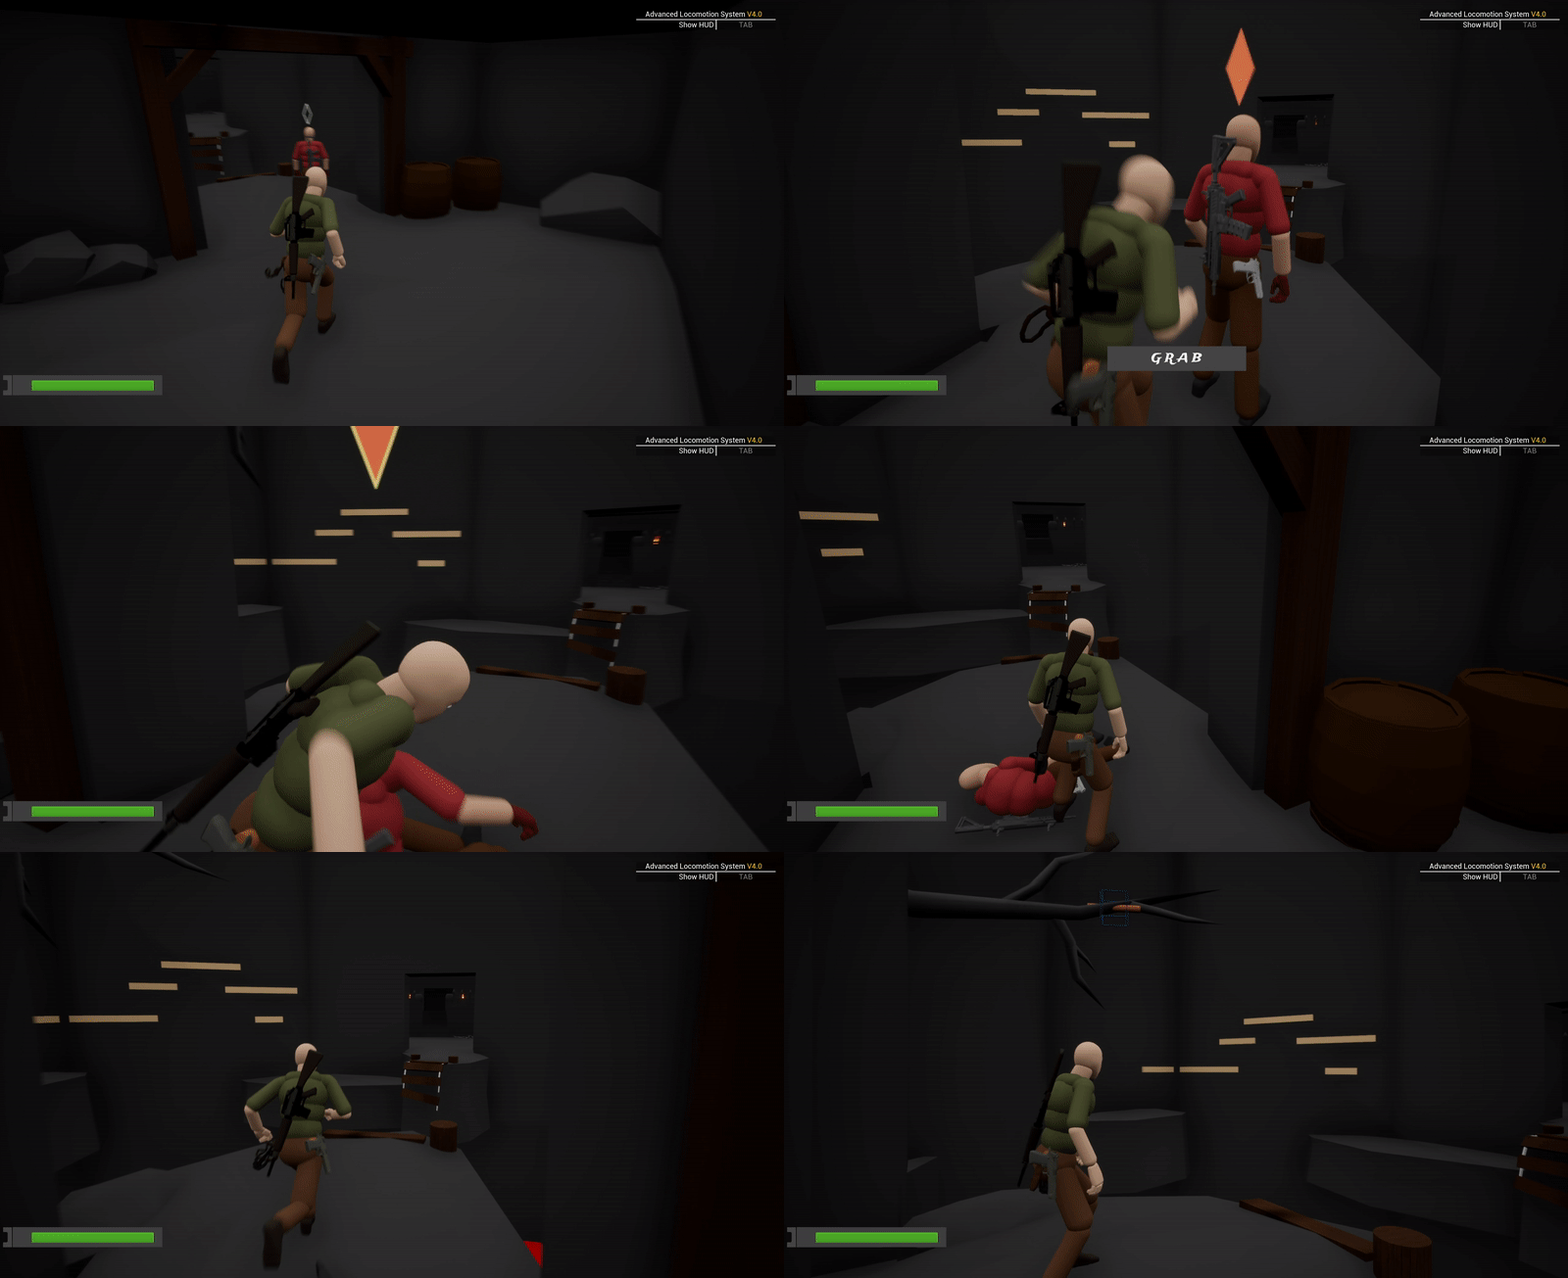
Due to the dark and tight spaces in the cave section, the player feels claustrophobic and lost. There is no obvious path for the player as the area feels like a maze. To guide the player, I use audio coming from the enemy stationed at the end of the cave. The player has to pay attention to the audio and move in the direction of it to get out of the cave.
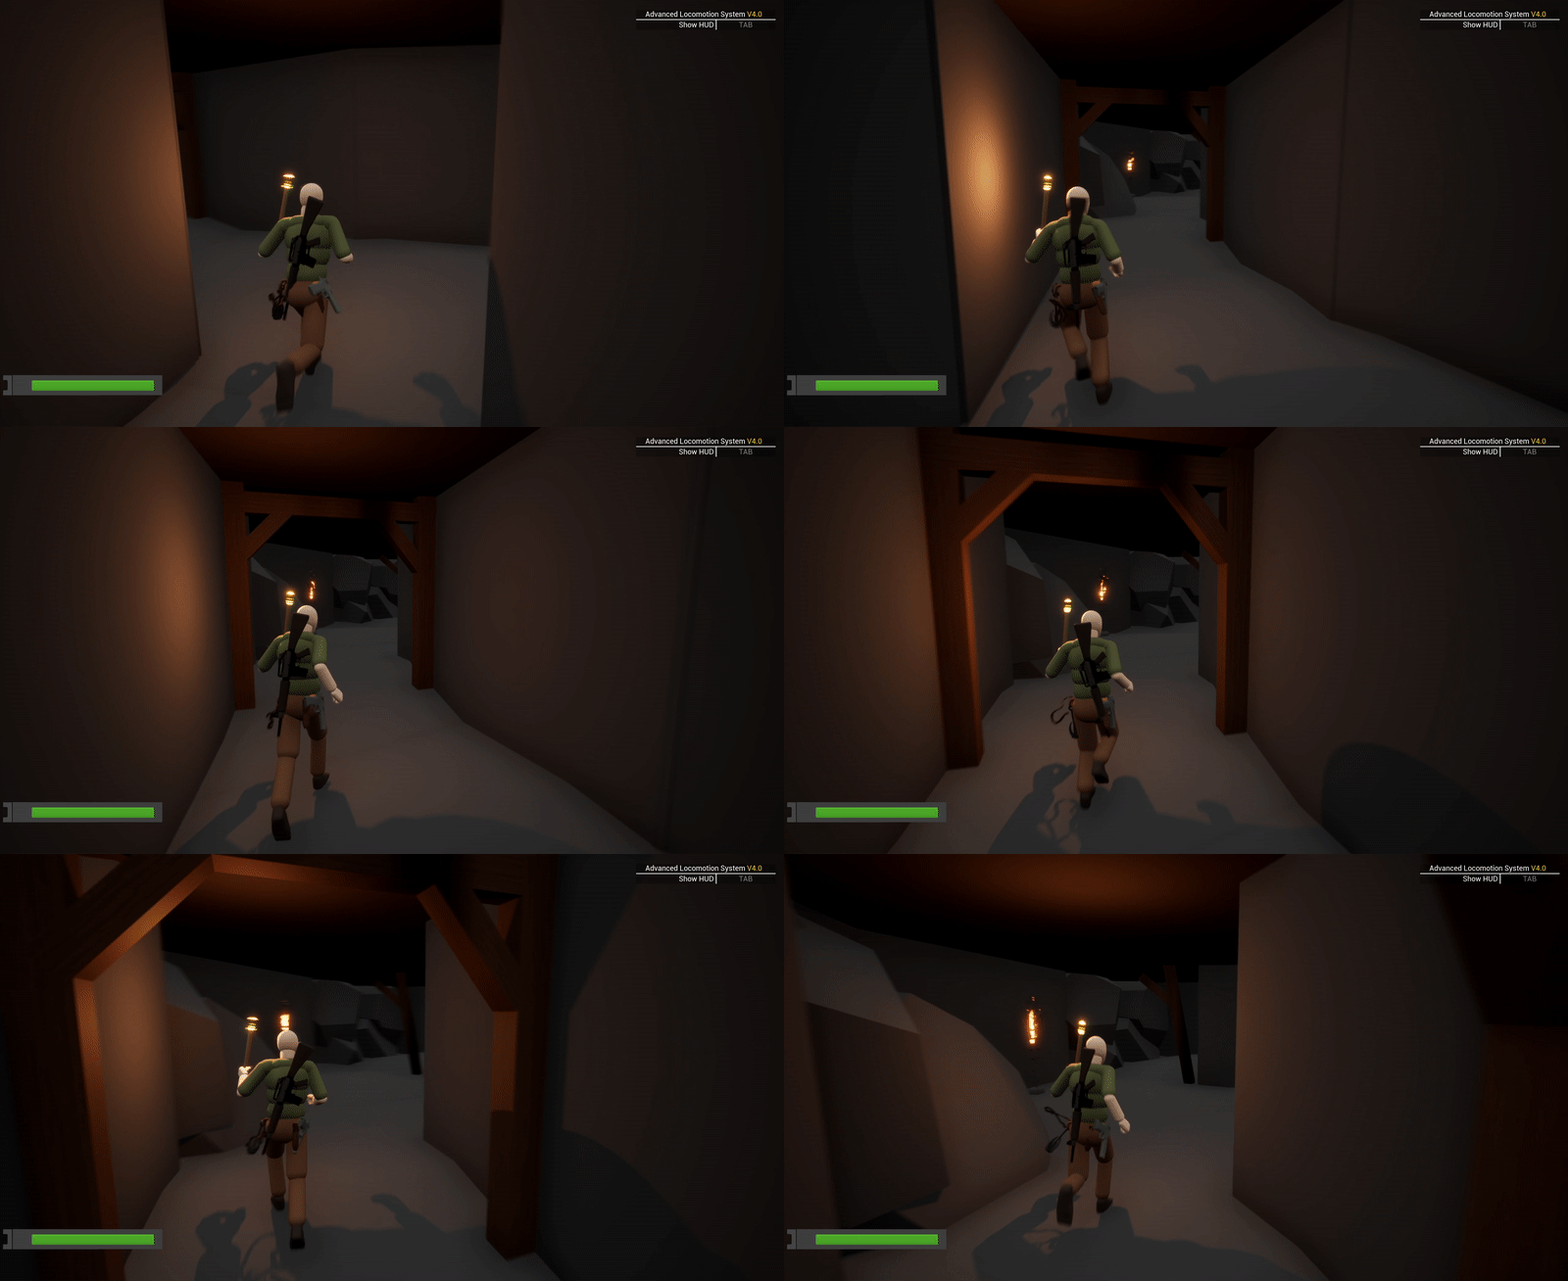
The enemy is trying to communicate to his troops on his walkie-talkie, that the bridge connecting the areas is broken. But he isn’t getting a response as they’re dead. This ties with the narrative and the enemy’s audio can be used to drive gameplay.

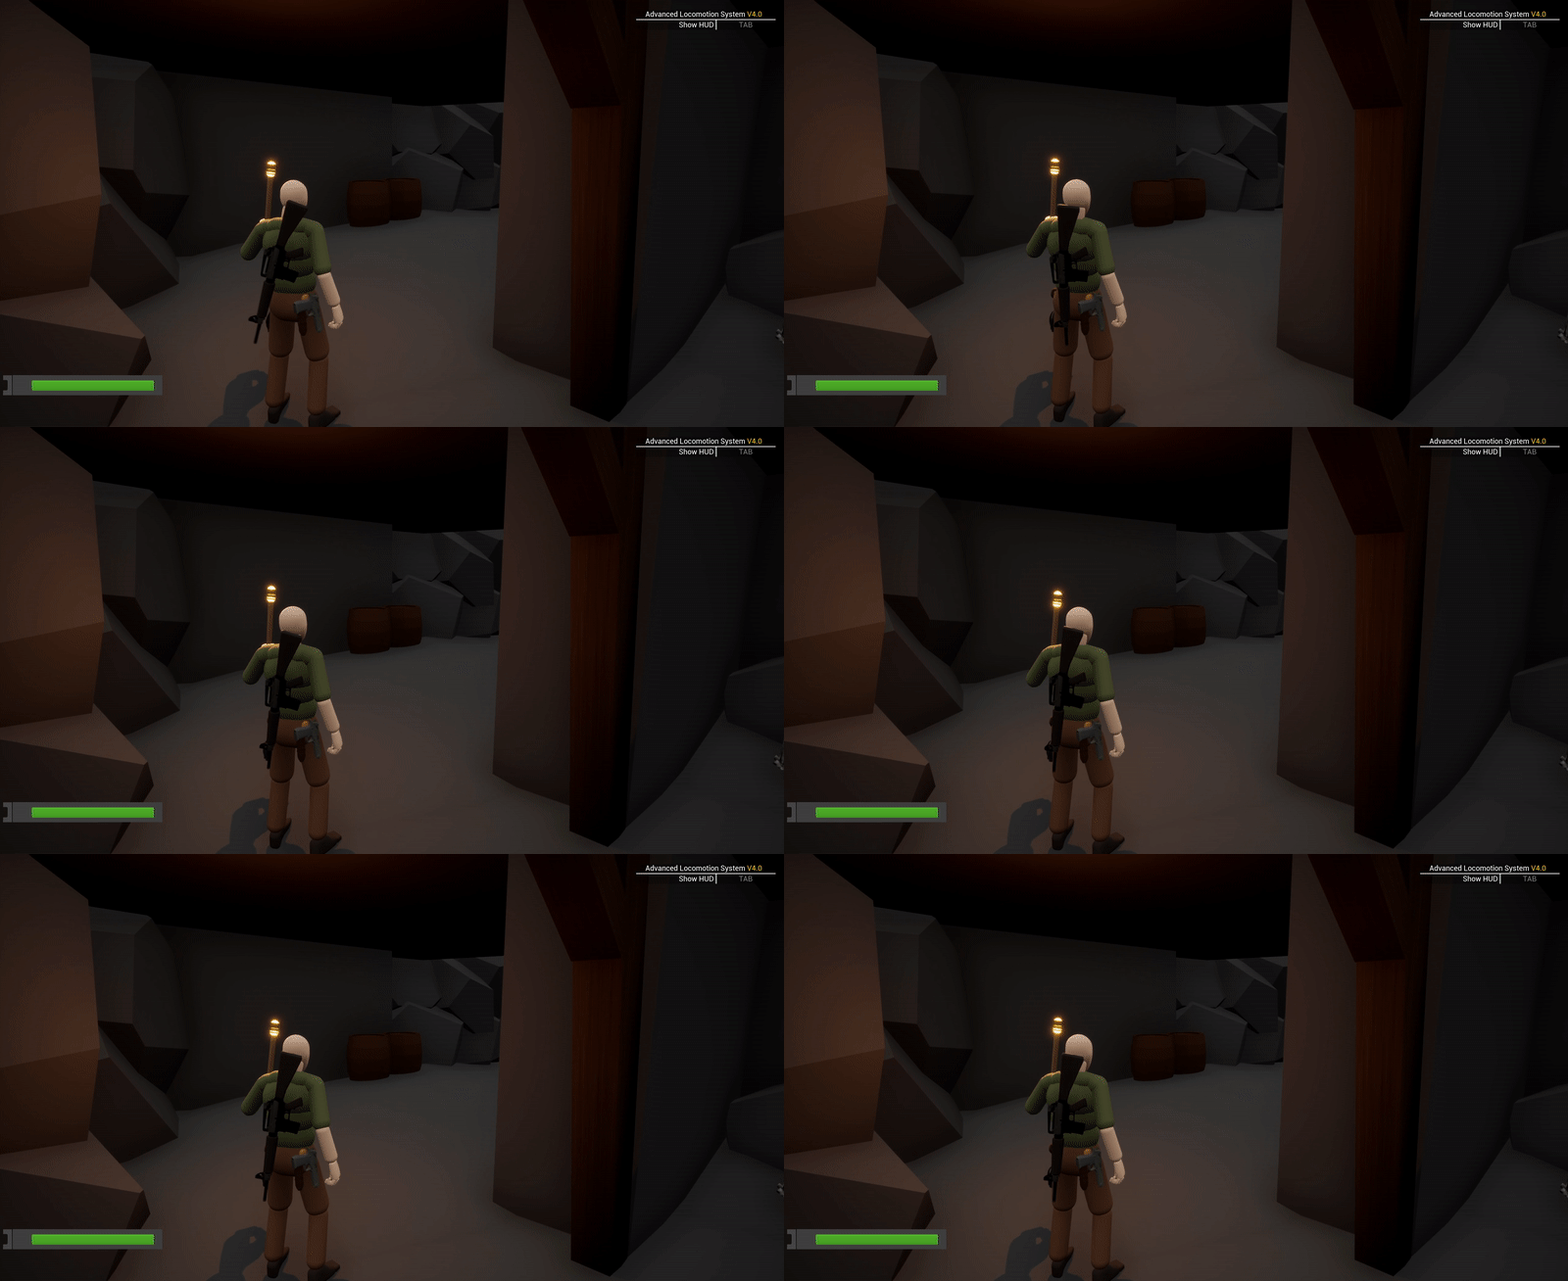
I made sure that the different sections in the cave had distinct objects/attributes so that the player can remember those areas after reaching a dead end. This would help them make a mental map of the cave while they’re trying to figure out a way out.
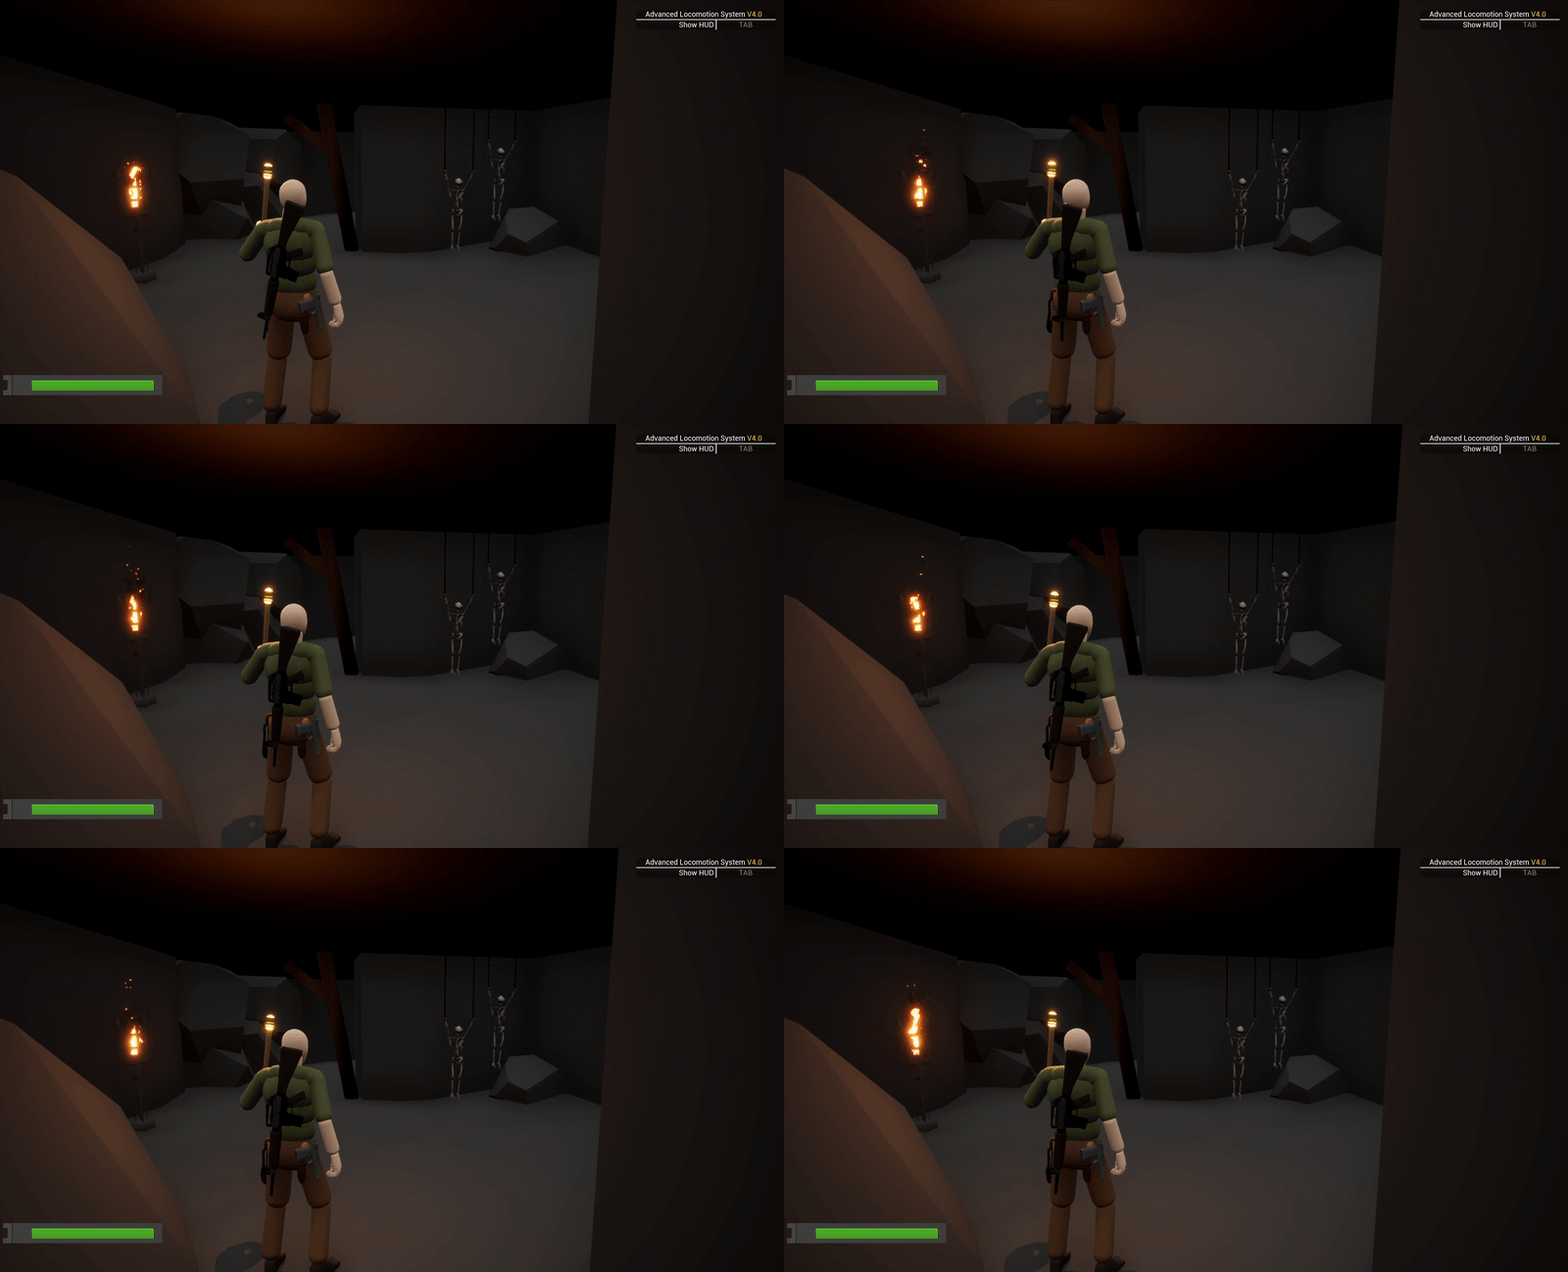
Barrels here have not been seen by the player before. This makes the player feel like they’re moving to a new section which can potentially be the way out.
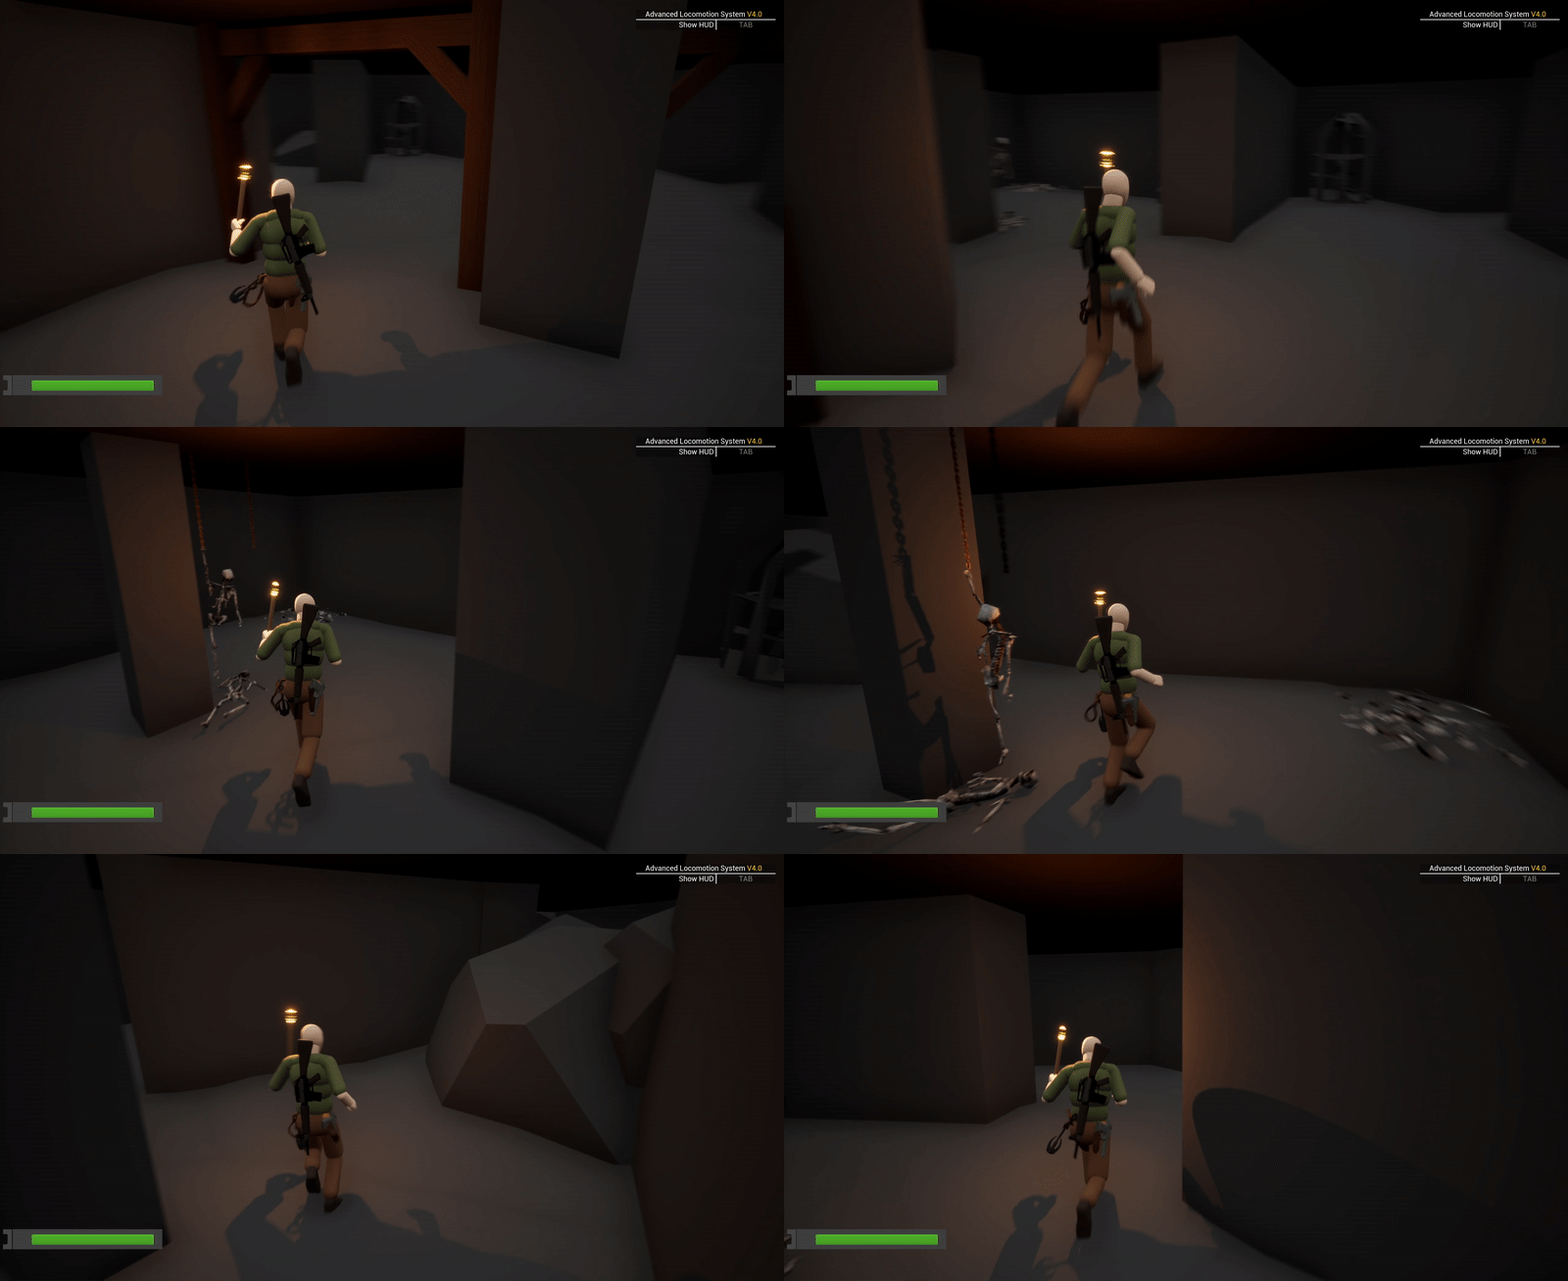
After taking out the enemy, the player goes through this traversal section to cross the broken bridge and enter into the next beat. This area acts as a nice transition between the two areas.
Beat 3:
_______________
.png)

In this beat, the player encounters a puzzle. The note that they collected earlier will be useful here.
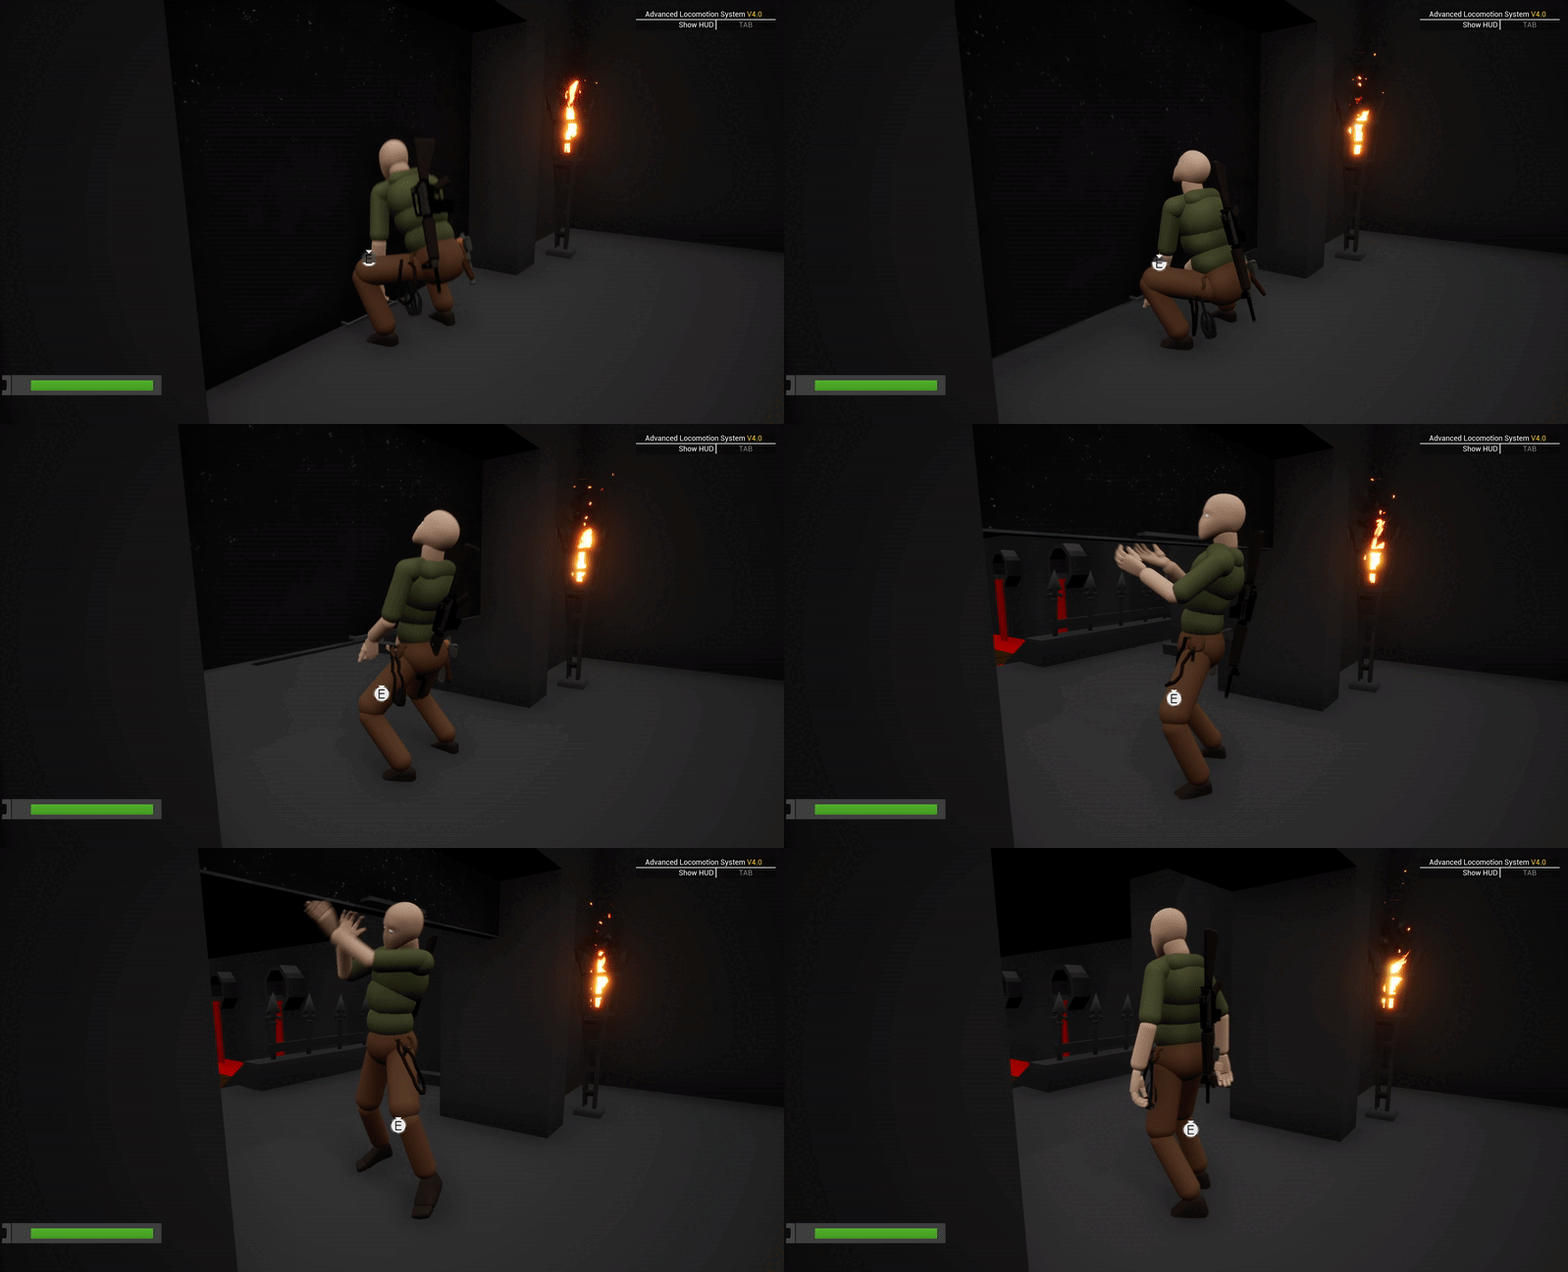
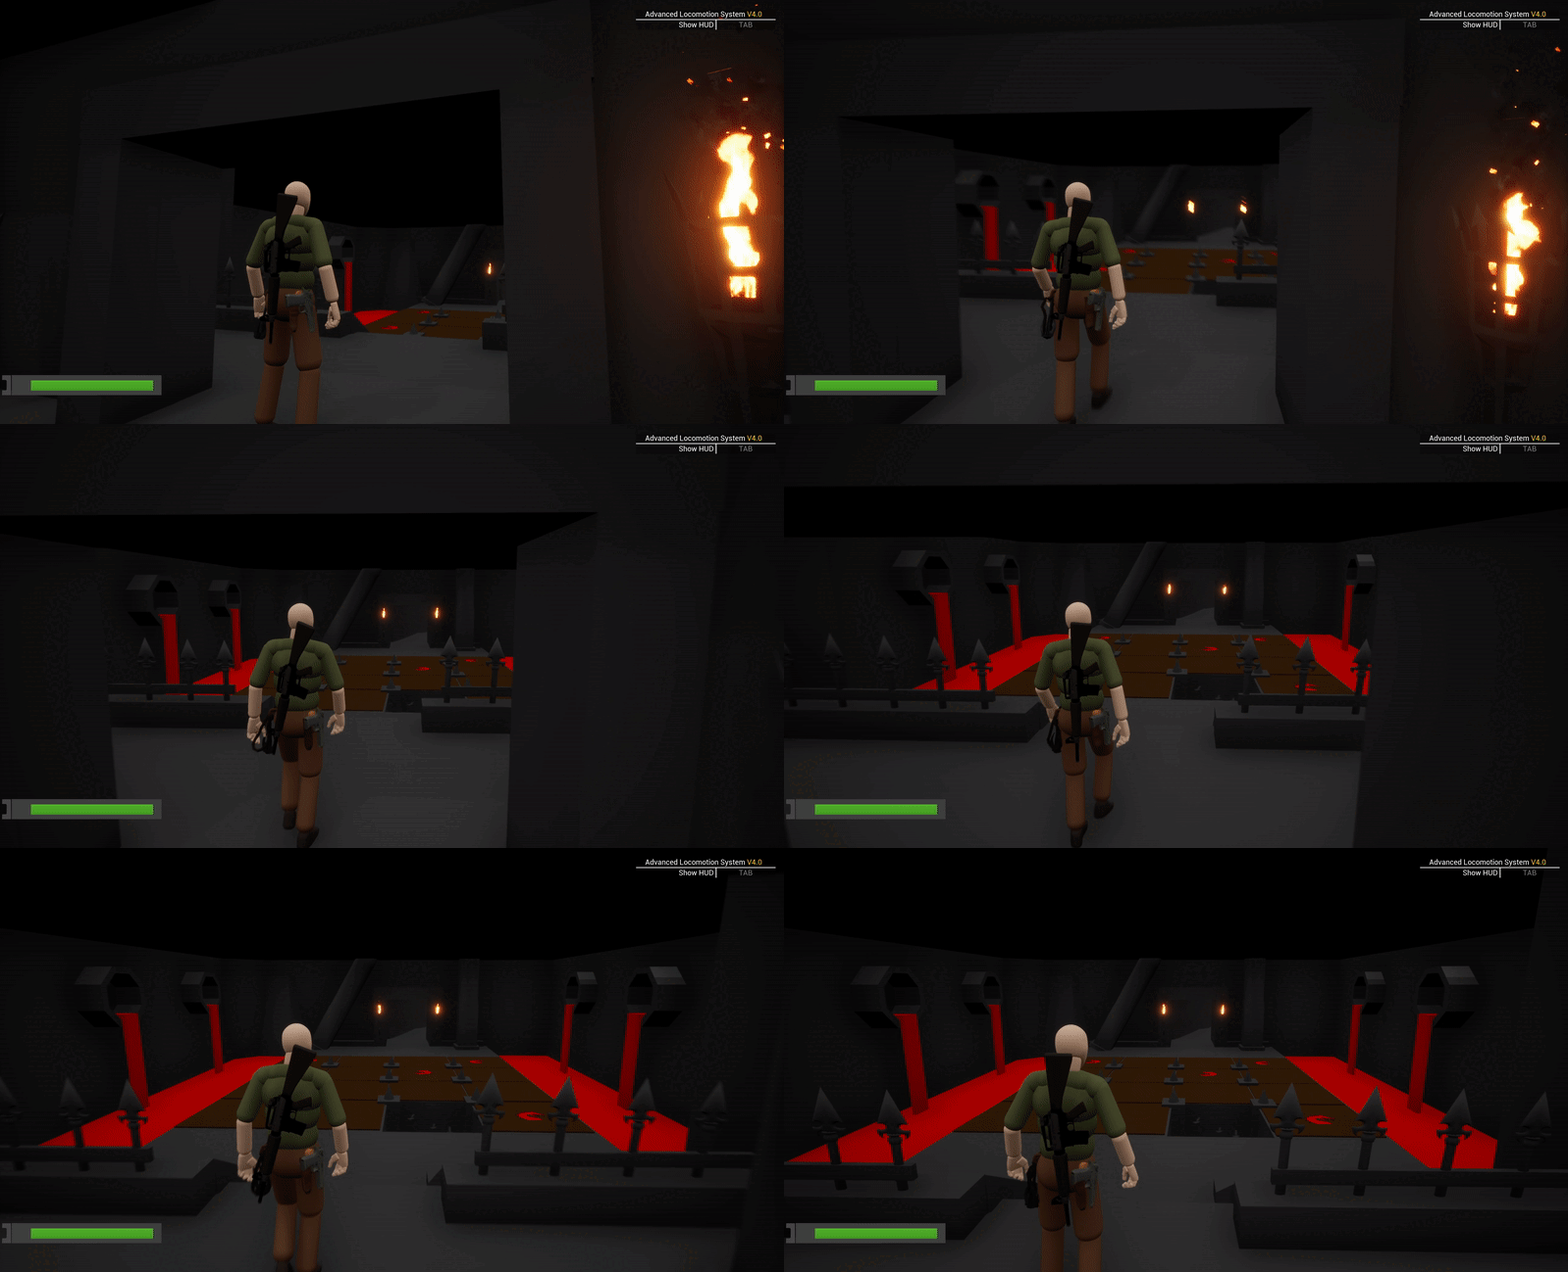
For the first step, the player has 3 options. Looking at the back side of the note, it says that the left tile on the dragon with the shown orientation has a skull on it. And, the left tile to the dragon on the front row is broken with spears and a dead body showing that the player definitely has to avoid the skulls. Now, the player has 2 blank tiles and 1 tile with the dragon symbol.
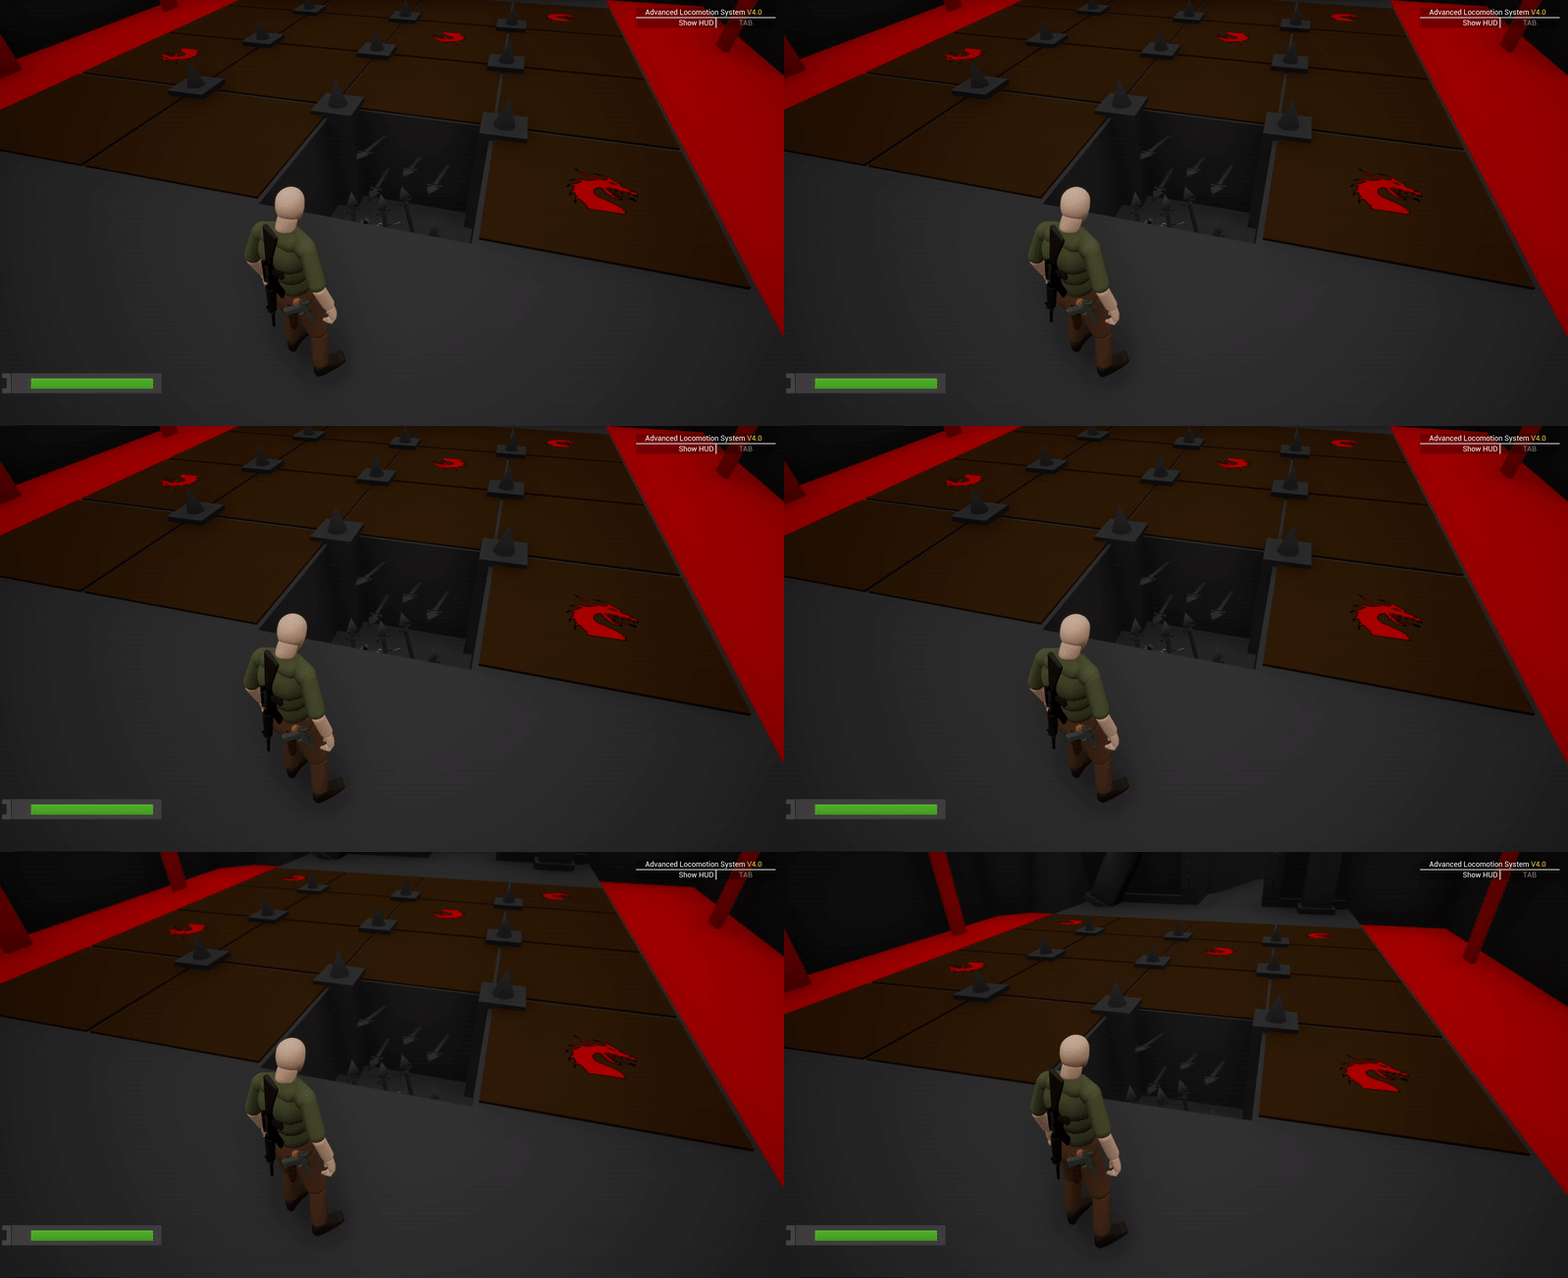

The drawing on the front side of the note shows people praising the dragon symbol. This is a hint for the player that the dragon symbol is safe for them to step on.

As the player moves ahead, I made sure they use these two pieces of information and figure out their next step either by the process of elimination or by moving to the dragon tiles.
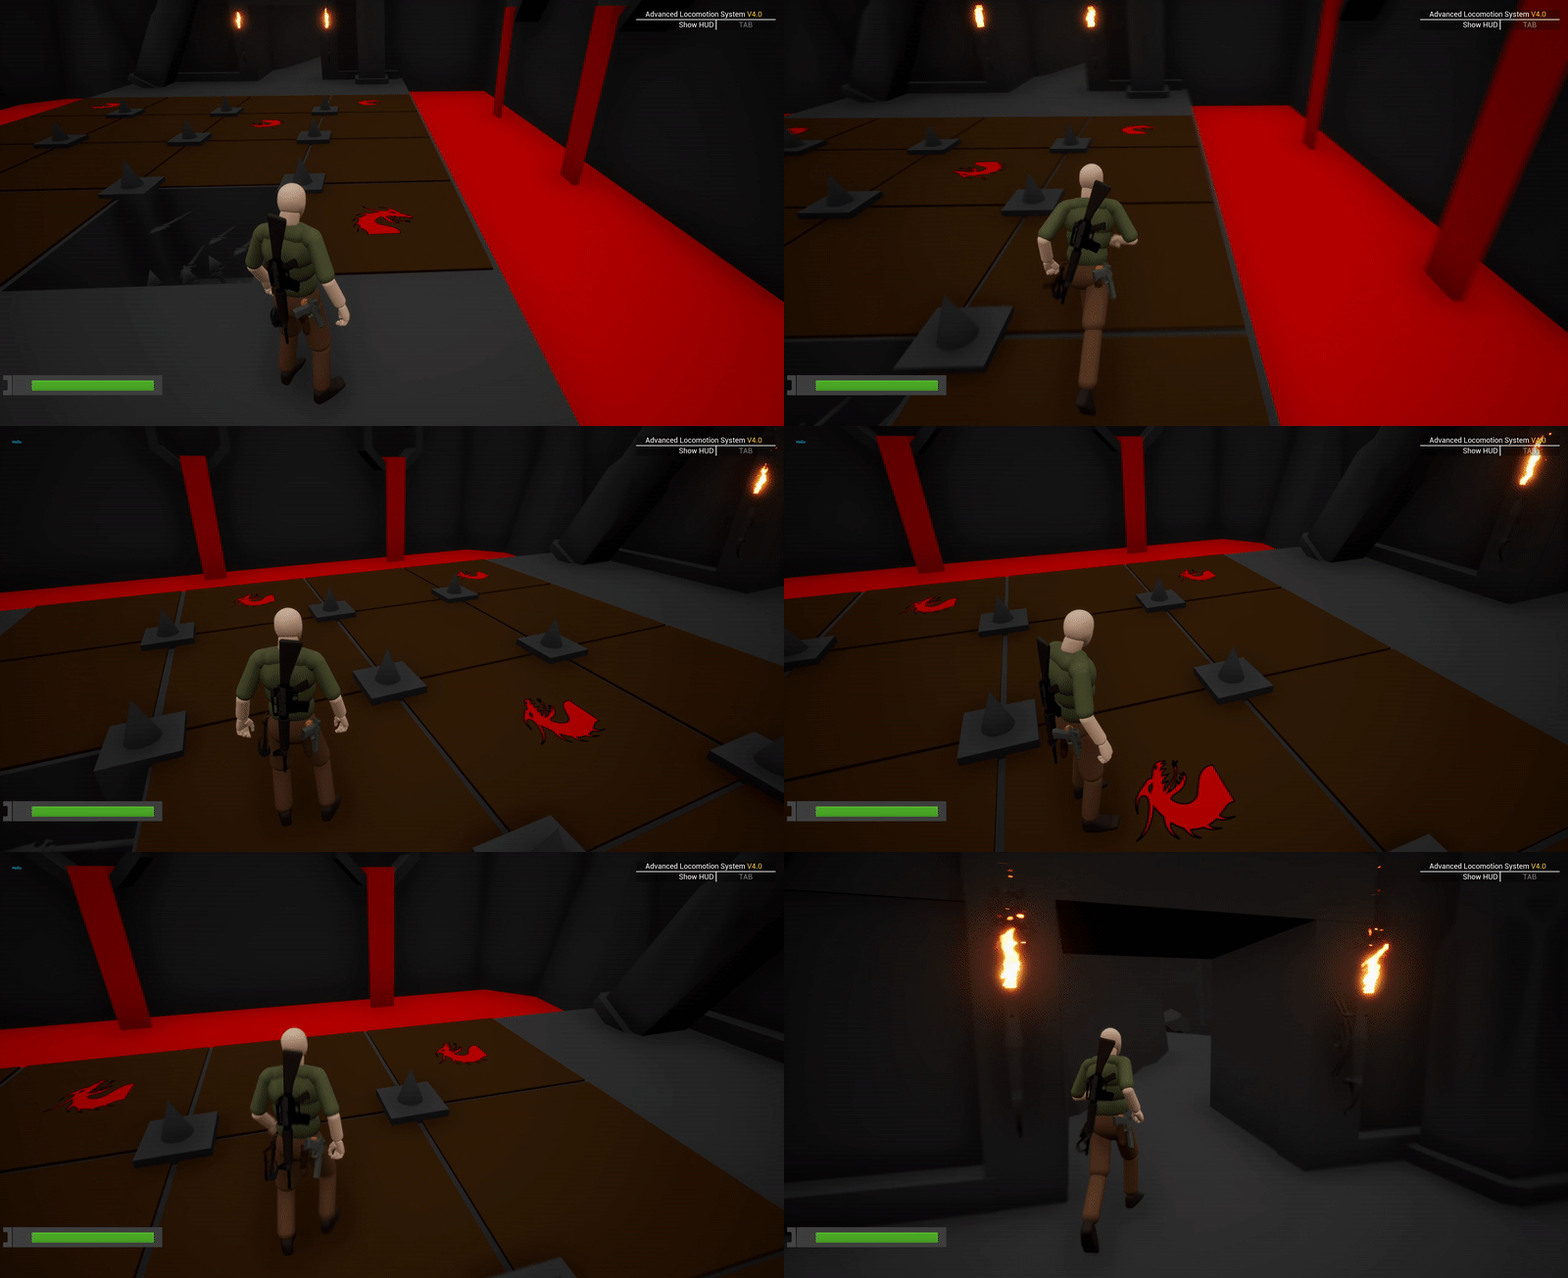
I did not want the player to move diagonally between tiles. To make this obvious, I denied affordance in that direction using spikes.
After the player successfully completes the puzzle, they’re rewarded with a vista view. They can take a moment and relax before moving to the next section of the level.
Pinching and framing the player to make sure they get the perfect vista view.
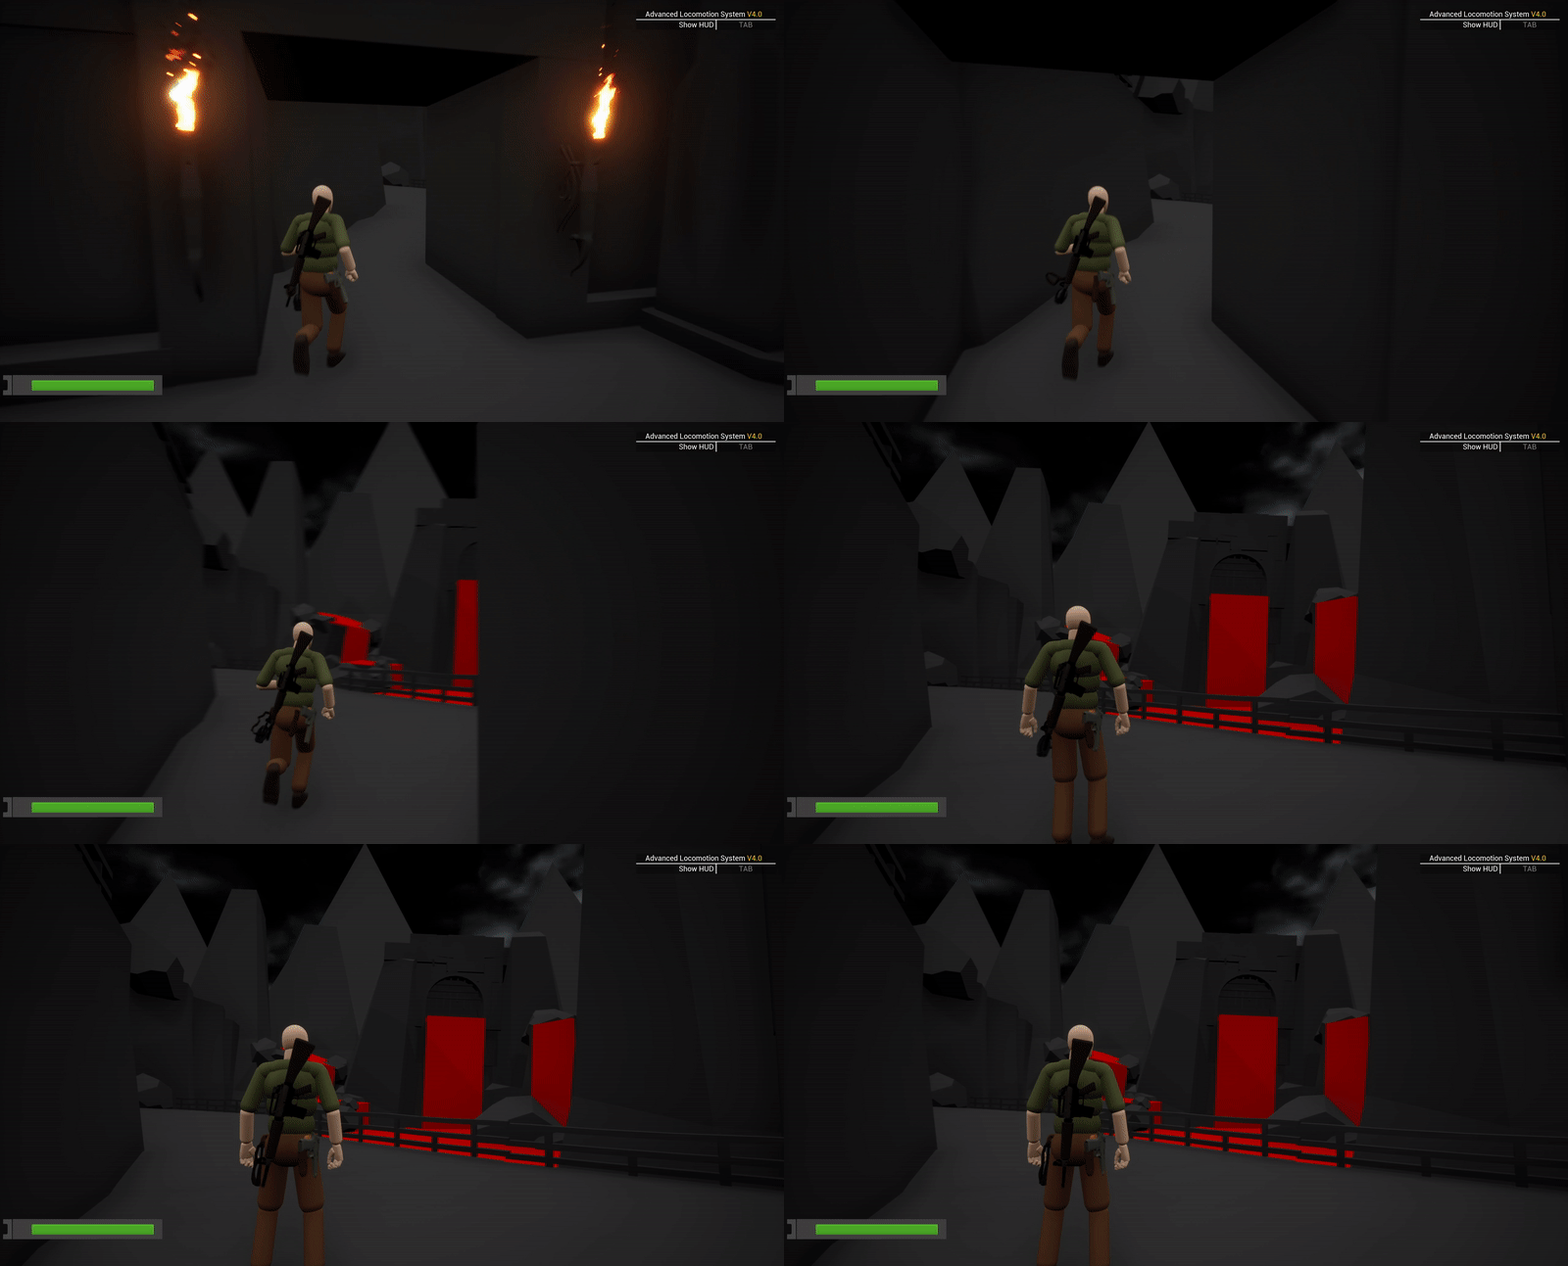

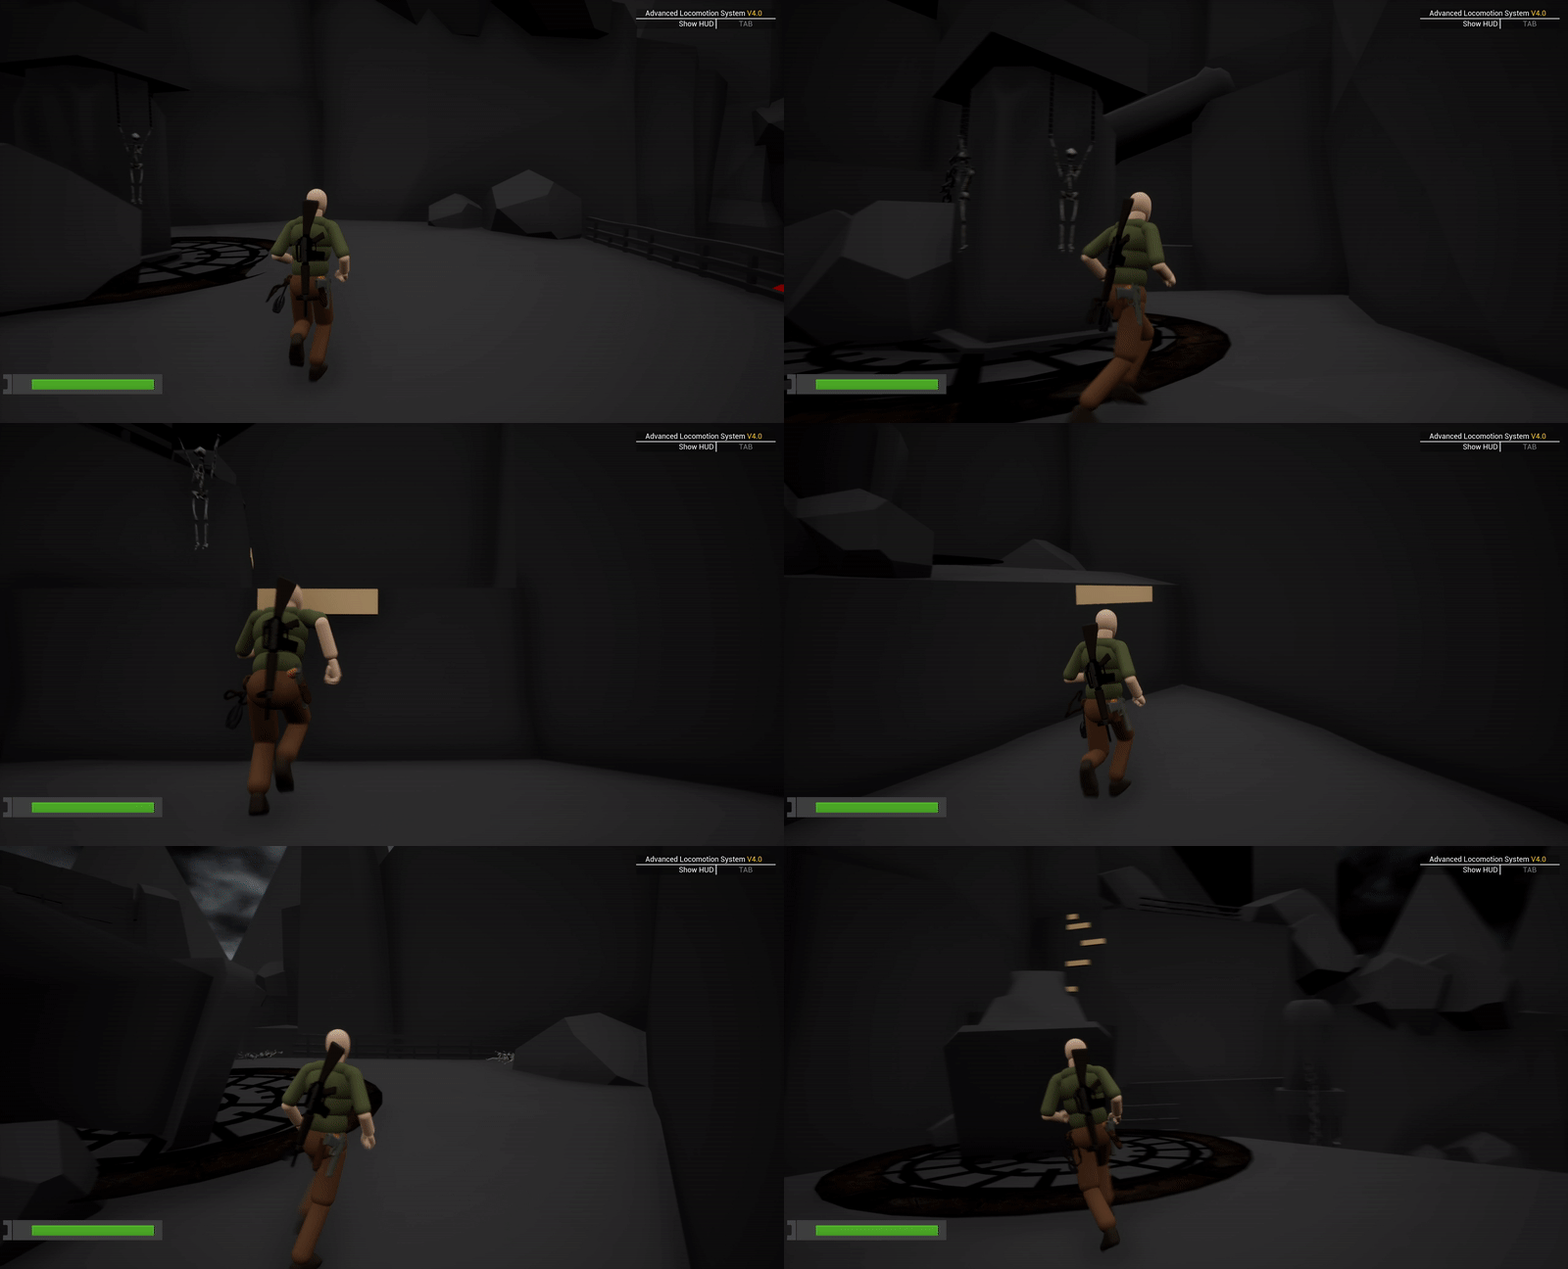
I added a bit of exploration and movement obstacles here to bring down the intensity and let the player relax after the puzzle section and before the high-intensity combat section.

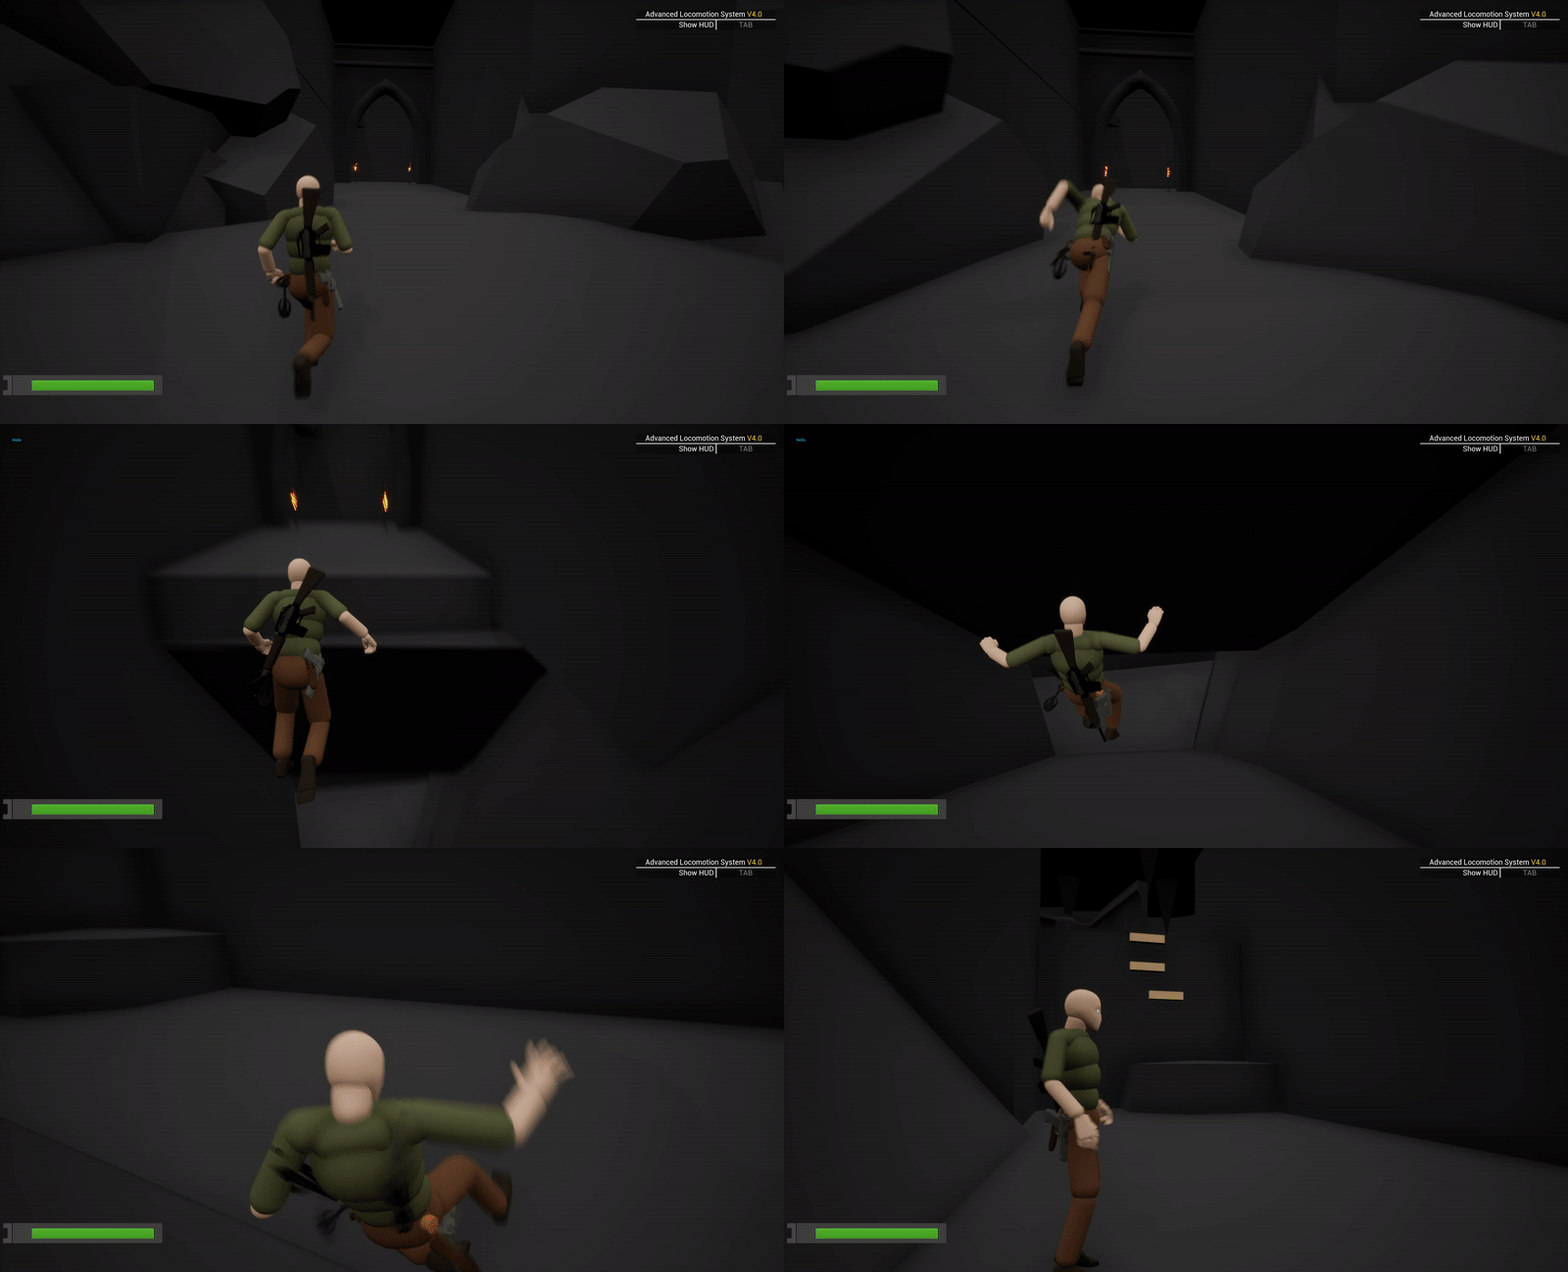
The transition to the next area comes as a surprise to the player. There is a trap on the floor that the player isn’t aware of. The player falls through it and gets to the next area which is a small buffer section before a combat-heavy area. This induces fear and anxiety in the player and gives them a hint as to what’s about to come ahead.
Beat 4:
_______________
.png)

This goal was to create a dynamic high-tempo combat scenario.
Combat layout types:
-
Concentric layout
The outer edges of the area are safer as they provide cover from the more open center area.

-
Node layout
This layout has a series of safe and unsafe spaces. The player has to transition between these spaces to their advantage and keep moving forward.

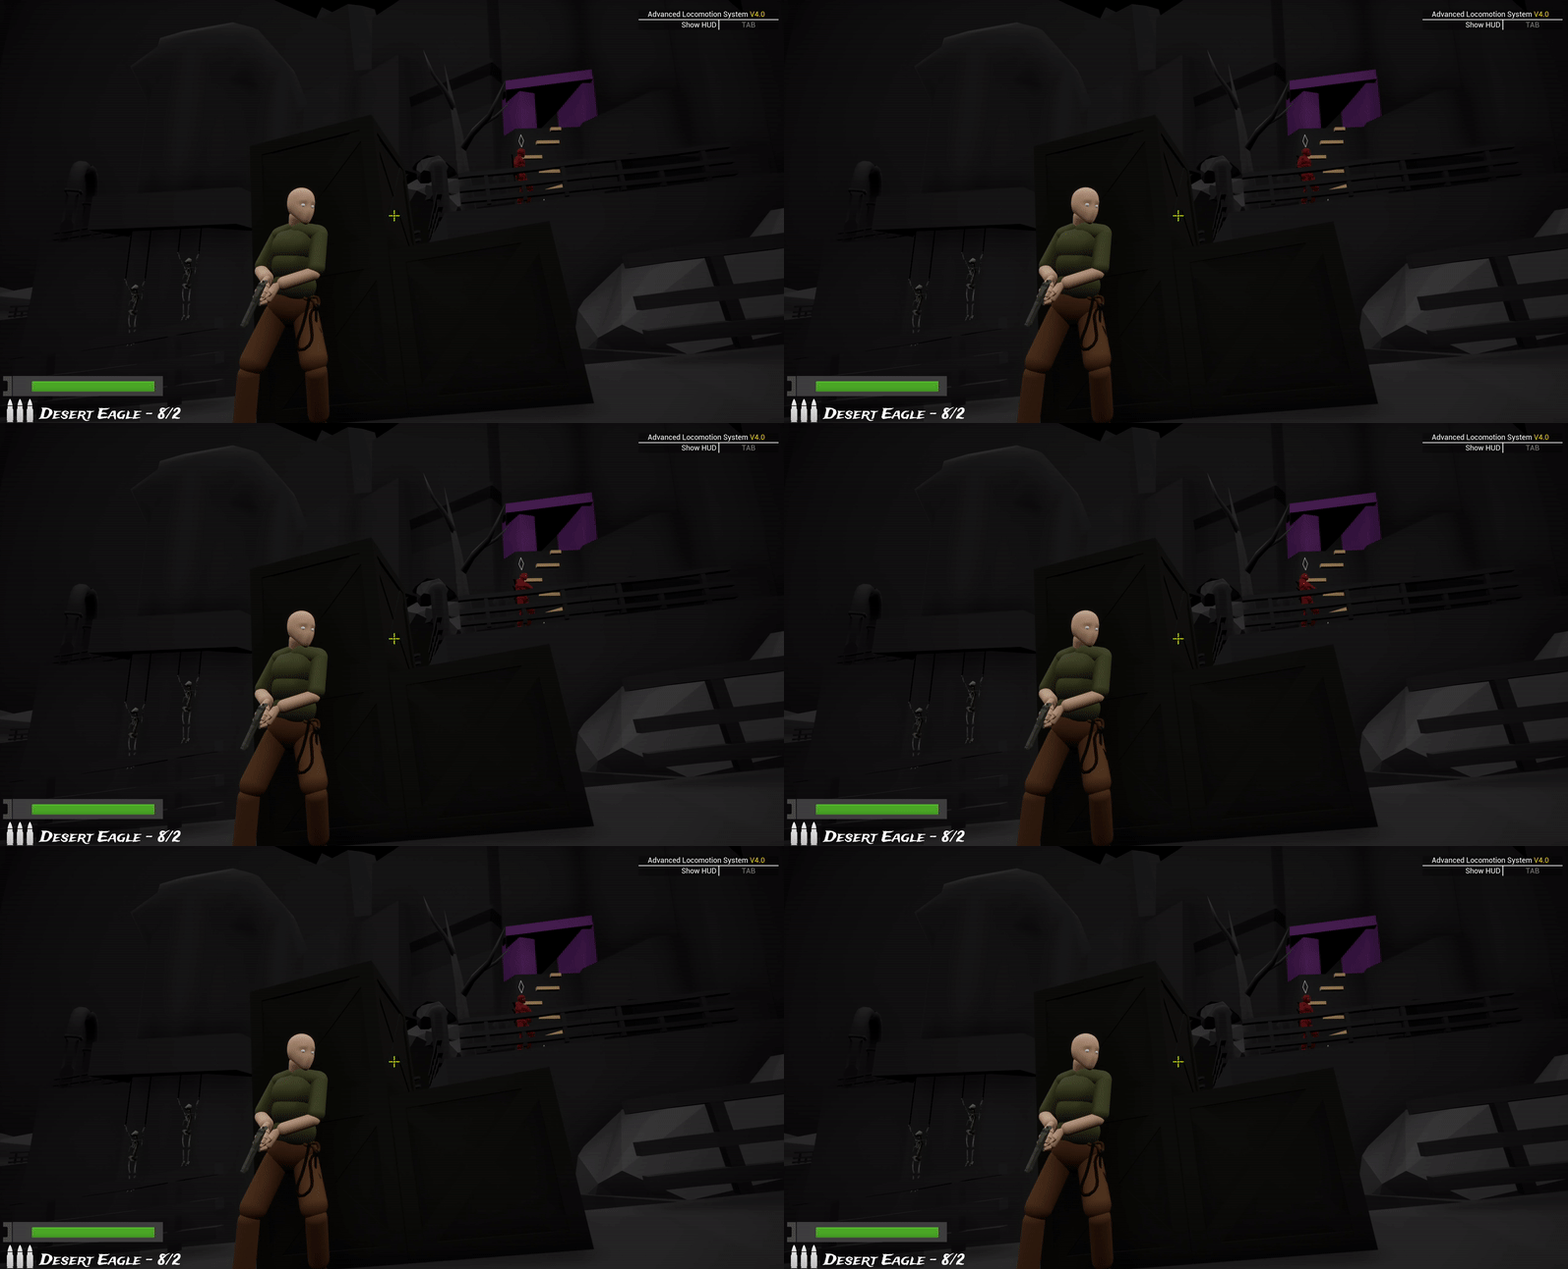
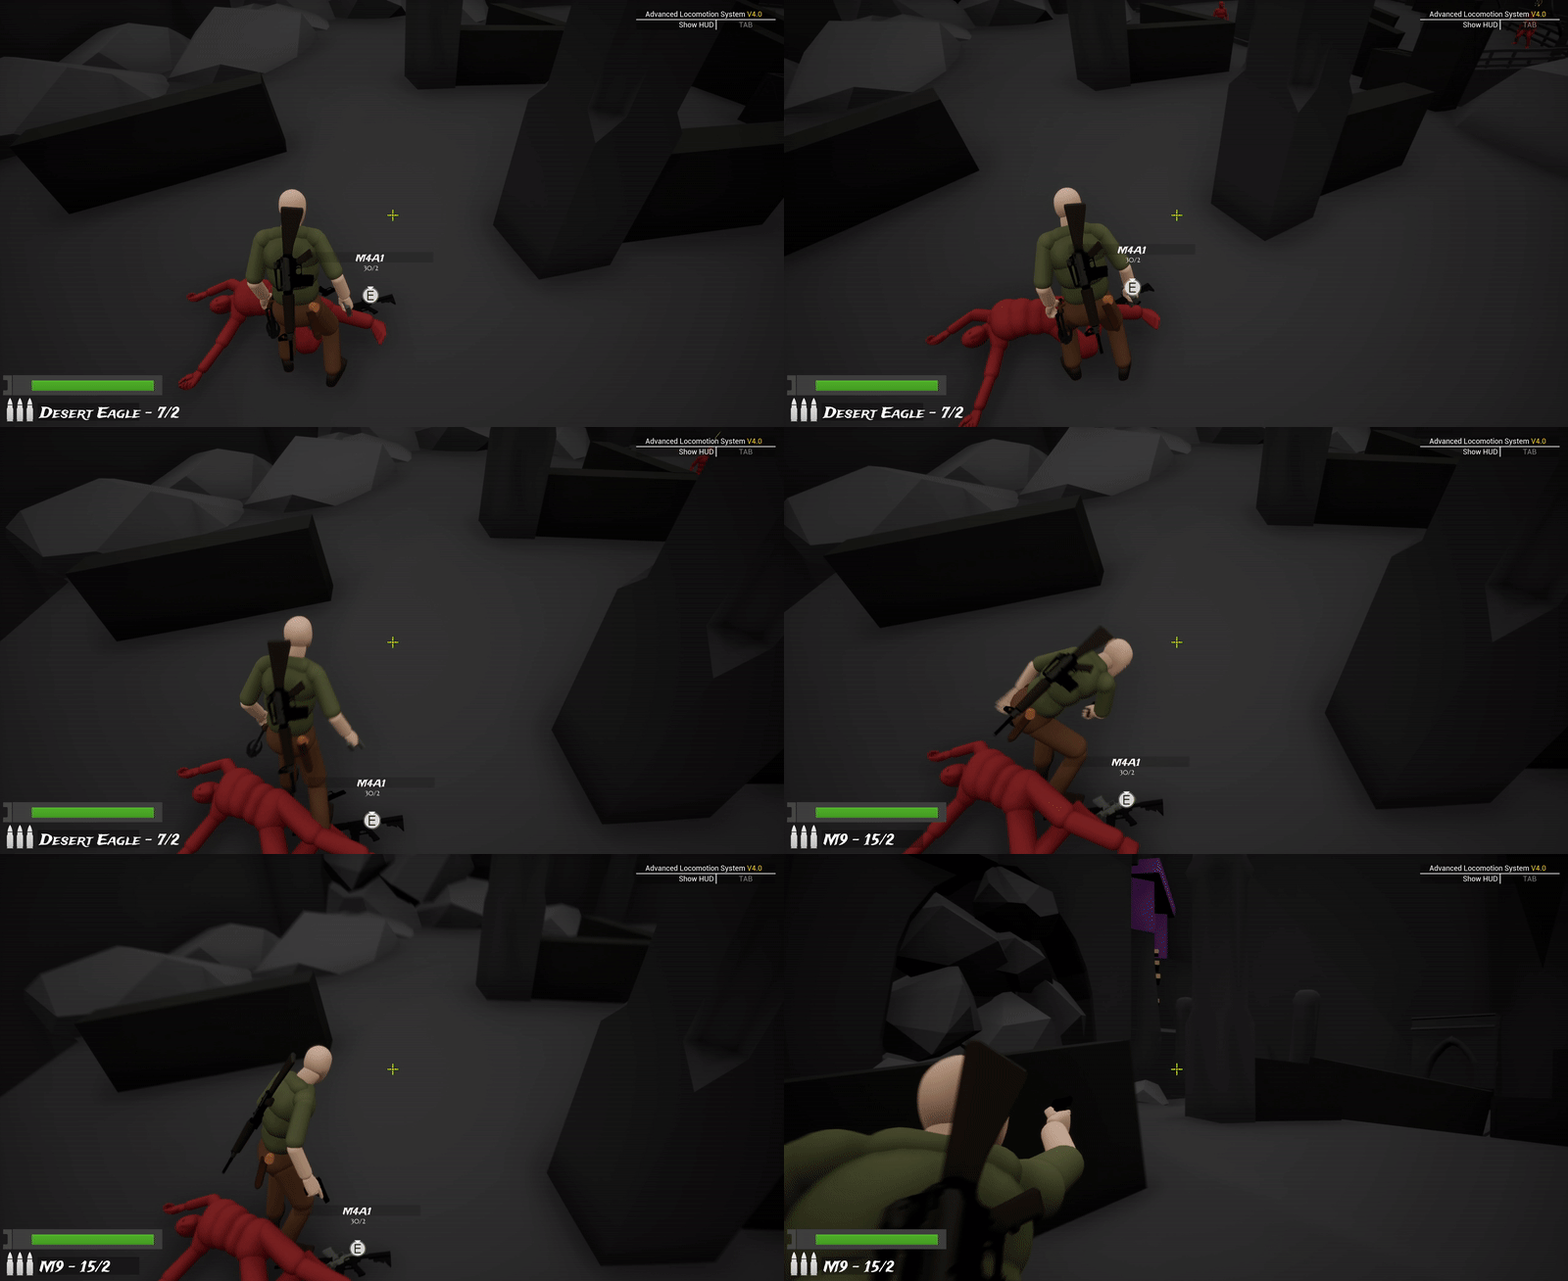
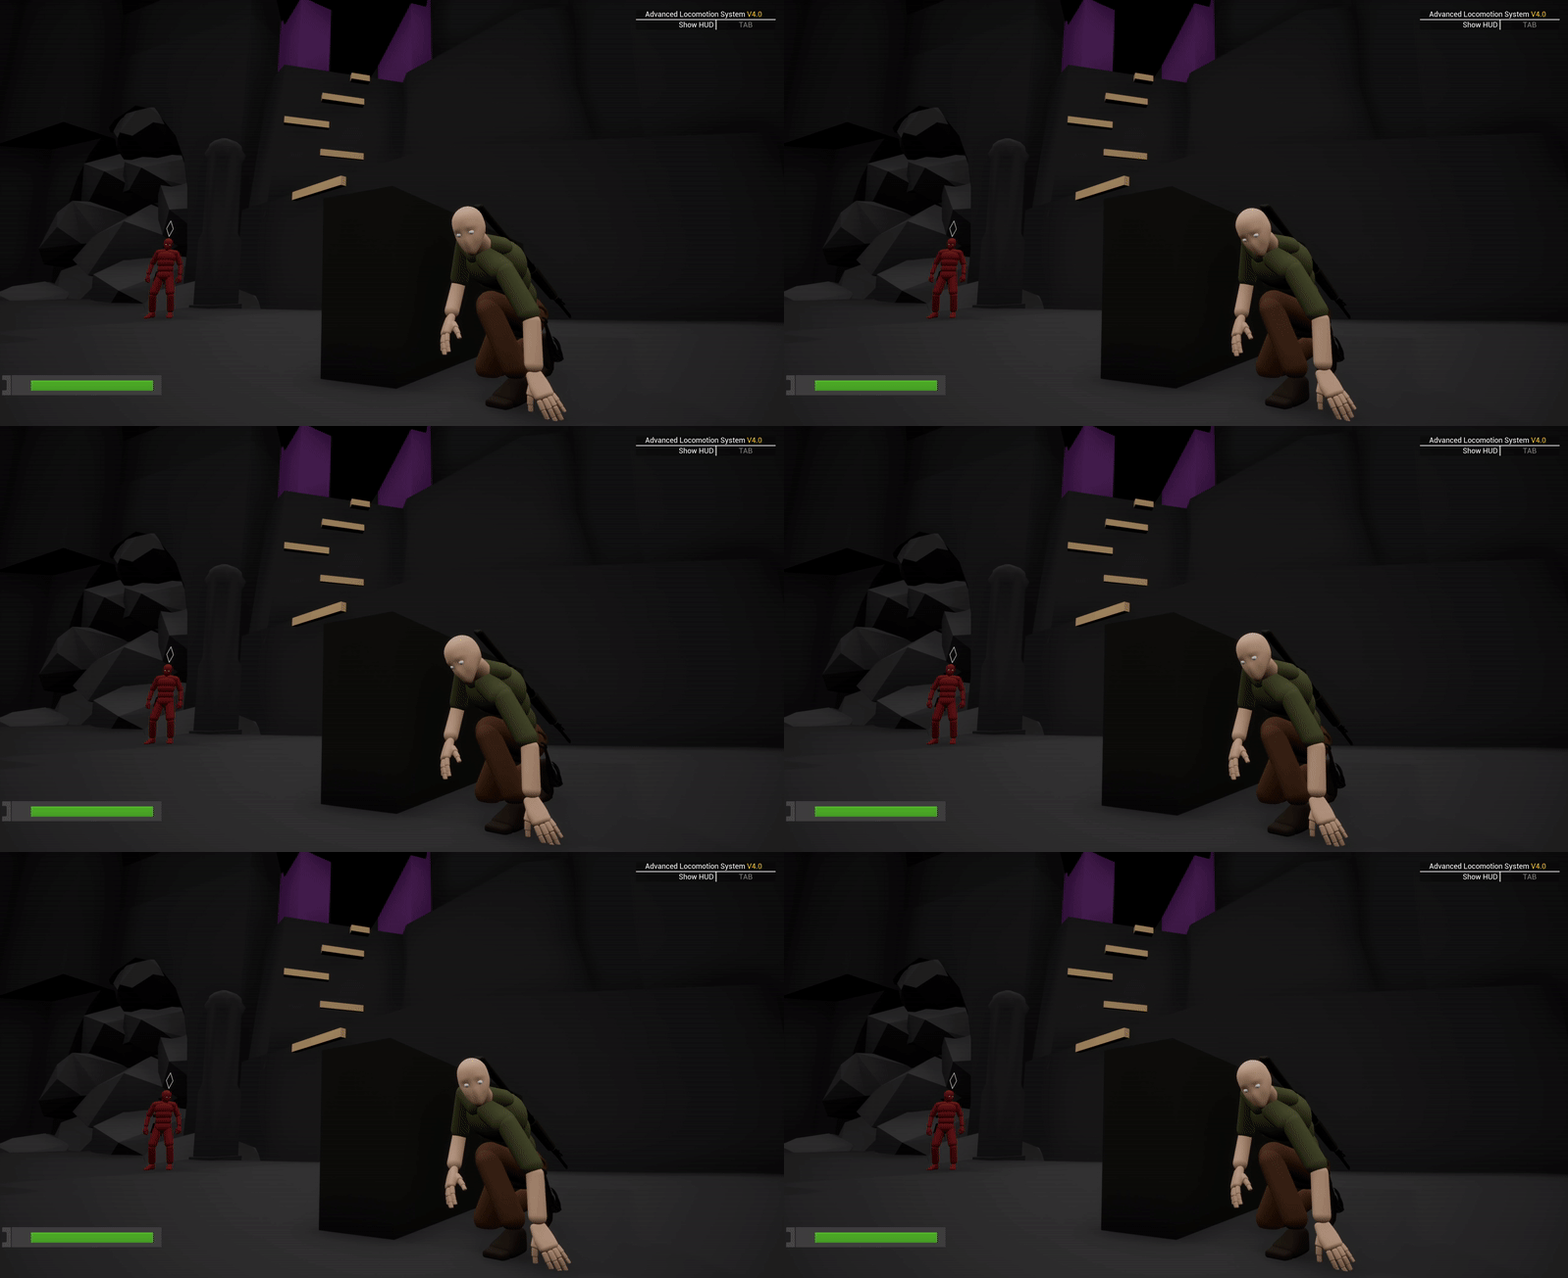
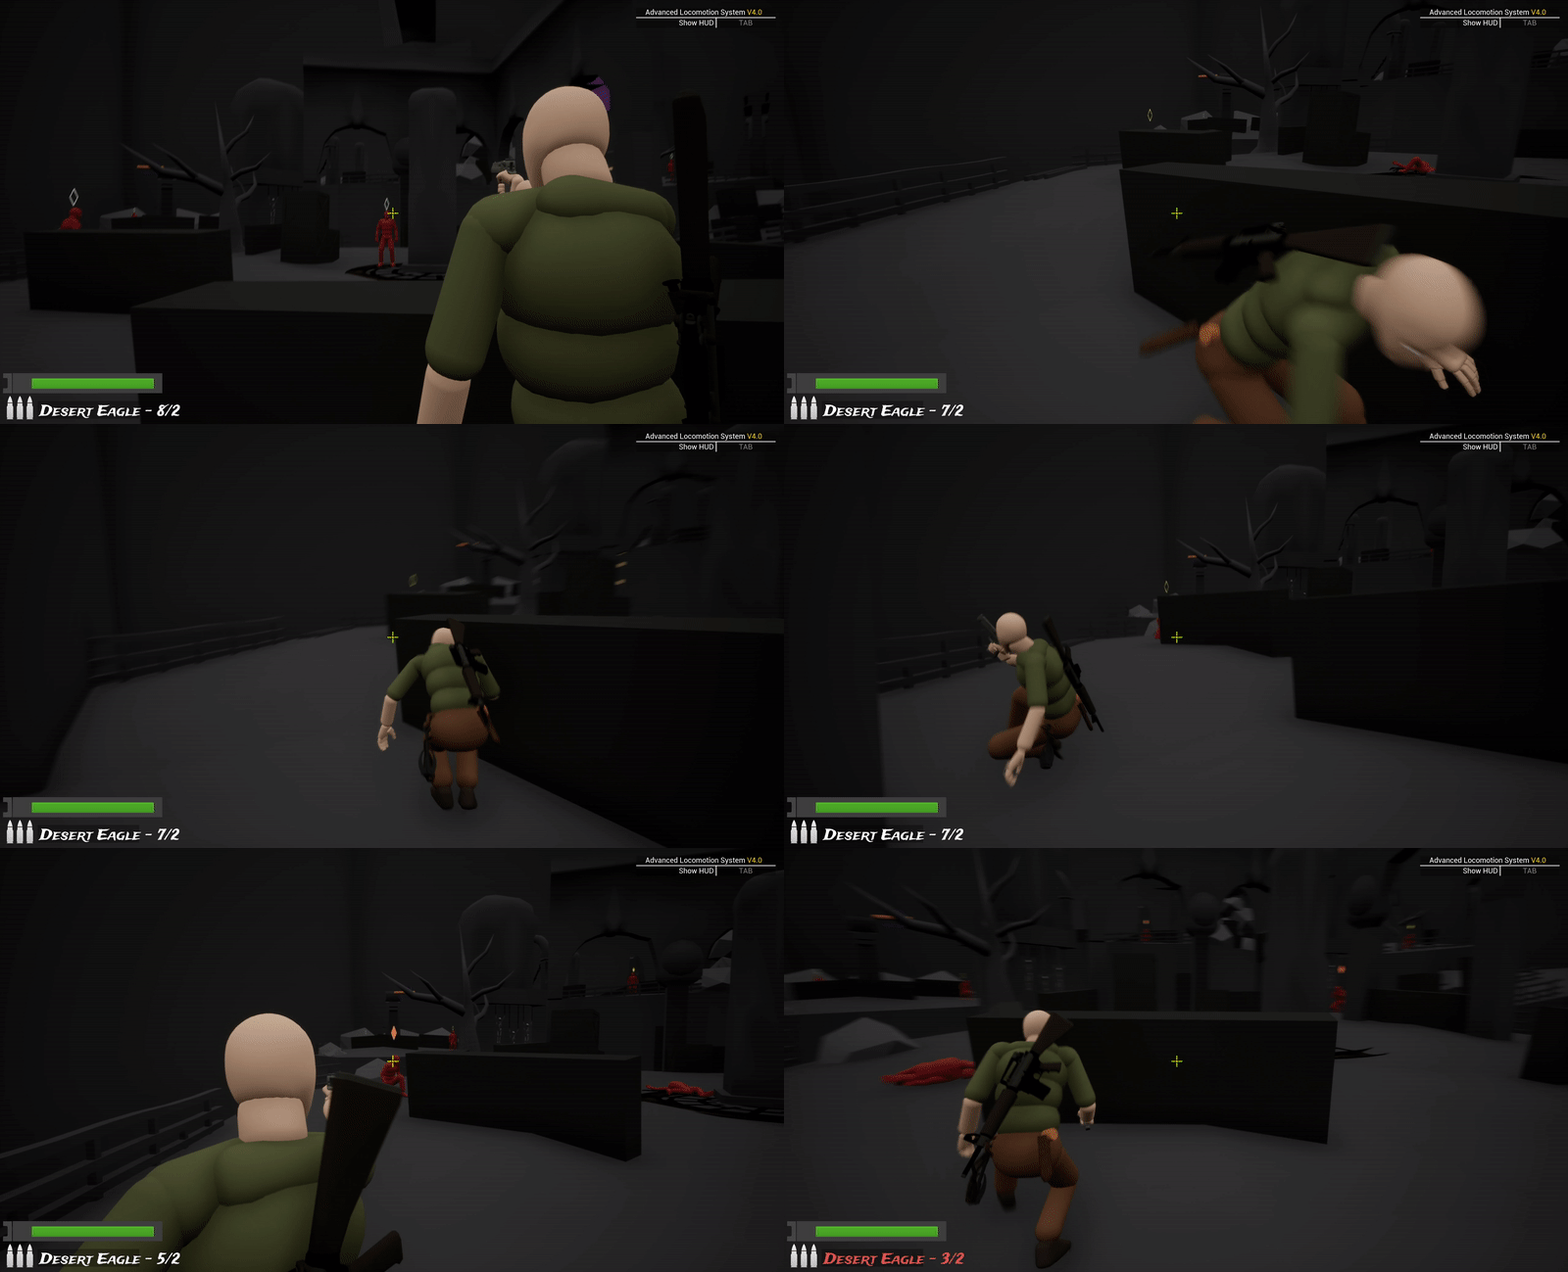
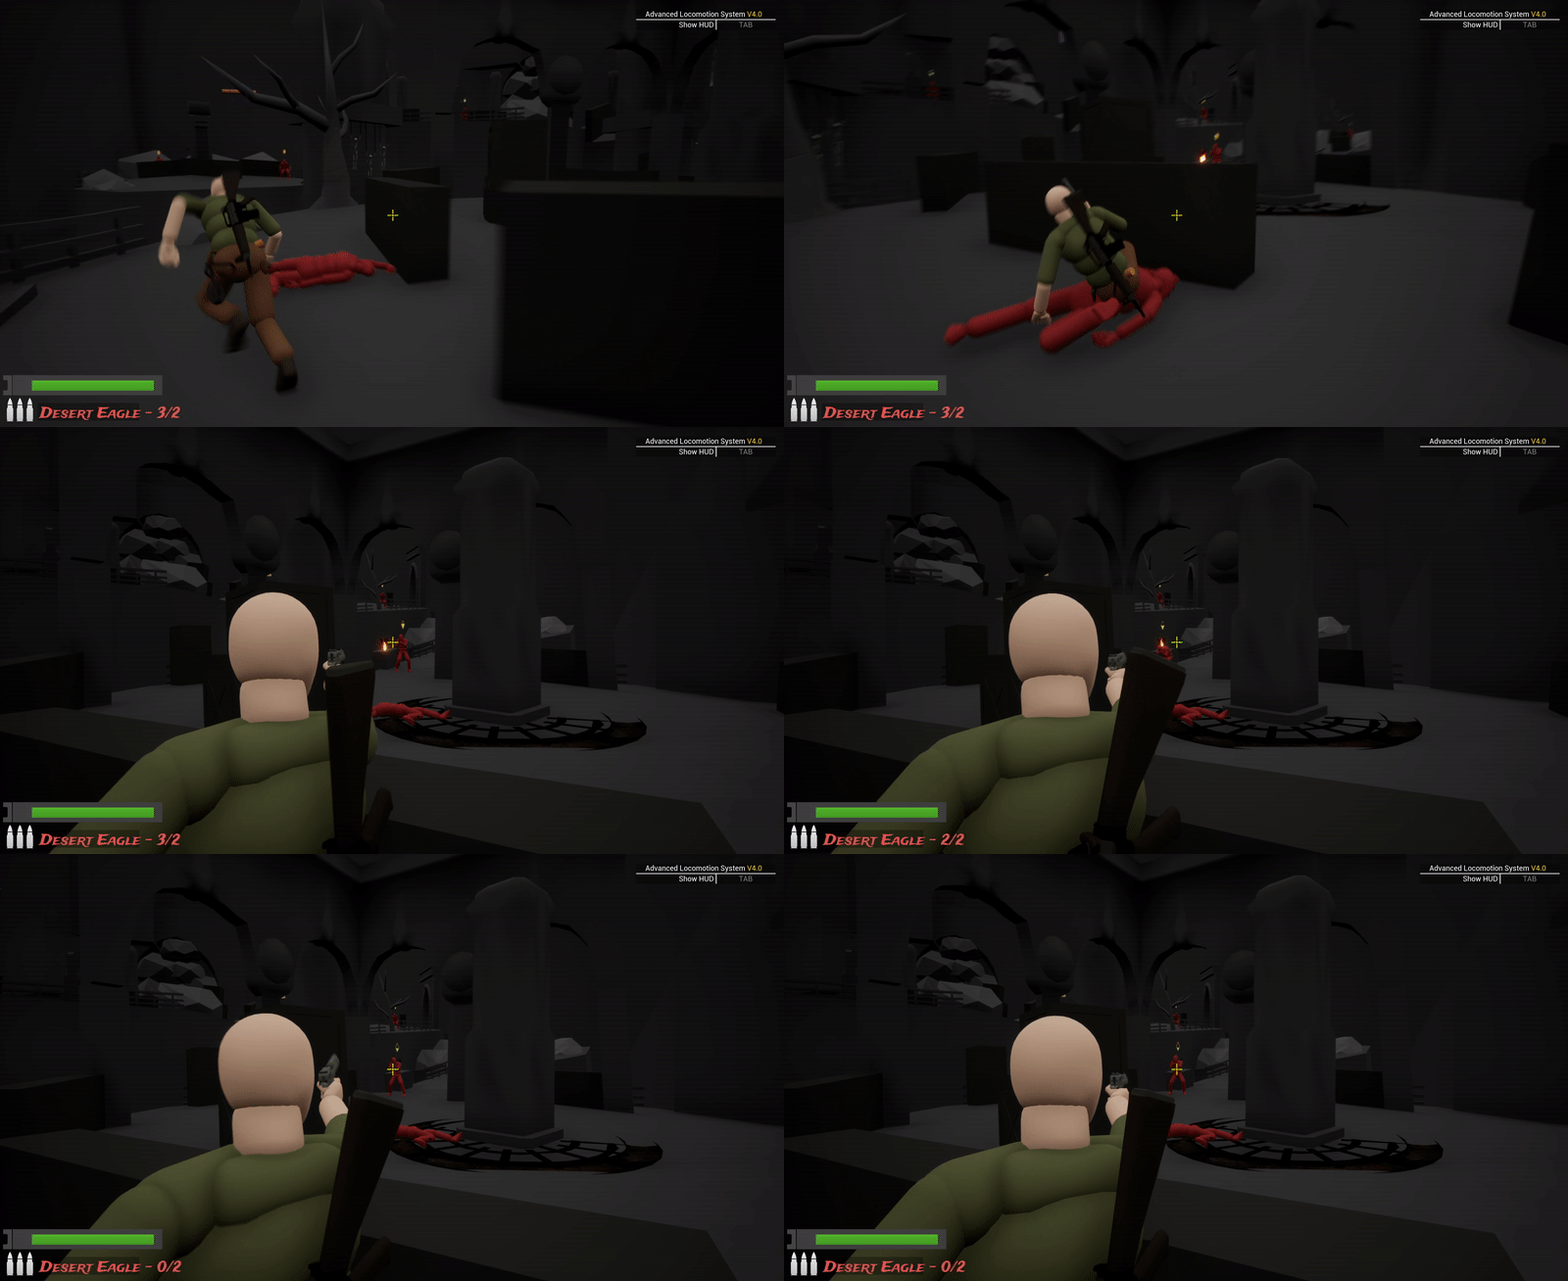
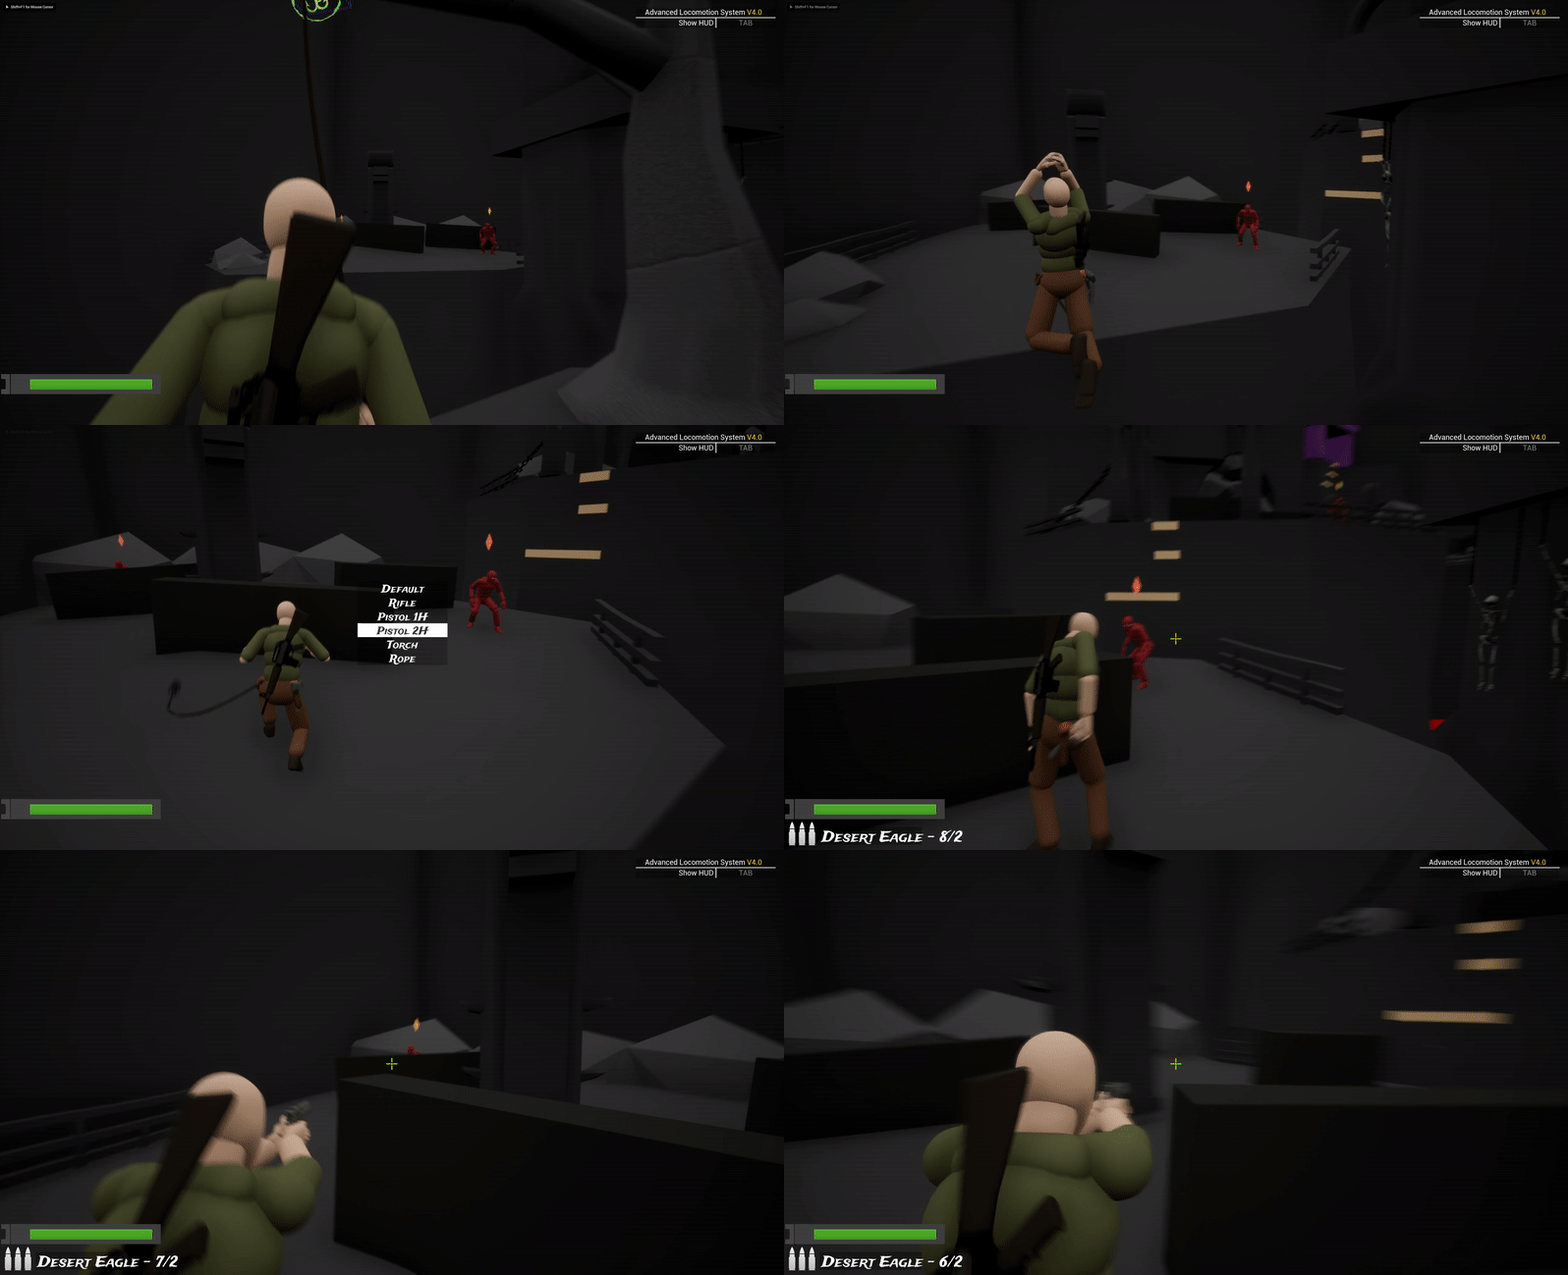
This beat has a large combat section. For this combat encounter, I focussed on making the player move while in combat. I did not want the player to be stationary behind a cover and take out enemies.
Few things that encouraged player movement:
-
Having a goal that the player is moving toward.
-
Collecting resources: ammo
-
Cover spots are exposed to more than one angle. The verticality of the different areas added to this.

-
I added these structures(marked in the picture below) to ensure that the player is exposed to one distant area at a time. Without these, the player used to get overwhelmed by a large number of enemies. These gave the player a fair fight and helped them strategize accordingly. Depending on whether the player goes left or right, these will be occluding certain sections of the combat area.

-
I made sure that the exit was visible to the player, that’s why I put it at a height where it can be seen from anywhere in the combat area. I also made sure that it was exposed from multiple angles and had a bit of climbing involved. This was done to ensure that the player doesn’t just run through the area without taking out the enemies. I wanted the player to take fights and exit when they’ve defeated all the enemies.
Combat Encounter instances:
_____________________________________________________________
Beat 5 (Final Beat):
______________________________________
.png)


-
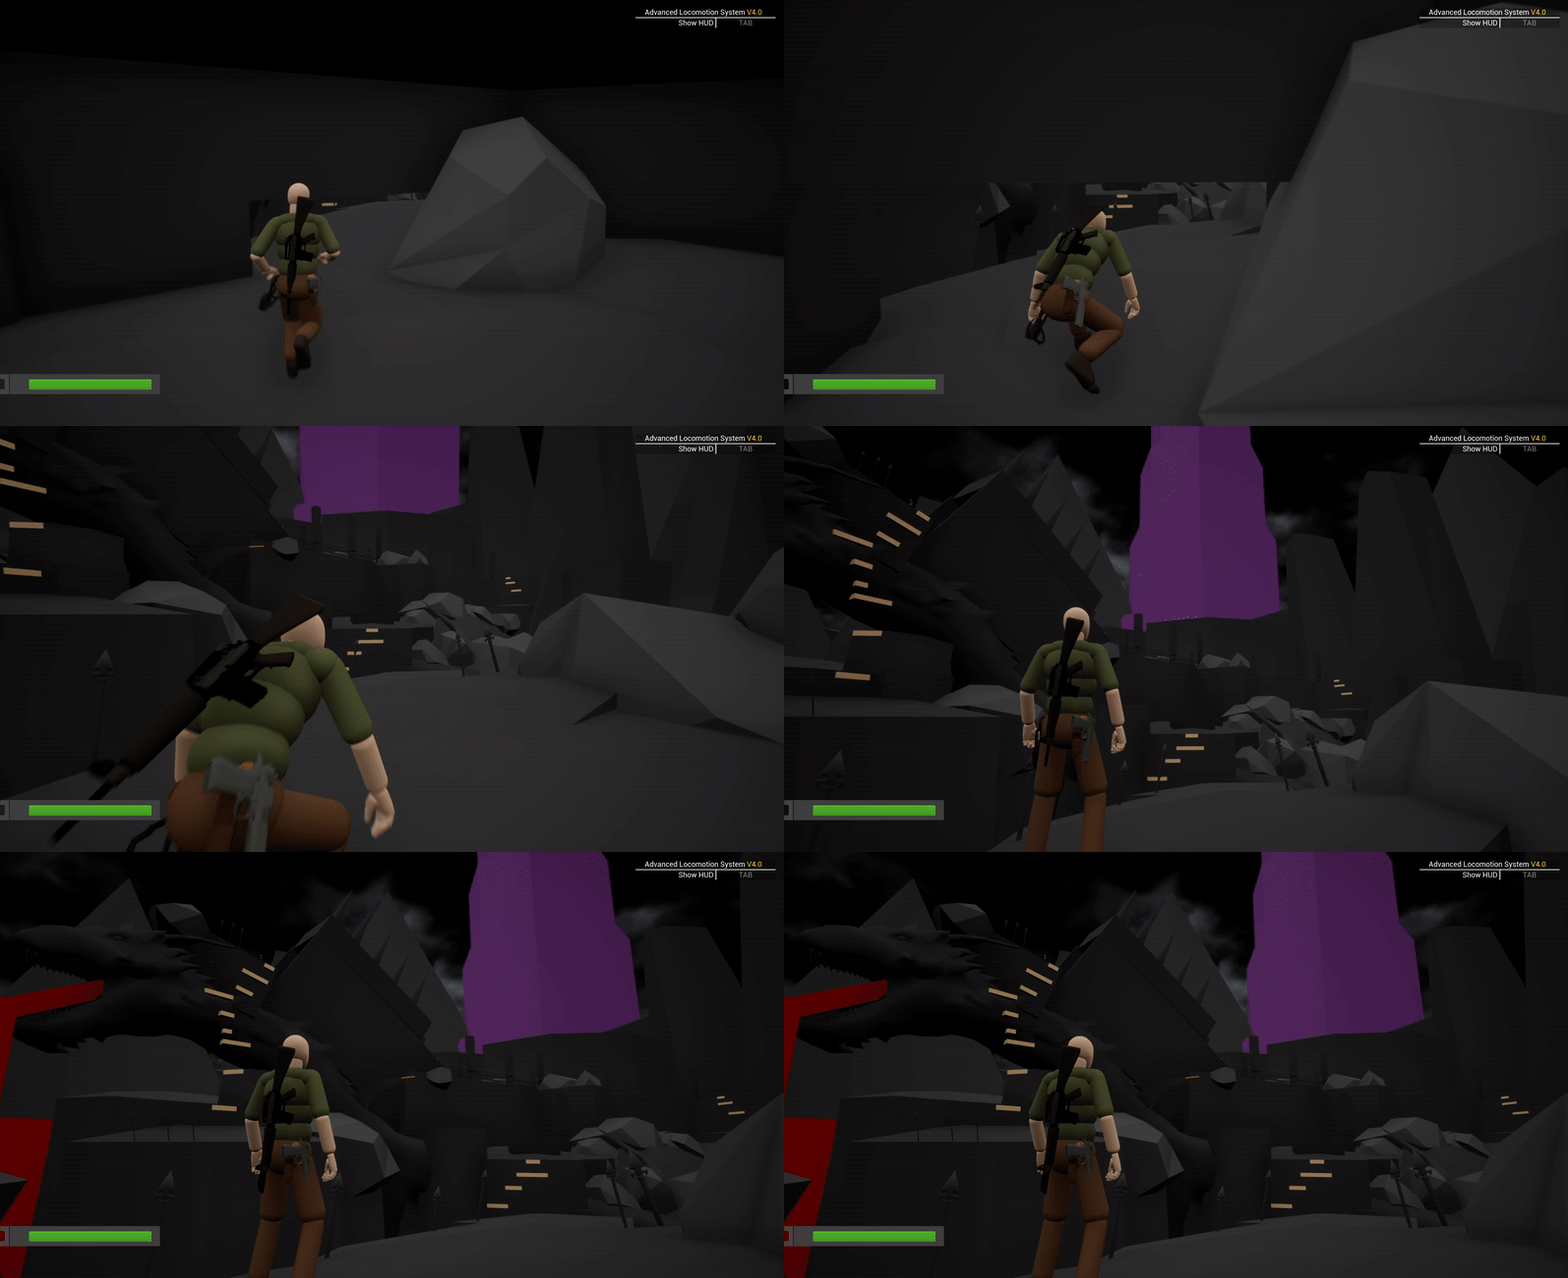
For this last beat, I wanted to introduce the new area as a vista view for starters. This would be a reward for the player after the intense combat encounter. I aimed to get the perfect composition to introduce this area to the player.
-
I occluded the entrance to the new area here by placing a rock. The treasure also attracted the player toward it. After getting the treasure, the player re-orients themself and notices the opening leading to the next area.


The Big Reveal:
I made sure to use focal guides to draw the player’s attention toward the goal that they saw at the beginning of the level. These included framing, leading lines, the rule of thirds, etc.

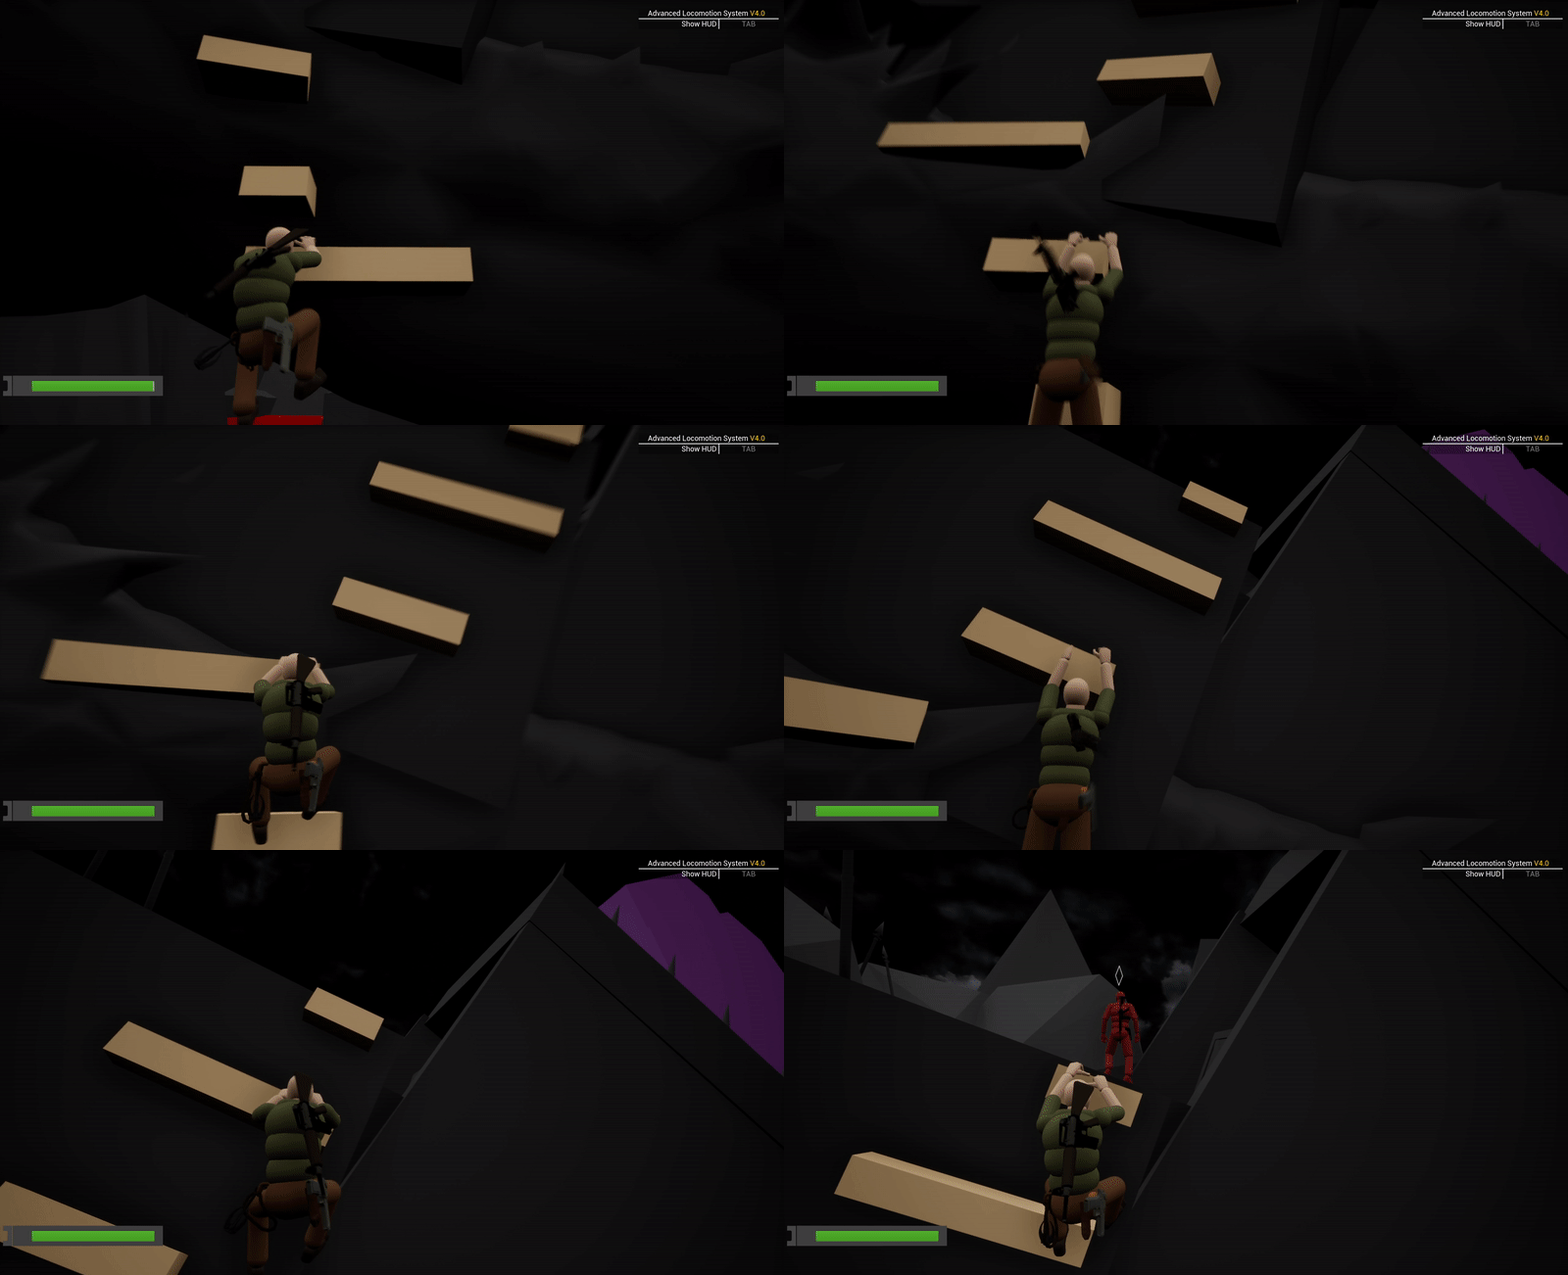
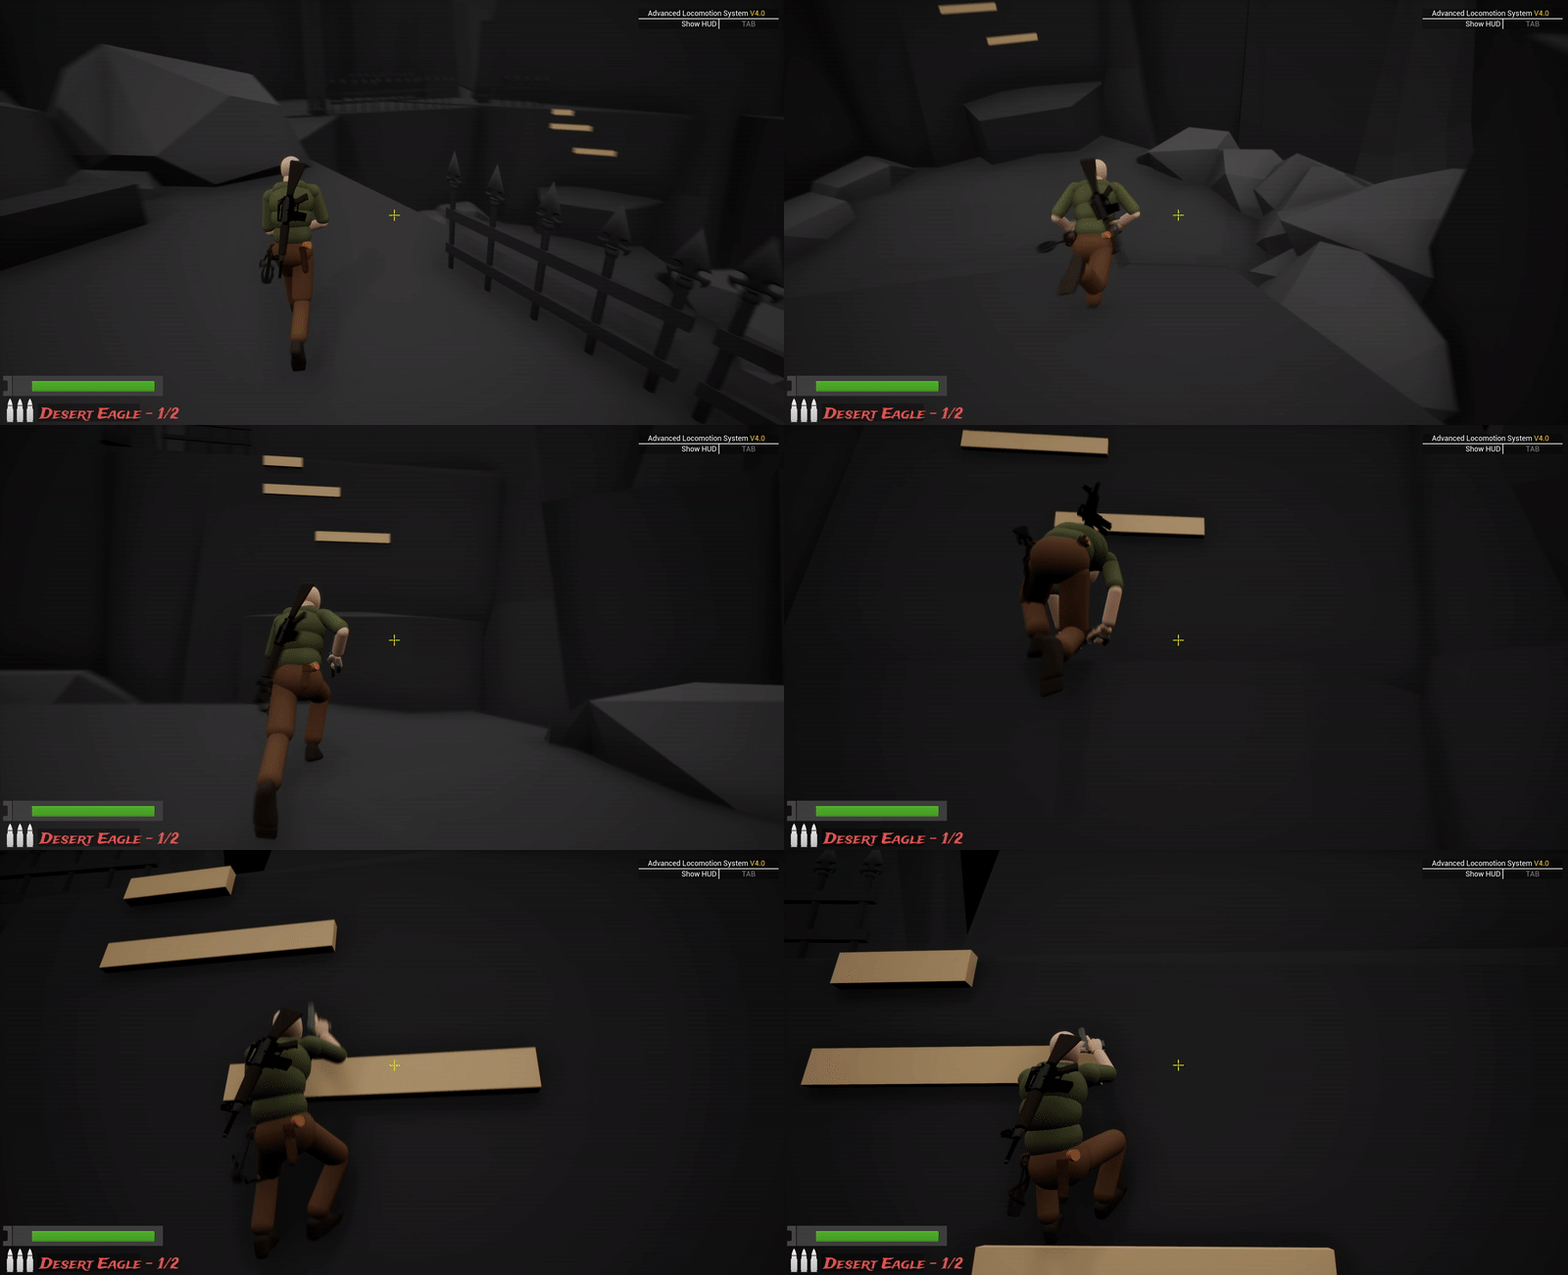
Traversal instances in the beat:
________________________________________________________________

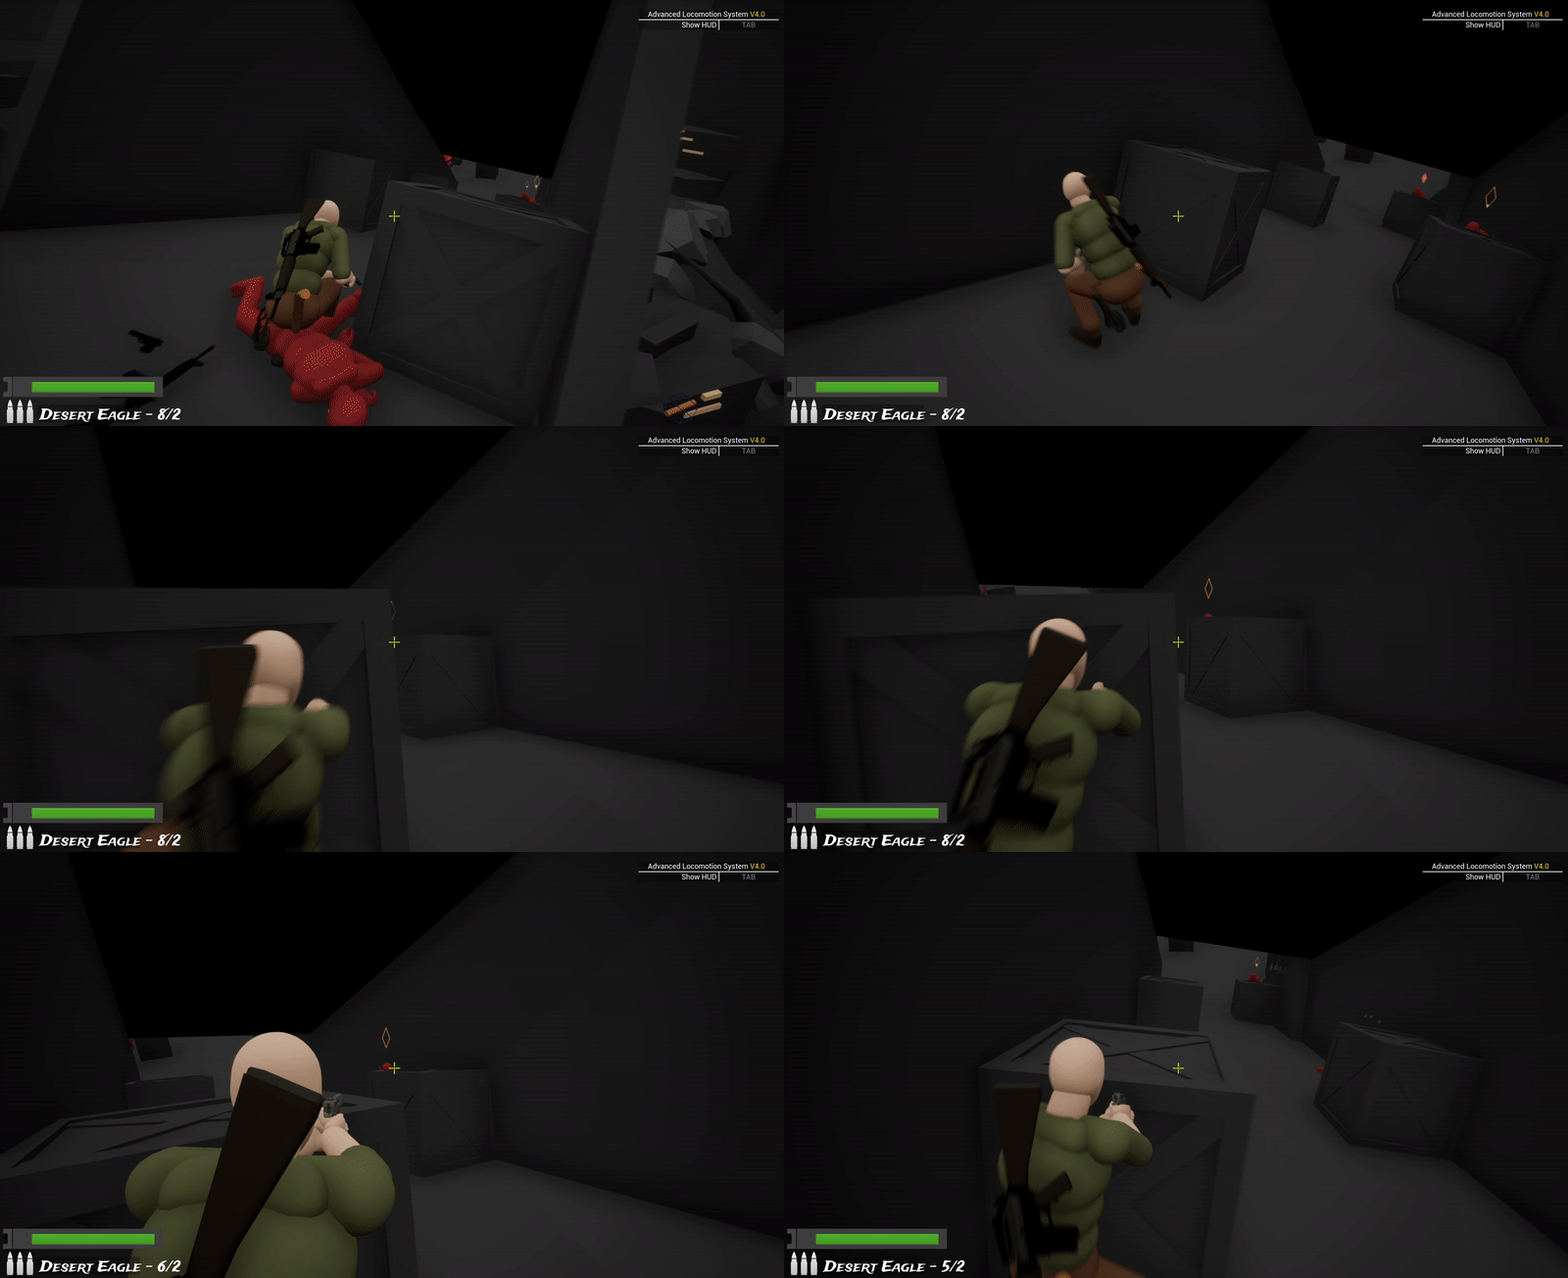
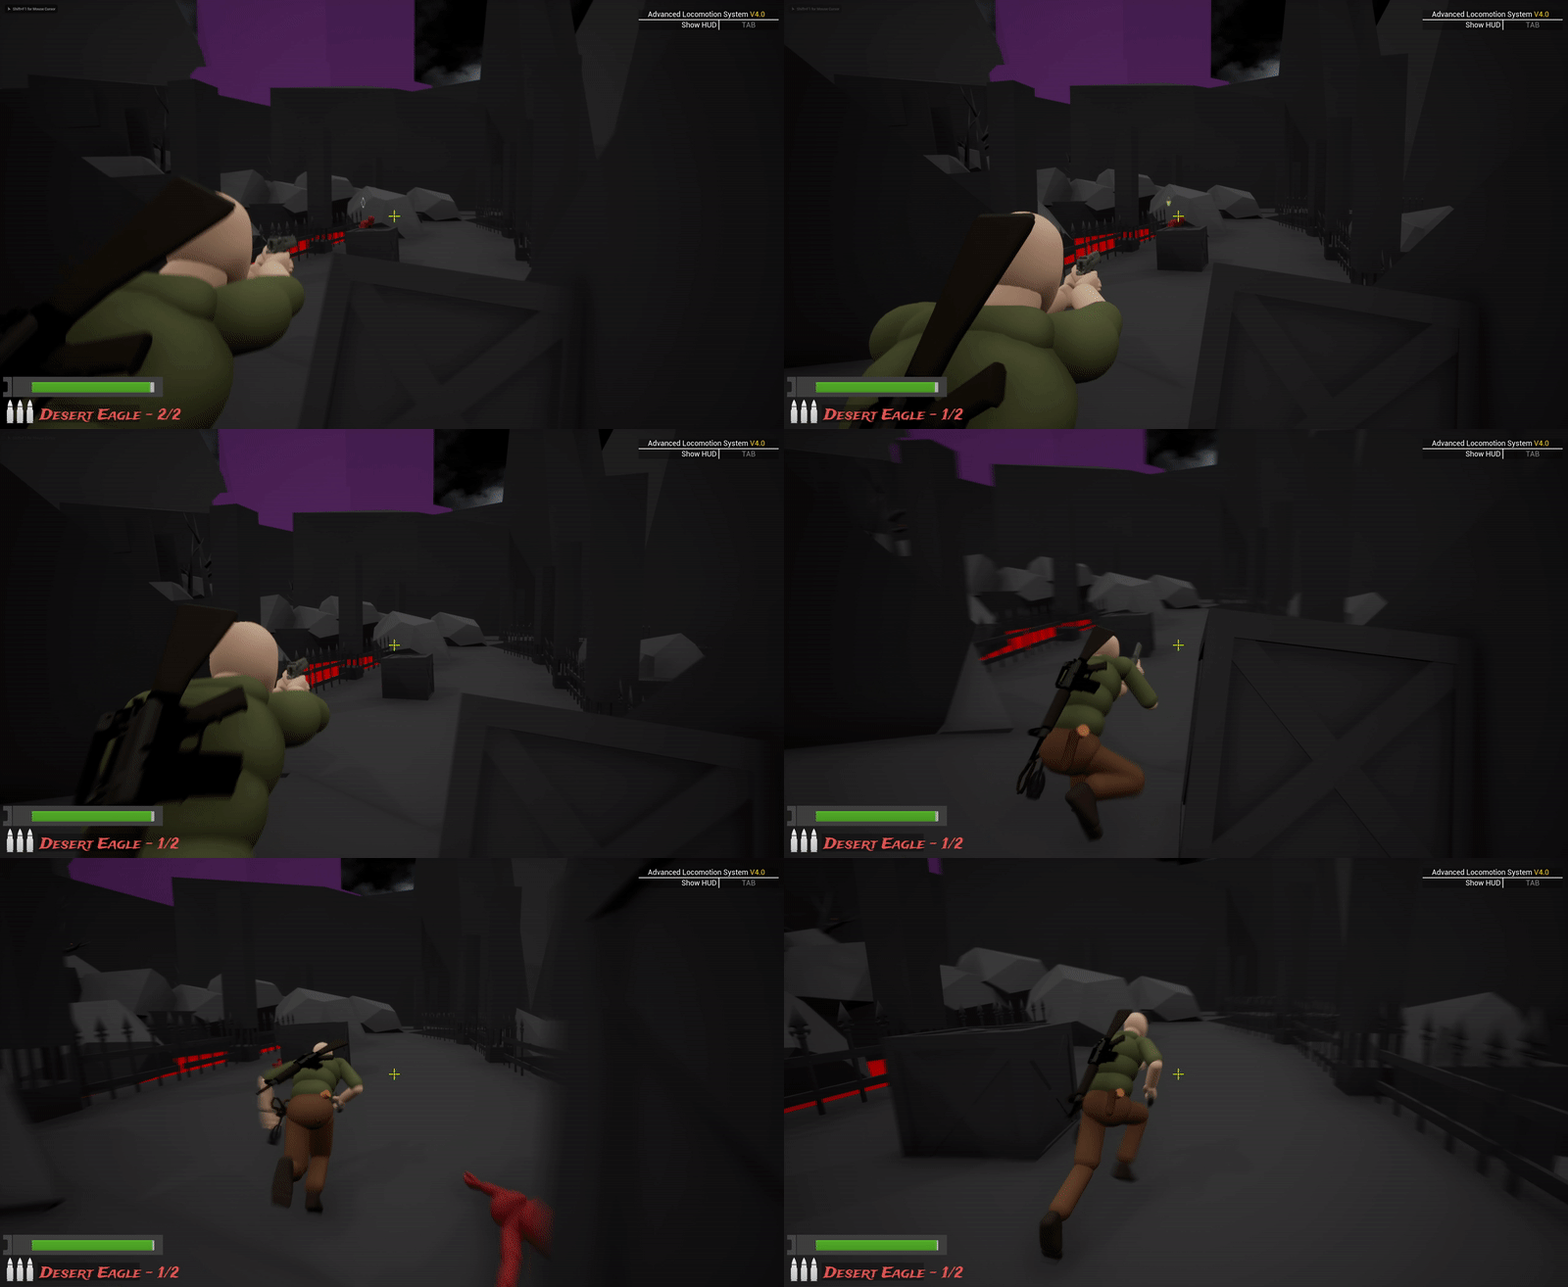
Combat instances in the beat:
________________________________________________________________

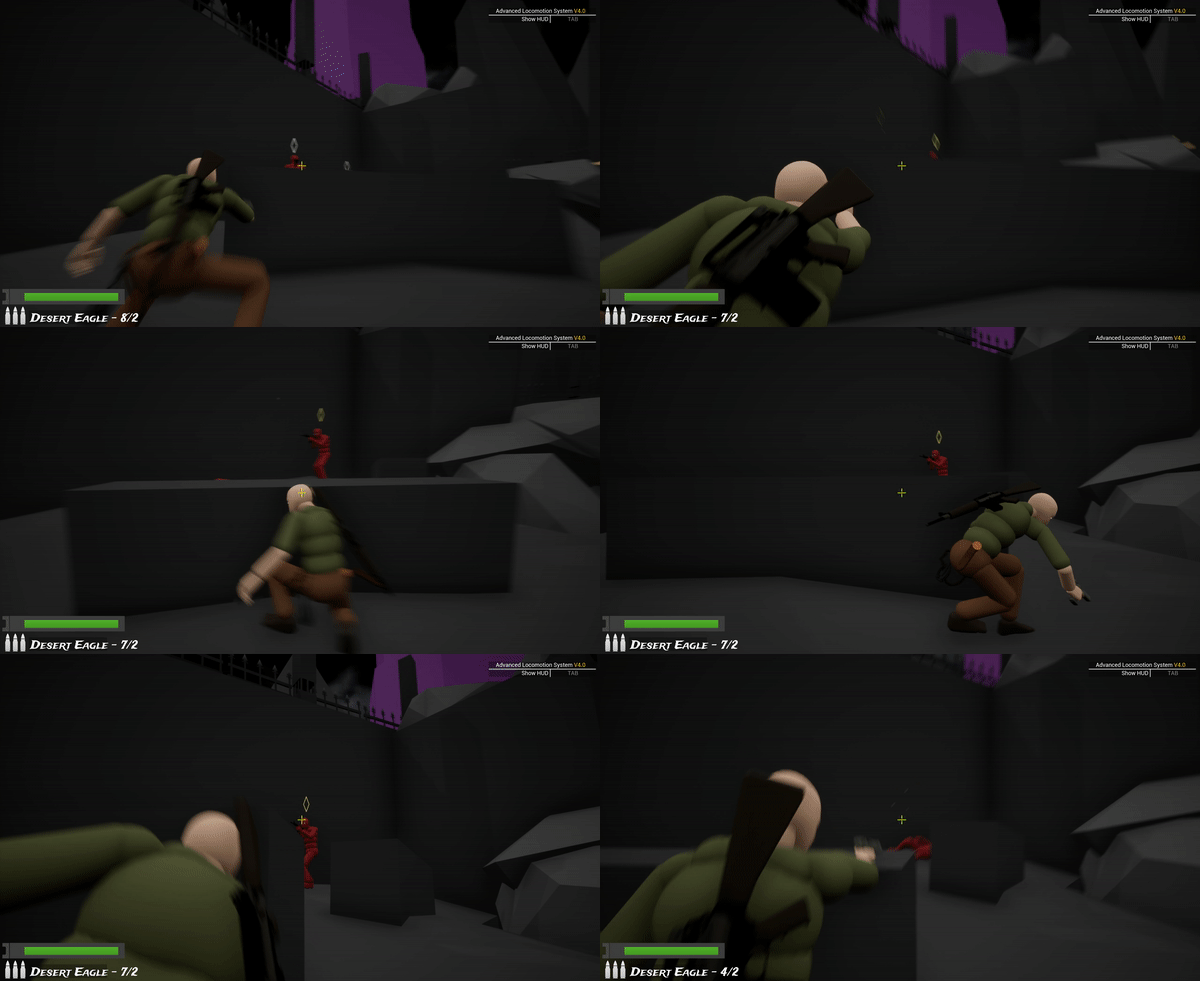
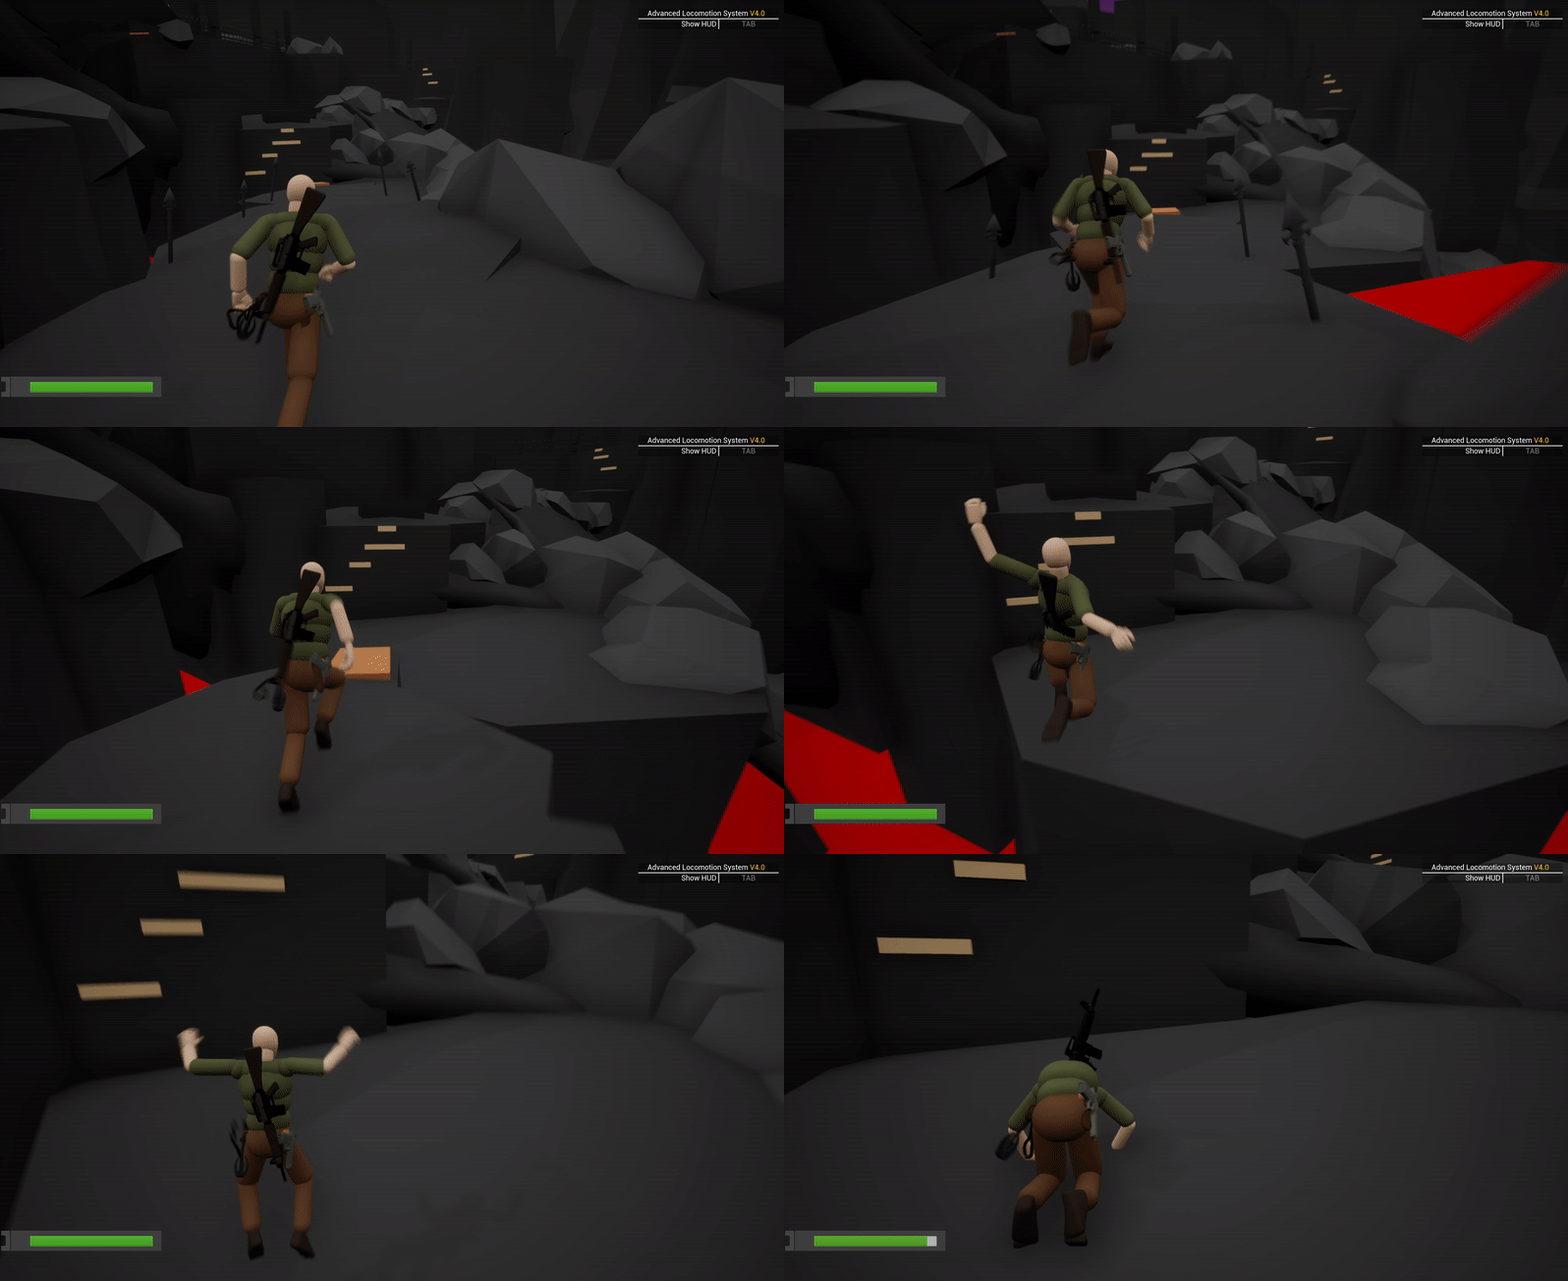
Collapsing sequence:
I wanted to end the level at a high-intensity point with the environment breaking apart. I was inspired by games like Uncharted and Tomb Raider.
Camera shake:
For the narrative, I wanted the player character to say dialogues that would imply that the goons are trying to bomb the ruins in their pursuit of the treasure. To reinforce this, I added camera shakes at specific intervals.
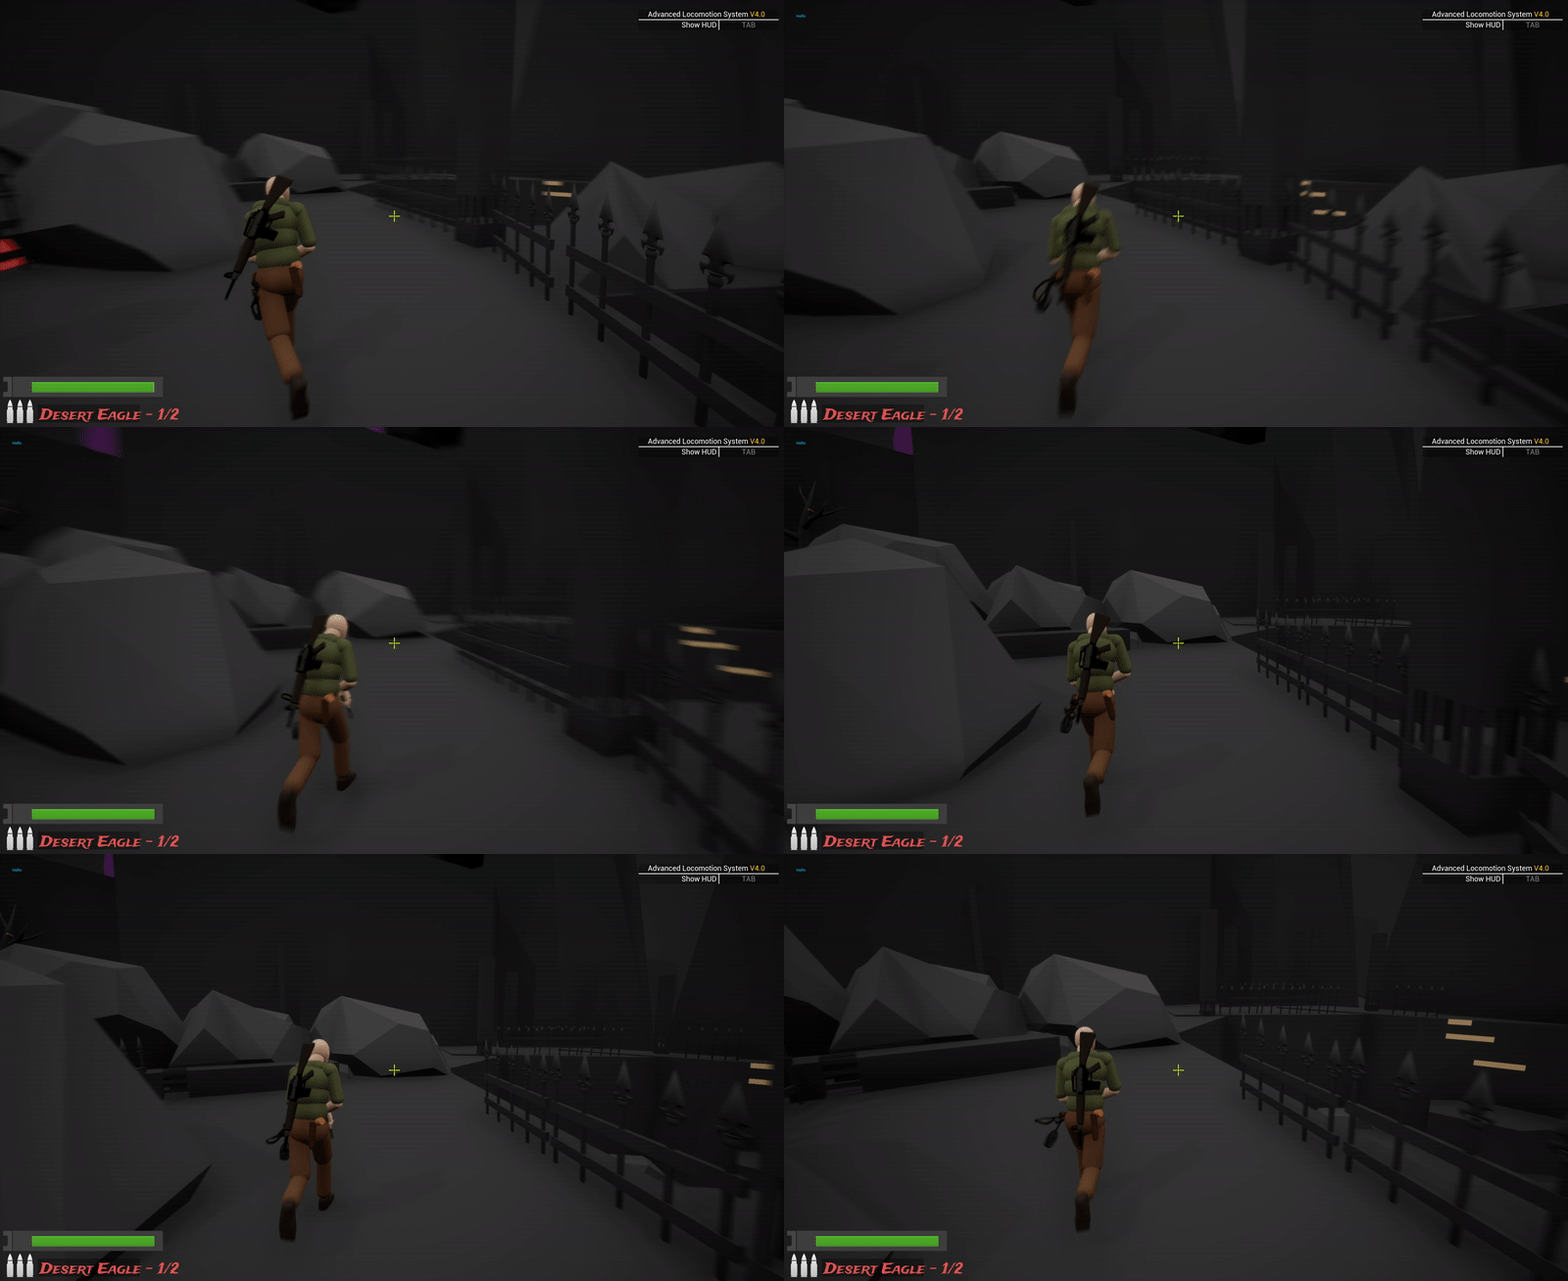
Objects Falling:
Later, I coupled the camera shake with the objects falling section to make the player feel anxious and stressed. In this high-intensity situation, the only way to stay alive is to keep moving forward.
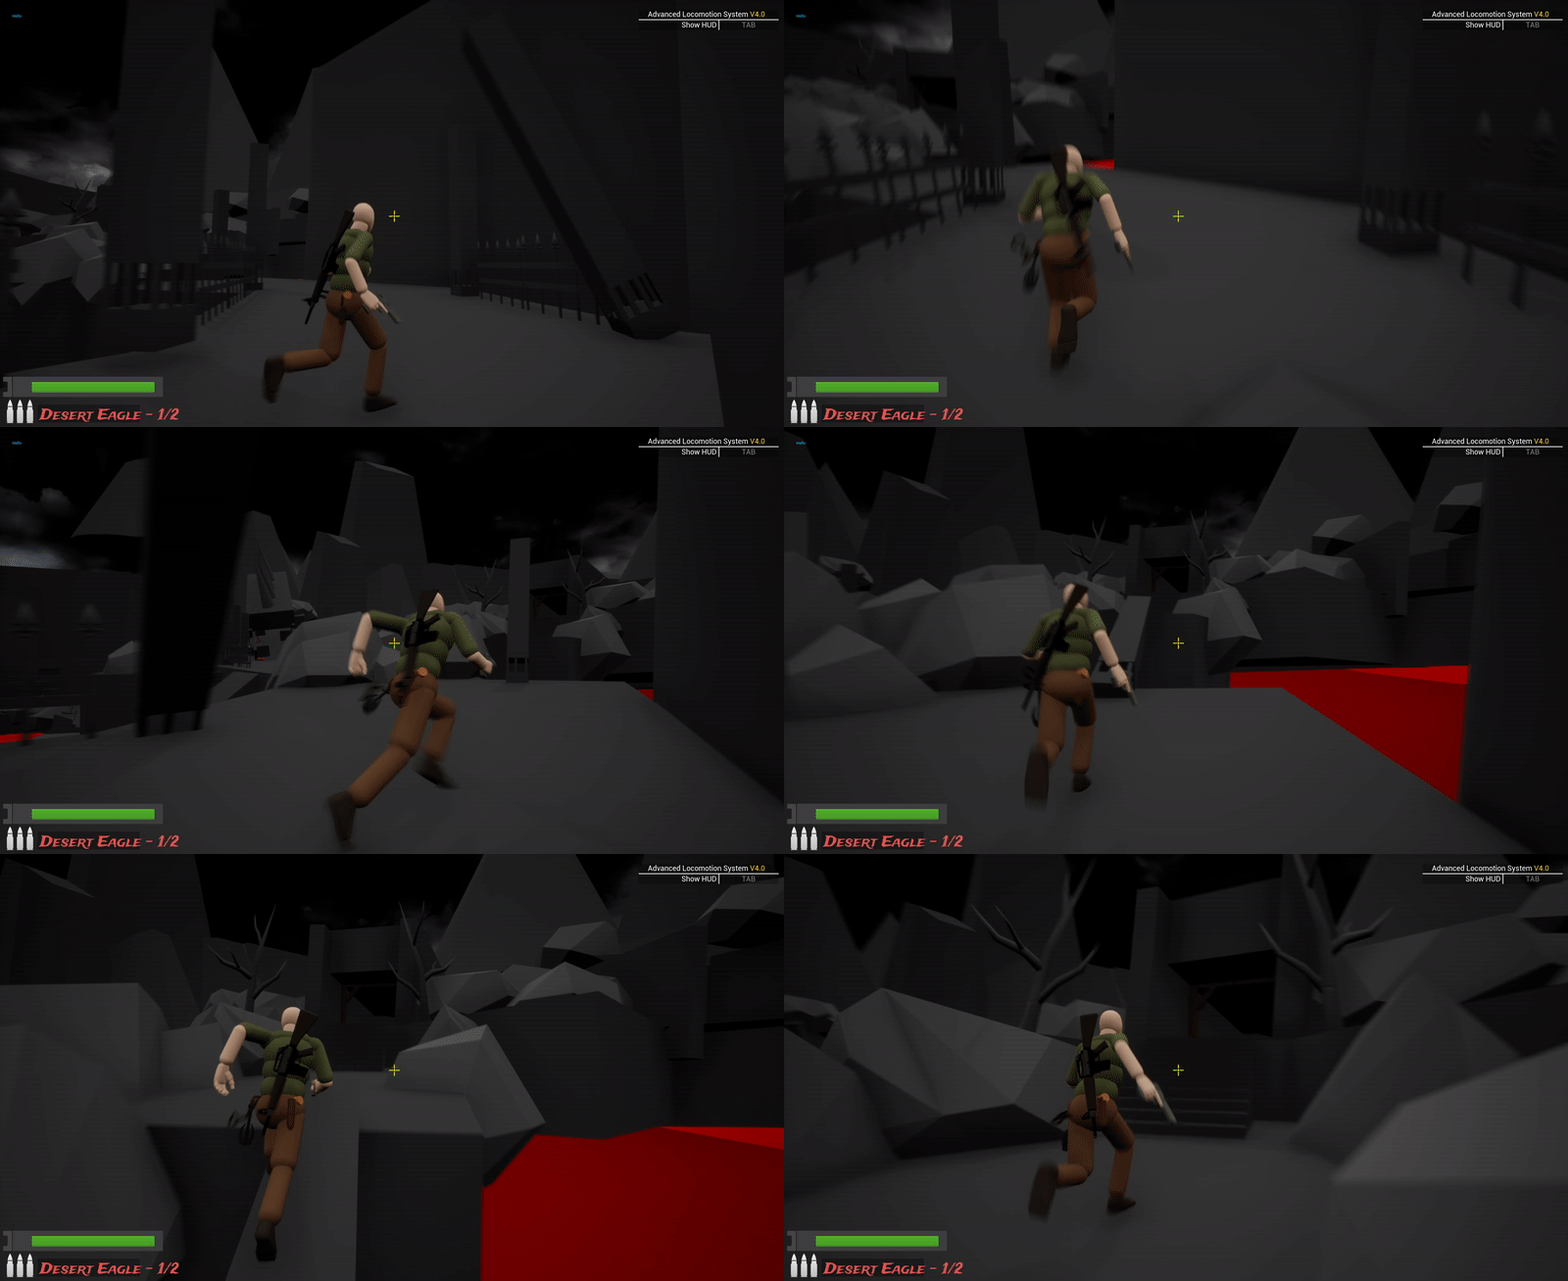

The Final Leap:
Finally, I wanted the player to land in front of the goal with a big leap, using their rope.
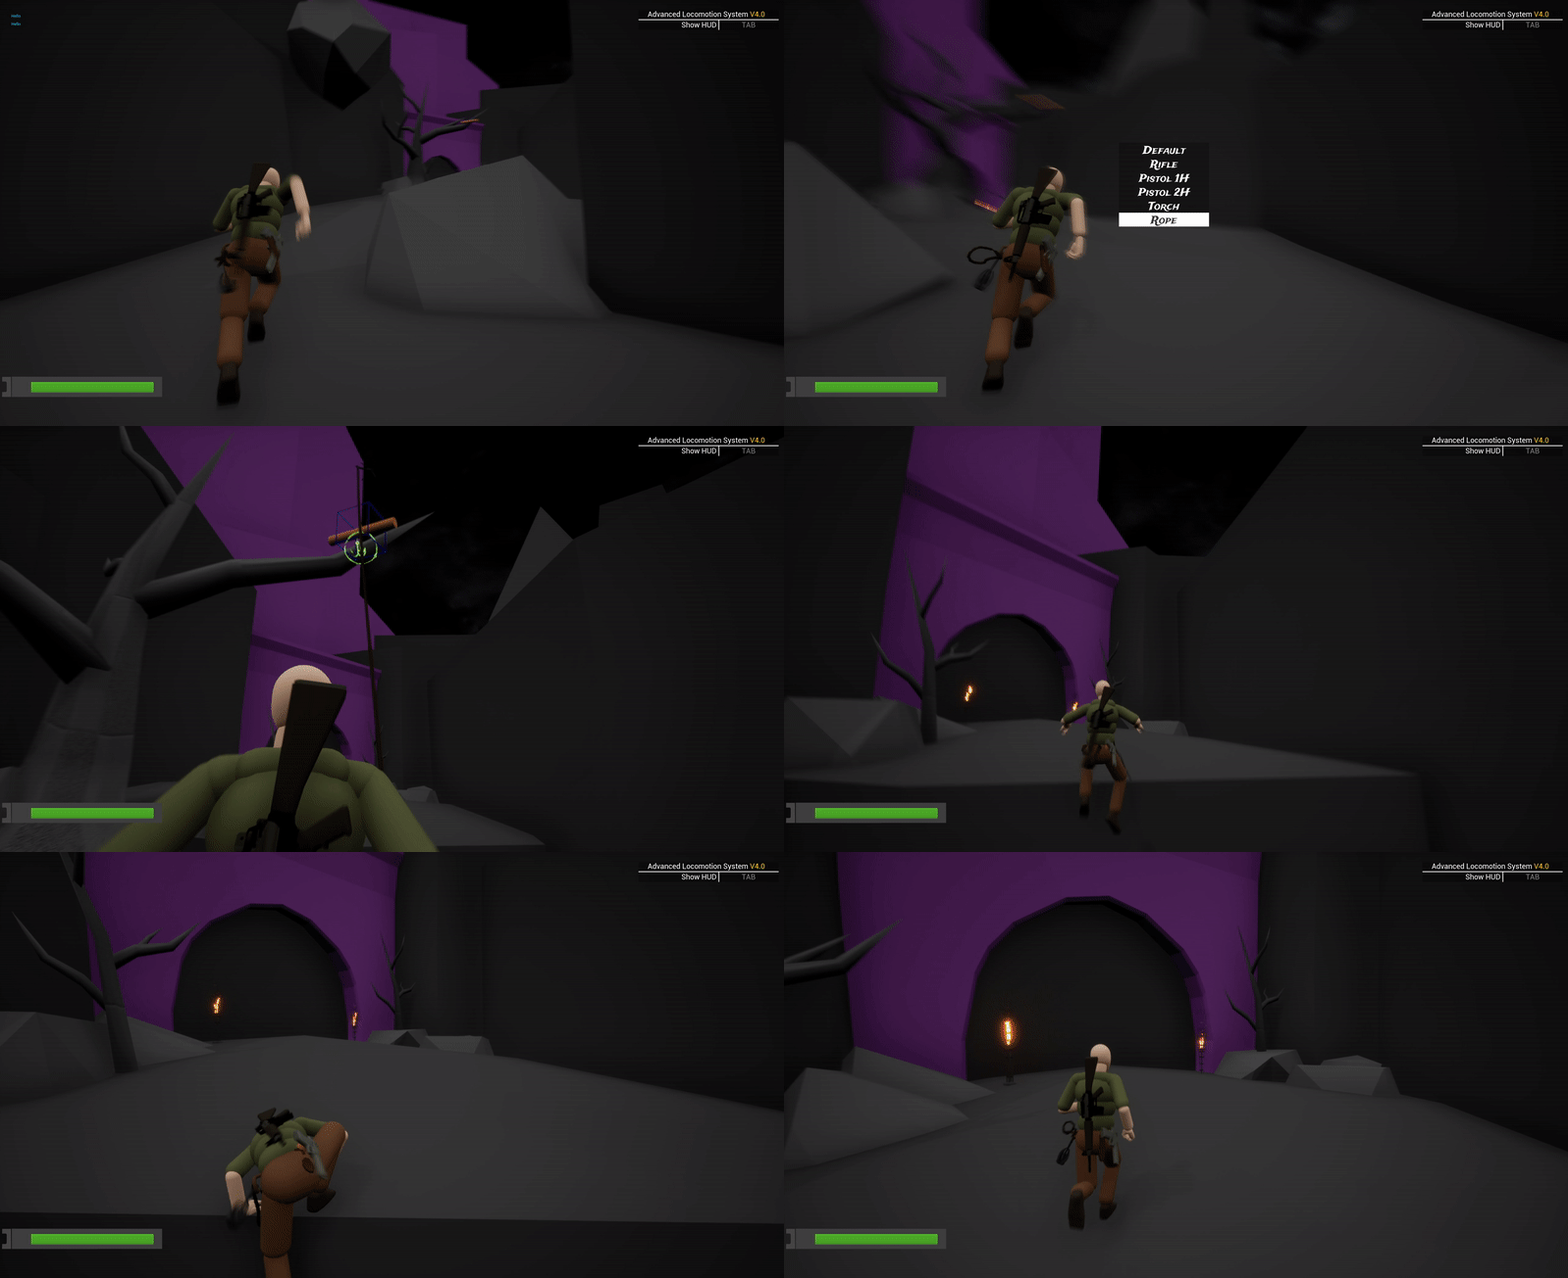
______________________________________________________________________________________________________________________
Other Selected Blockouts:
Composition and Focal guides in levels
For this assignment, I focussed on getting the perfect composition of the area. I used focal guides to highlight the focal point in the scene: which is the circle of people standing around the fire. This level was inspired by The Last of Us Part II.

Focal guides:
-
Framing.
-
Leading Lines.
-
Contrast: Life in contrast to the post-apocalyptic or dead environment.
-
Movement: The rising smoke attracts the player’s attention.

Emotive and narrative design in levels
Exposition:
The level begins with the player collecting wood in the fore
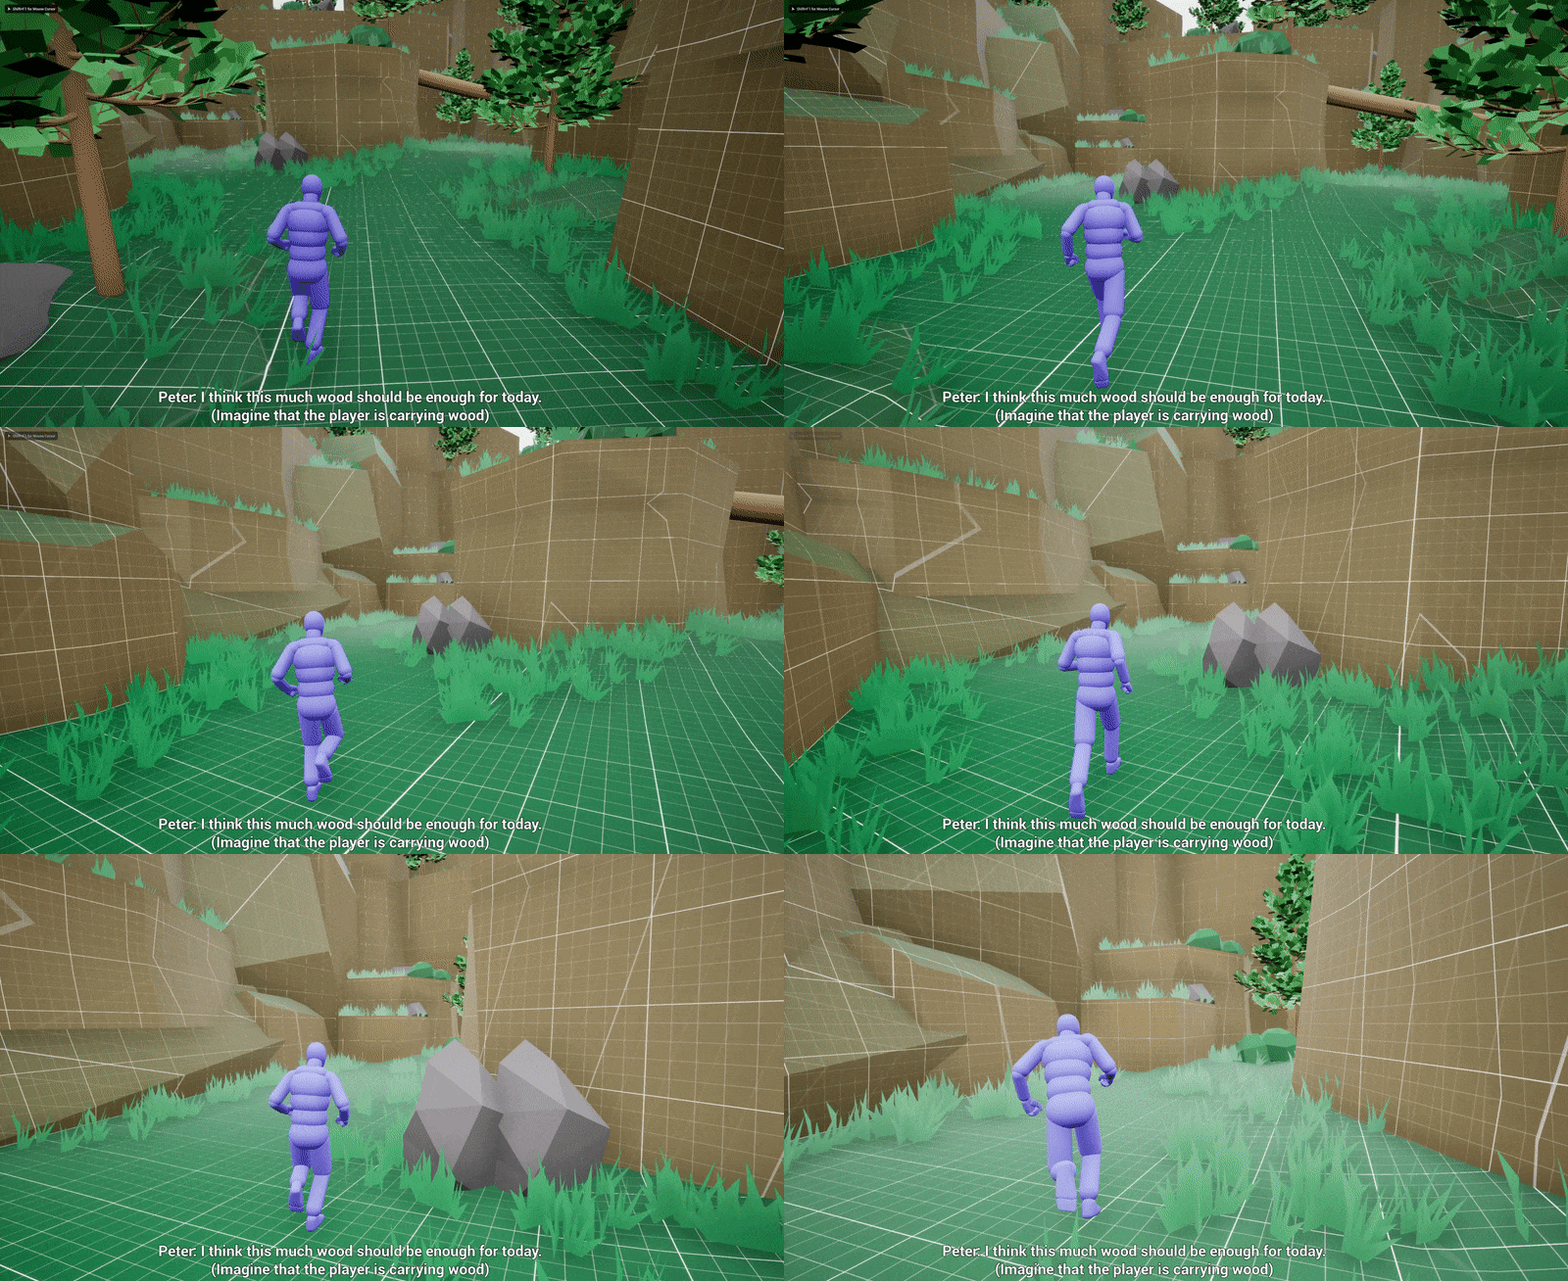
I used the traversal section: which is calm and peaceful, to introduce the story to the player. I accomplished this by showing the character’s thoughts as subtitles to the player.
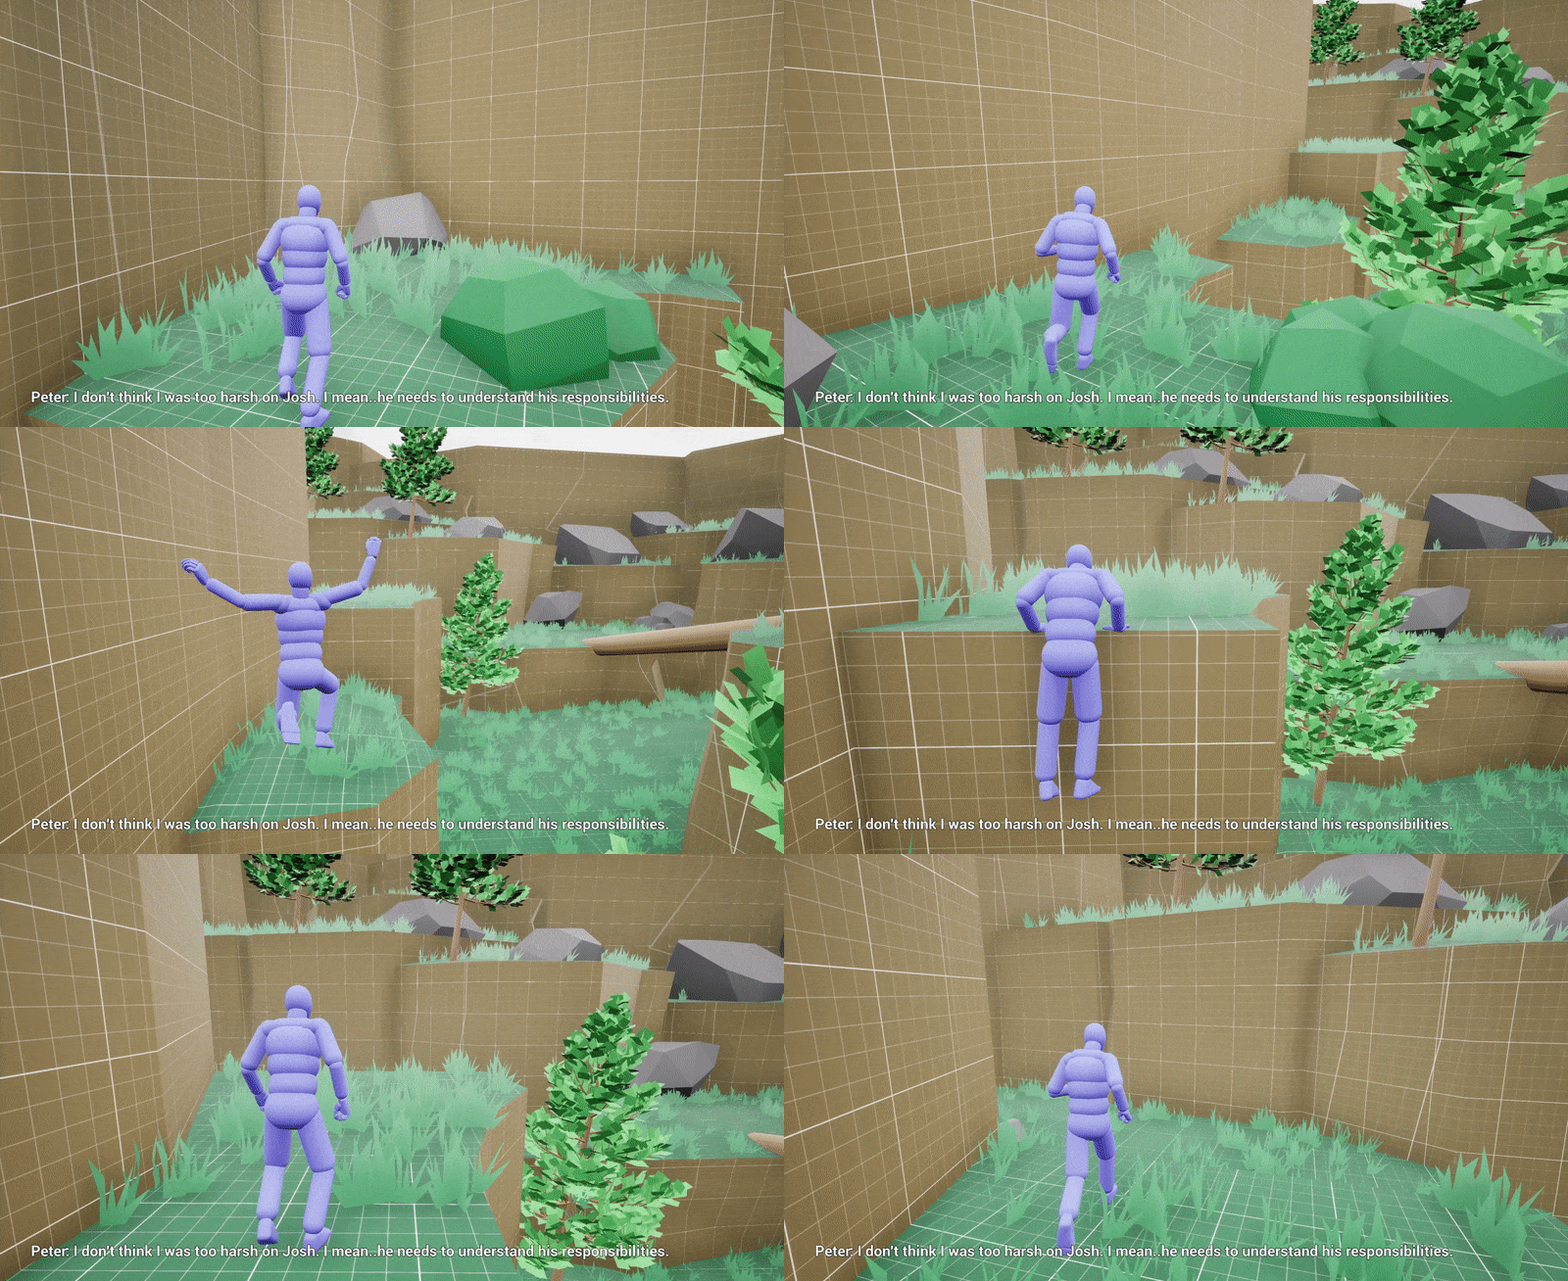
Rising Action:
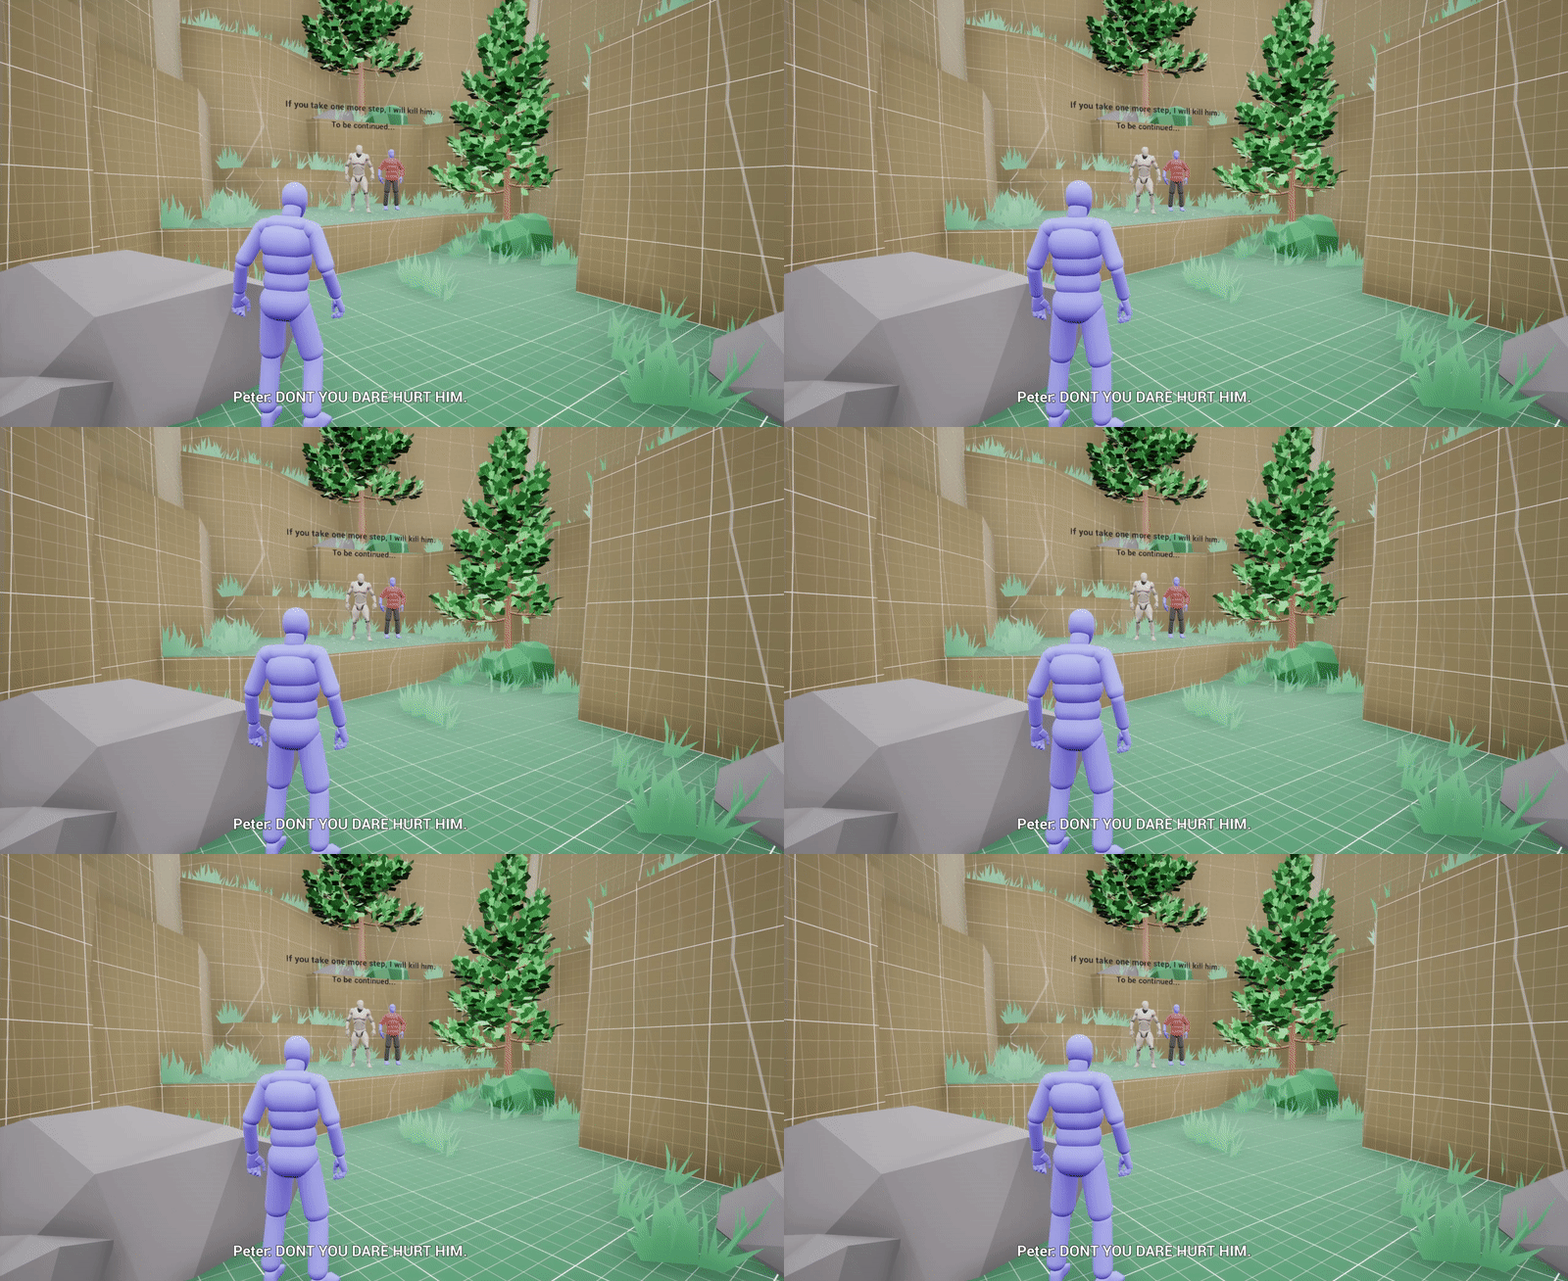
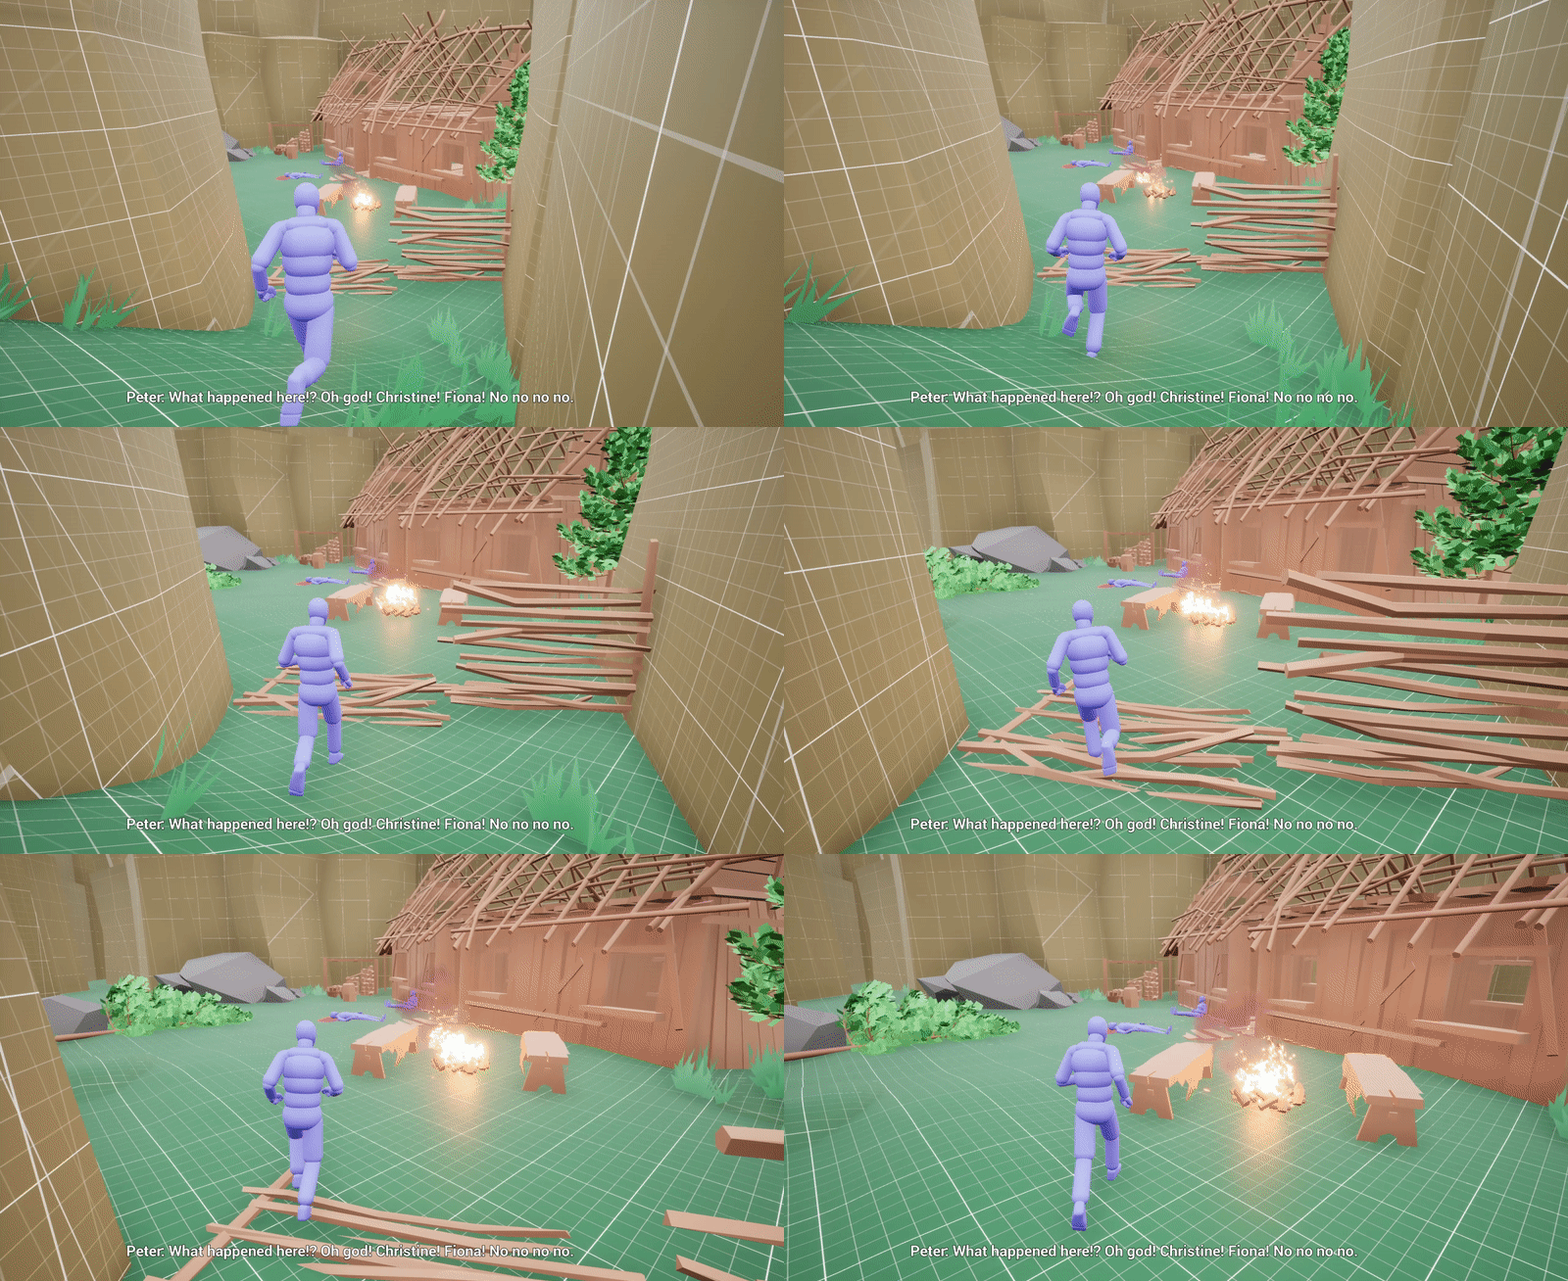
After establishing a base, I switched the mood of the level from calm to tense by surprising the player with a tragic scene that negatively affects the character and in turn makes the player anxious.

I slowly keep building on the tension with player progression in the level.
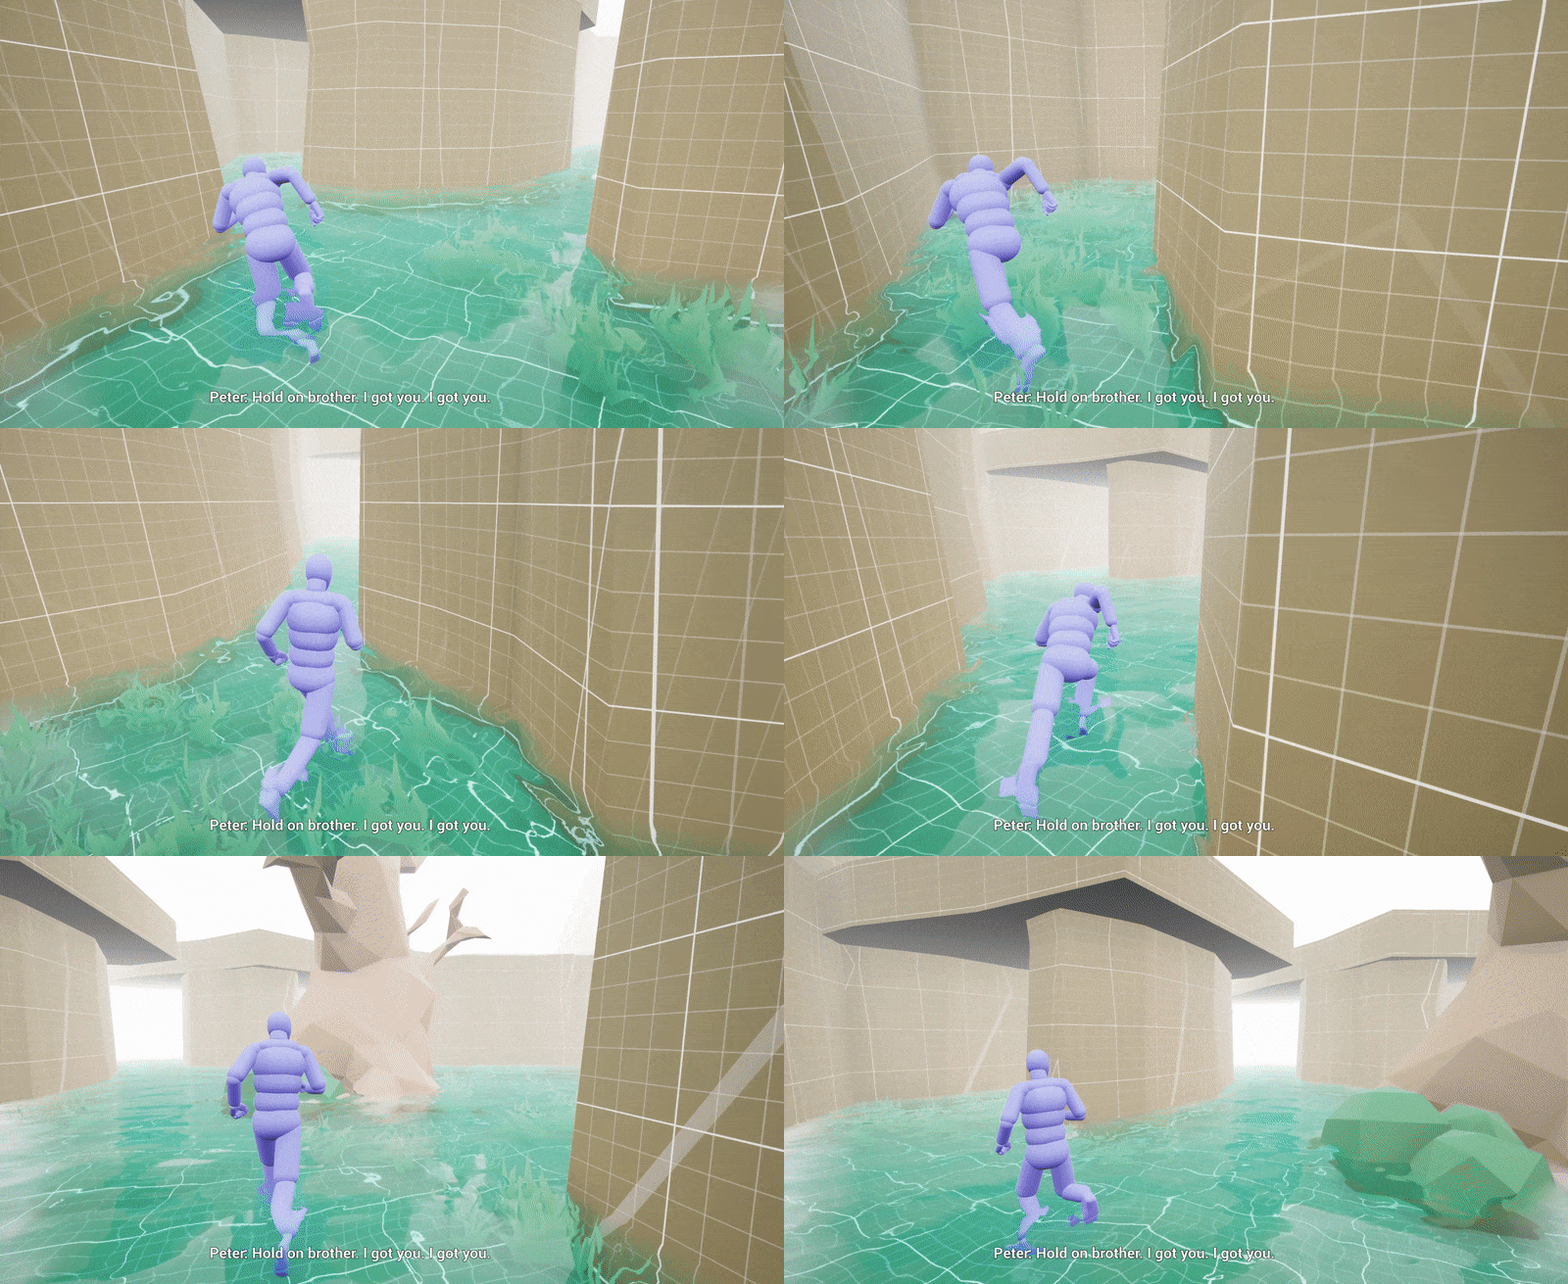
Finally, to increase the intensity further, I turn it into a chase scene where the player character sees the enemy kidnapping his brother and running off. The player then chases to catch hold of them.
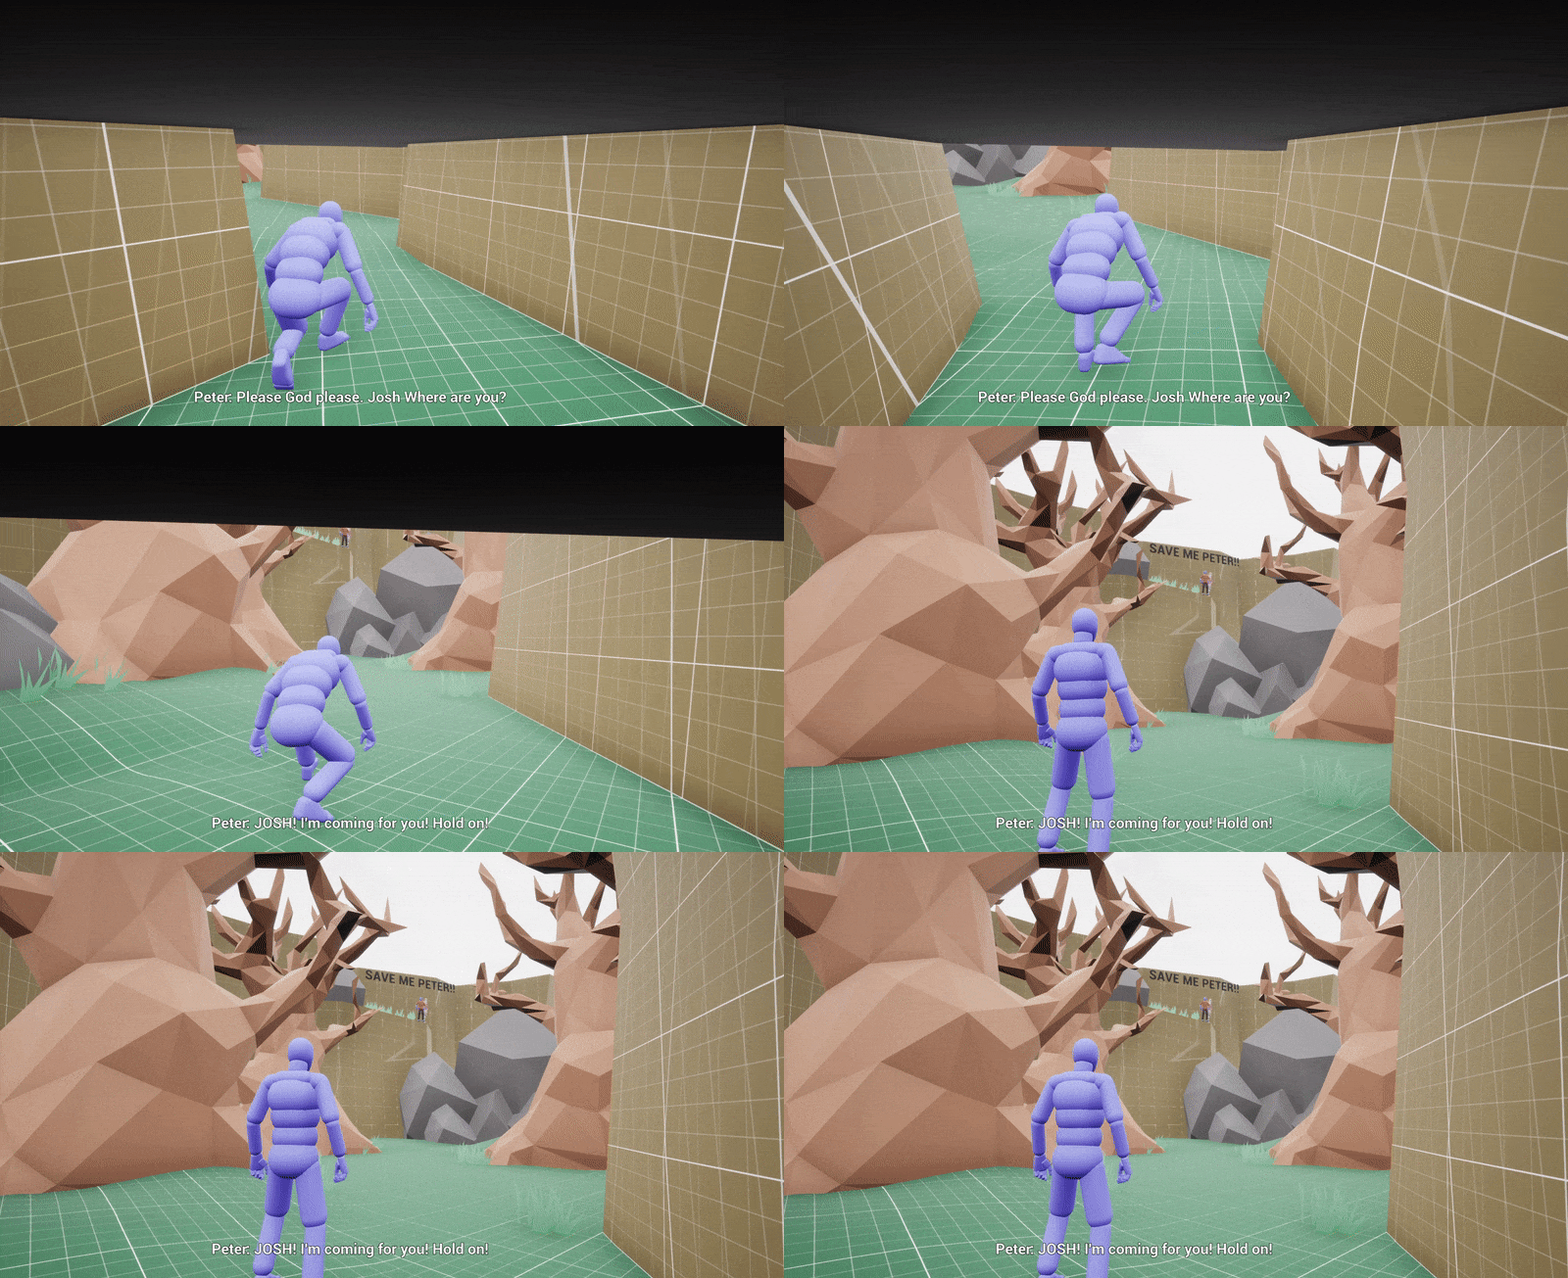
I introduce a labyrinth with fog for the player to get lost. They have to find their way out by following the screaming audio of the brother. This is peak intensity before the face-off with the enemy.
Climax:
To be continued.
(I hope to finish this section when I have some free time)
